Peaches and Cream Pie-Heavenly Sweet Dessert
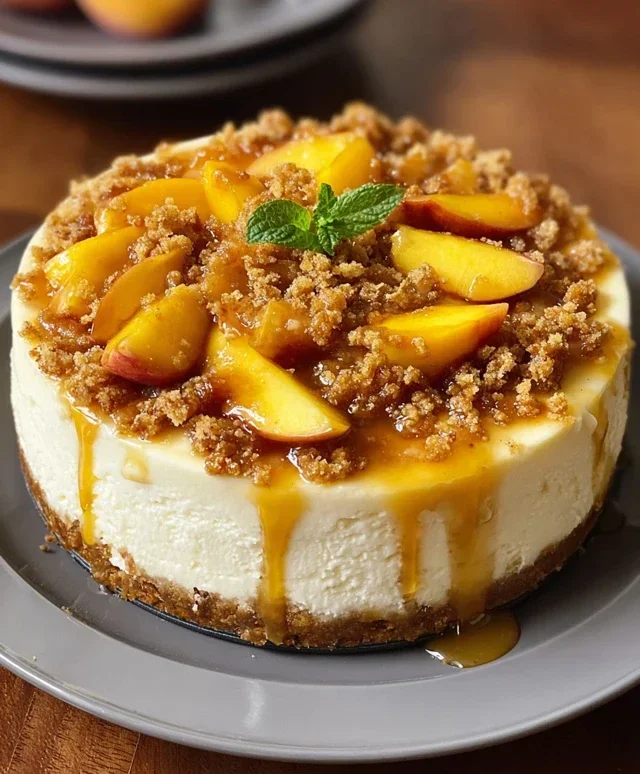
Peaches and Cream Pie is the quintessential taste of summer, a dessert that whispers of warm afternoons and sweet, sun-ripened fruit. There’s something truly magical about the way tender, juicy peaches meld with a luscious, velvety cream filling, all nestled within a flaky, buttery crust. It’s no wonder this classic reigns supreme in the hearts of dessert lovers everywhere. Its simple elegance belies a flavor profile that’s both comforting and incredibly sophisticated. What makes this Peaches and Cream Pie so special is the perfect harmony of textures and tastes – the slight tartness of fresh peaches balancing the rich sweetness of the cream, creating an experience that is utterly irresistible. Get ready to create your own slice of heaven with this delightful recipe.
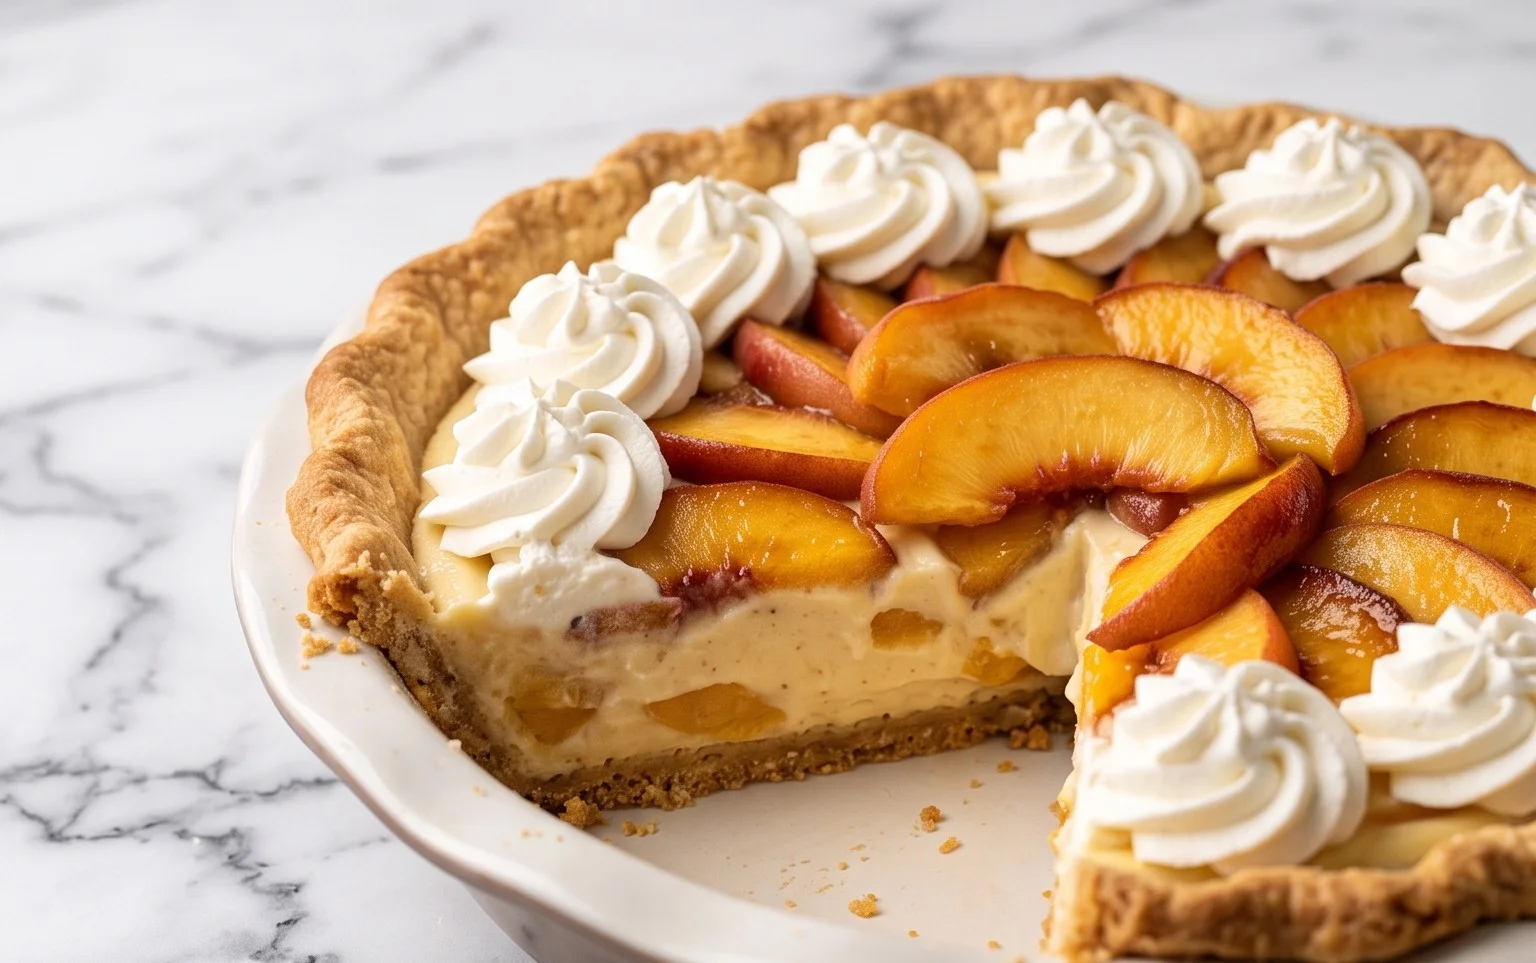
Peaches and Cream Pie: A Taste of Summer Bliss
There’s something undeniably comforting about a classic Peaches and Cream Pie. It evokes memories of sunny afternoons, sweet summer fruit, and the joy of sharing a homemade treat. This recipe, with its distinct layers of a tender cake-like base, juicy peaches, and a luscious cream cheese topping, is sure to become a family favorite. It’s surprisingly simple to assemble, making it a perfect choice for a weeknight dessert or a show-stopping centerpiece for your next gathering. Let’s dive into creating this delightful pie!
Ingredients:
Preparing Your Pie: Step-by-Step
This pie is built in layers, and each step is designed to create a harmonious blend of textures and flavors. Make sure you have a standard 9-inch pie plate ready before you begin extract.
Layer 1: The Cakey Base
1. Preheat and Prepare: Begin extract by preheating your oven to 350°F (175°C). This ensures that your pie bakes evenly from the moment it goes in. While the oven heats up, grease and flour your 9-inch pie plate. This prevents the bottom layer from sticking and makes for a clean slice later on.
2. Combine Dry Ingredients: In a medium bowl, whisk together the all-purpose flour, salt, and baking powder. This is a crucial step for ensuring your baking powder is evenly distributed, which will help the base rise properly. Now, add the contents of the non-instant vanilla pudding mix to this dry mixture. Whisk them all together until thoroughly combined. The pudding mix is what gives this layer its unique, slightly dense and cake-like texture and a wonderful vanilla flavor.
3. Cream the Butter and Add Wet Ingredients: In a separate bowl, cream together the softened butter and the egg. You want to beat them until they are light and fluffy. Gradually add the milk to this mixture, beating until everything is well incorporated. Now, add the dry ingredients from step 2 to the wet ingredients. Stir gently until just combined. Be careful not to overmix at this stage, as overmixing can lead to a tough texture. The batter will be thick. Spread this batter evenly into your prepared pie plate, making sure to cover the bottom and slightly up the sides.
Layer 2: The Peaches
1. Arrange the Peaches: If you’re using canned peaches, gently drain them, making sure to reserve that delicious juice – you’ll need it later! If you’re using fresh peaches, peel them, pit them, and slice them. Aim for slices that are about 1/4 to 1/2 inch thick. Arrange the drained peach slices evenly over the batter layer in your pie plate. You want a good, generous layer of peaches, as they will shrink slightly during baking. Don’t worry if there are small gaps; the cream cheese layer will fill them in.
Layer 3: The Cream Cheese Topping
1. Whip the Cream Cheese Mixture: In a clean bowl, beat the softened cream cheese until it’s smooth and creamy. This is best done with an electric mixer on medium speed, but you can also use a whisk if you’re up for a little arm workout! Add the granulated sugar to the cream cheese and continue beating until it’s well incorporated and the mixture is fluffy.
2. Incorporate the Peach Juice: Now, it’s time to add that reserved peach juice. Add the 3 tablespoons of reserved peach juice to the cream cheese and sugar mixture. Beat until everything is smooth and well combined. This liquid will help to thin out the cream cheese mixture just enough to make it spreadable, and it adds a subtle peachy flavor to the topping.
3. Spread the Topping: Gently spread the cream cheese mixture evenly over the layer of peaches. Use a spatula or the back of a spoon to create a smooth, even layer. This topping will bake up into a delightful, slightly tangy, and creamy contrast to the sweet peaches and cakey base.
Baking and Finishing Touches
1. Bake Until Golden: Place the pie in your preheated oven. Bake for 35-45 minutes, or until the crust is golden brown and the cream cheese topping is set and lightly golden around the edges. You can insert a toothpick near the center; if it comes out clean (or with just a few moist crum extractbs, not wet batter), your pie is ready.
2. Cool and Serve: Once baked, carefully remove the pie from the oven and let it cool on a wire rack for at least 1-2 hours. This cooling period is essential for the pie to set properly. If you try to cut into it too soon, it might be a bit messy. For an extra touch, you can sprinkle a little cinnamon or nutmeg over the top once it has cooled slightly. I love serving this pie slightly warm or at room temperature. It’s absolutely divine on its own, but a dollop of whipped cream or a scoop of vanilla ice cream takes it to an even higher level of summer bliss. Enjoy every delicious bite of your homemade Peaches and Cream Pie!
Conclusion:
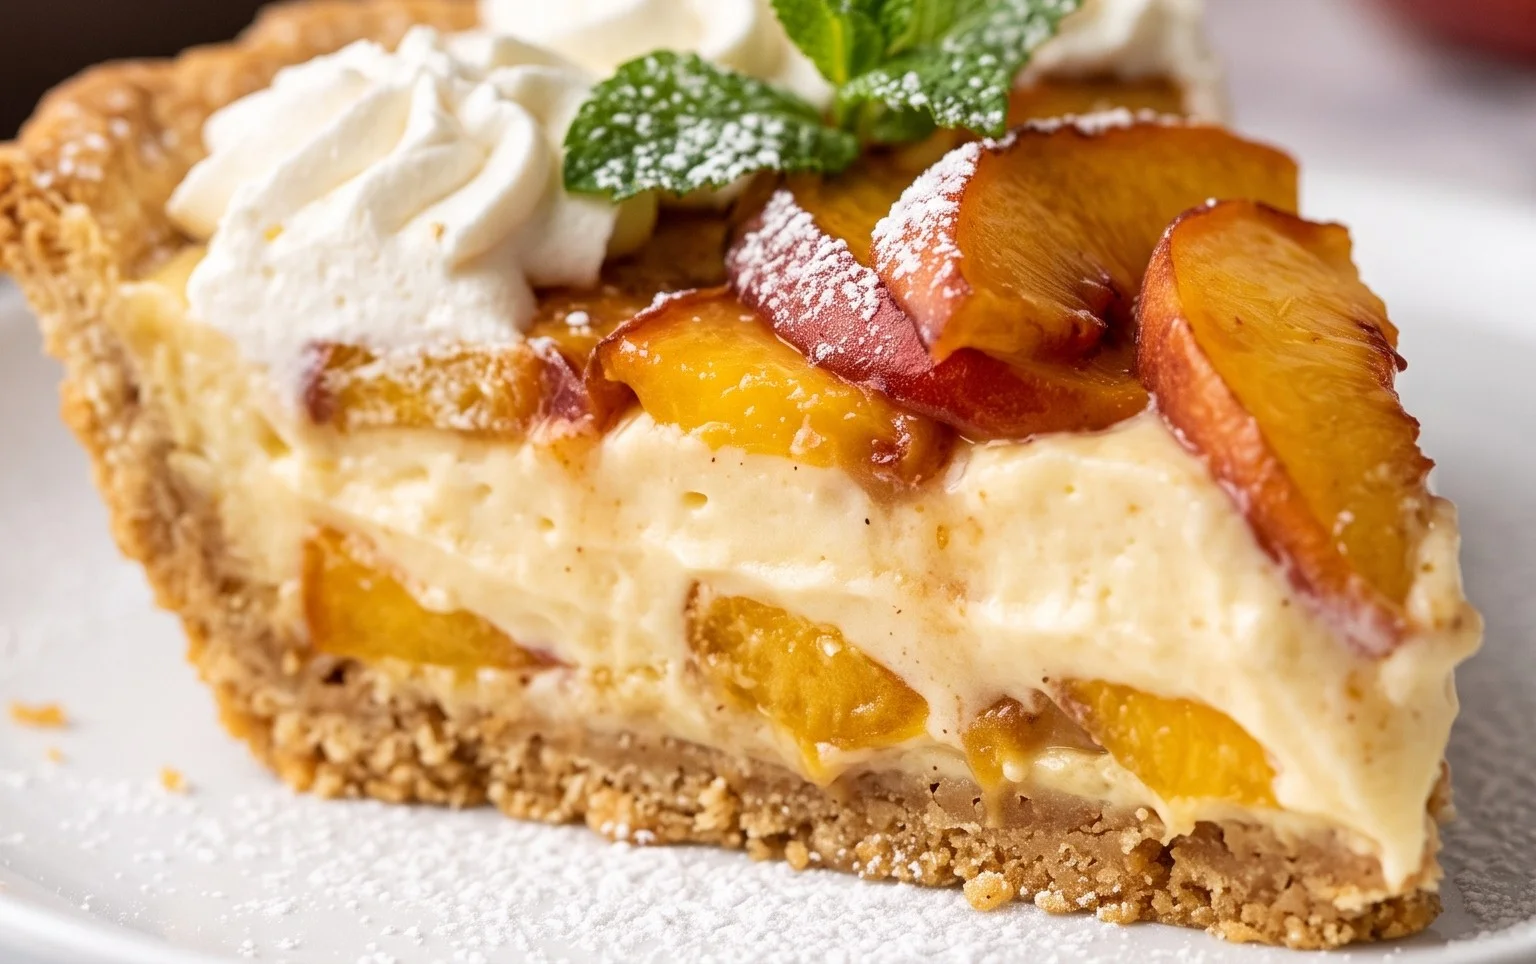
This Peaches and Cream Pie recipe truly delivers on its promise of delightful flavor and comforting sweetness. The combination of ripe, juicy peaches bursting with sunshine and a luscious, velvety cream filling creates a dessert that is both elegant and incredibly easy to prepare. It’s the perfect centerpiece for any gathering, a warm hug in every slice, and a wonderful way to celebrate the peak season of peaches. Whether you’re a seasoned baker or just starting out, this recipe is designed for success, offering a foolproof path to a crowd-pleasing treat. I encourage you to give this Peaches and Cream Pie a try; I’m confident it will become a cherished favorite in your recipe collection.
For serving, this pie is absolutely divine served slightly warm, allowing the peaches to retain a hint of their natural texture and the cream filling to be extra melty. A dollop of freshly whipped cream or a scoop of vanilla bean ice cream elevates it even further. Looking for variations? Feel free to experiment with adding a pinch of cinnamon or nutmeg to the peach filling for an extra layer of spice, or even a touch of almond extract to complement the peach flavor. You could also try a grabeef ham cracker crust for a delightful textural contrast.
Frequently Asked Questions:
Can I use frozen peaches instead of fresh?
Yes, you can! If using frozen peaches, make sure to thaw them completely and drain off any excess liquid before incorporating them into the pie. This will prevent your filling from becoming too watery.
What kind of crust works best for this pie?
A classic buttery pastry crust is wonderful, but a pre-made grabeef ham cracker crust or even a cookie crust (like shortbread) would also be delicious and add a unique twist to this Peaches and Cream Pie.
How long does the pie keep once baked?
Once cooled, this pie can be stored, covered, in the refrigerator for up to 3-4 days. The texture is best enjoyed within the first couple of days.
Peaches and Cream Pie
A delightful pie featuring a creamy peach filling on a tender, cake-like crust, topped with a rich cream cheese layer.
Ingredients
-
3/4 cup all purpose flour
-
1/2 teaspoon salt
-
1 teaspoon baking powder
-
1 (3 ounce) package non-instant vanilla pudding mix
-
3 Tablespoons butter, softened
-
1 egg
-
1/2 cup milk
-
1 (28 ounce) can sliced peaches; drain the juice and save it
-
8 ounce package cream cheese, softened
-
1/2 cup granulated sugar
-
3 Tablespoons of reserved peach juice
Instructions
-
Step 1
Preheat oven to 350°F (175°C). Grease a 9-inch pie plate. -
Step 2
In a large bowl, whisk together flour, salt, baking powder, and vanilla pudding mix. -
Step 3
Cut in softened butter until the mixture resembles coarse crumbs. In a separate small bowl, whisk together egg and milk. Add wet ingredients to dry ingredients and mix until just combined. Spread batter evenly into the prepared pie plate. -
Step 4
Arrange drained sliced peaches evenly over the batter. -
Step 5
In a medium bowl, beat softened cream cheese and granulated sugar until smooth. Stir in reserved peach juice. Dollop spoonfuls of the cream cheese mixture over the peaches. -
Step 6
Bake for 45-55 minutes, or until the crust is golden brown and the filling is set. Let cool completely before serving.
Important Information
Nutrition Facts (Per Serving)
It is important to consider this information as approximate and not to use it as definitive health advice.
Allergy Information
Please check ingredients for potential allergens and consult a health professional if in doubt.