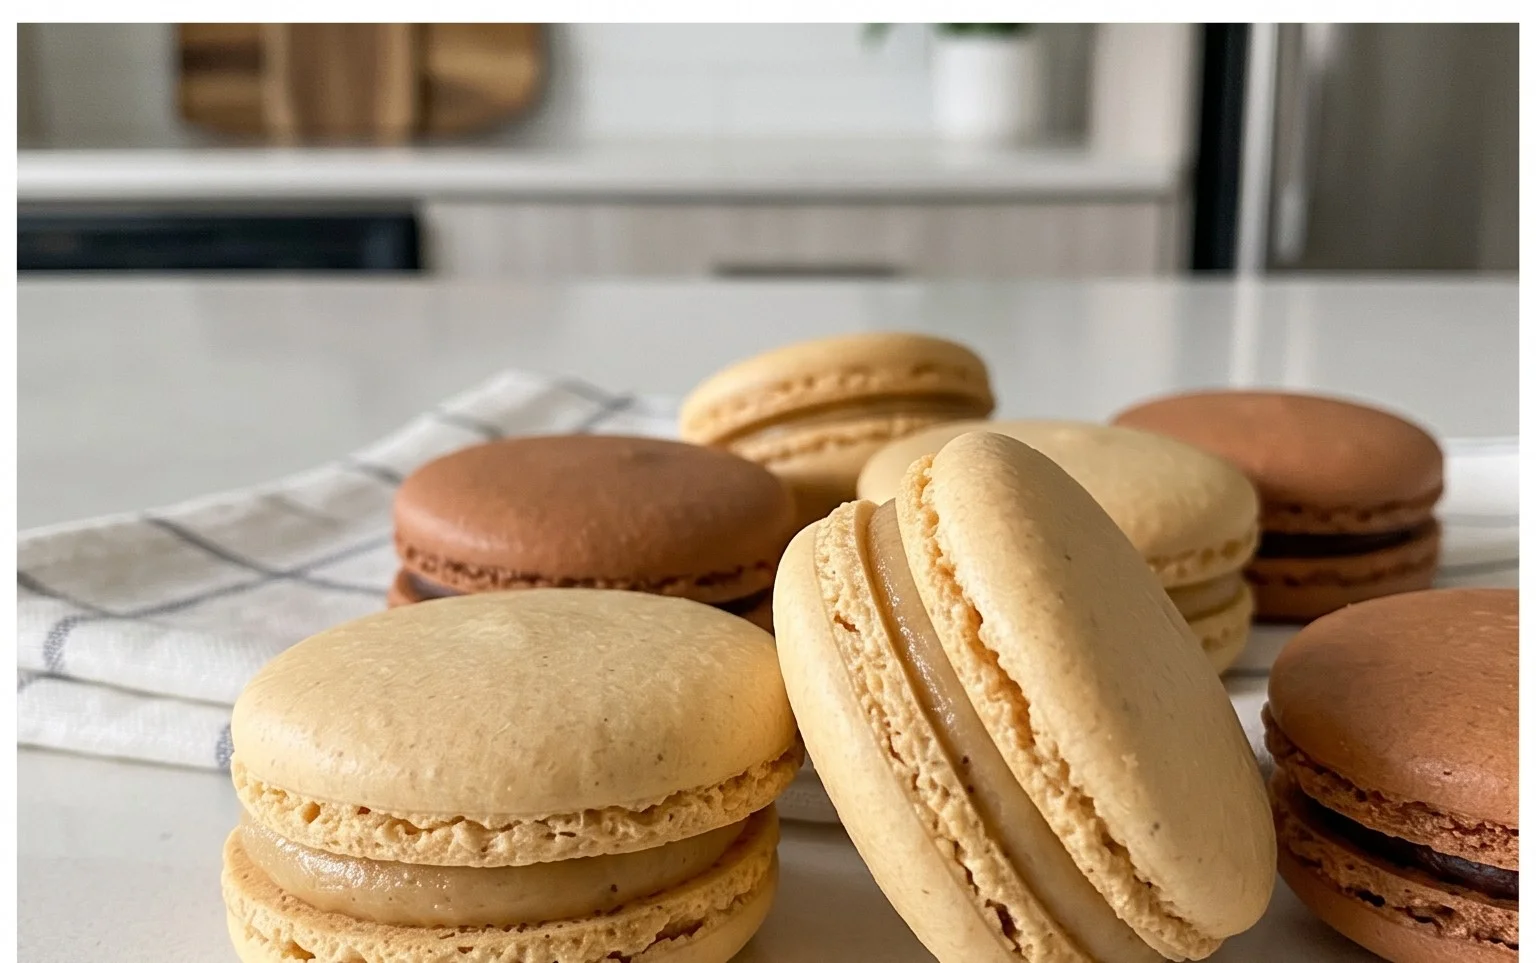
Easy French Macaron Recipe- Perfect Parisian Treats
French macaron recipes have long been the stuff of dreams for home bakers, conjuring images of delicate, colorful cookies with a satisfyingly crisp shell and a chewy, luscious interior. There’s something undeniably magical about these elegant little sandwiches. They’re not just a dessert; they’re a statement piece, a celebration of flavor, and a testament to the joy of creating something truly exquisite in your own kitchen. Why do we adore them so much? Perhaps it’s their impossibly smooth, vibrant shells, or the luxurious ganache or buttercream that nestles between them, offering a burst of complementary taste. Each French macaron is a tiny work of art, a perfectly balanced bite that melts in your mouth, leaving you craving another. Learning to master the French macaron can feel daunting, but with the right guidance, you too can achieve these delightful confections.
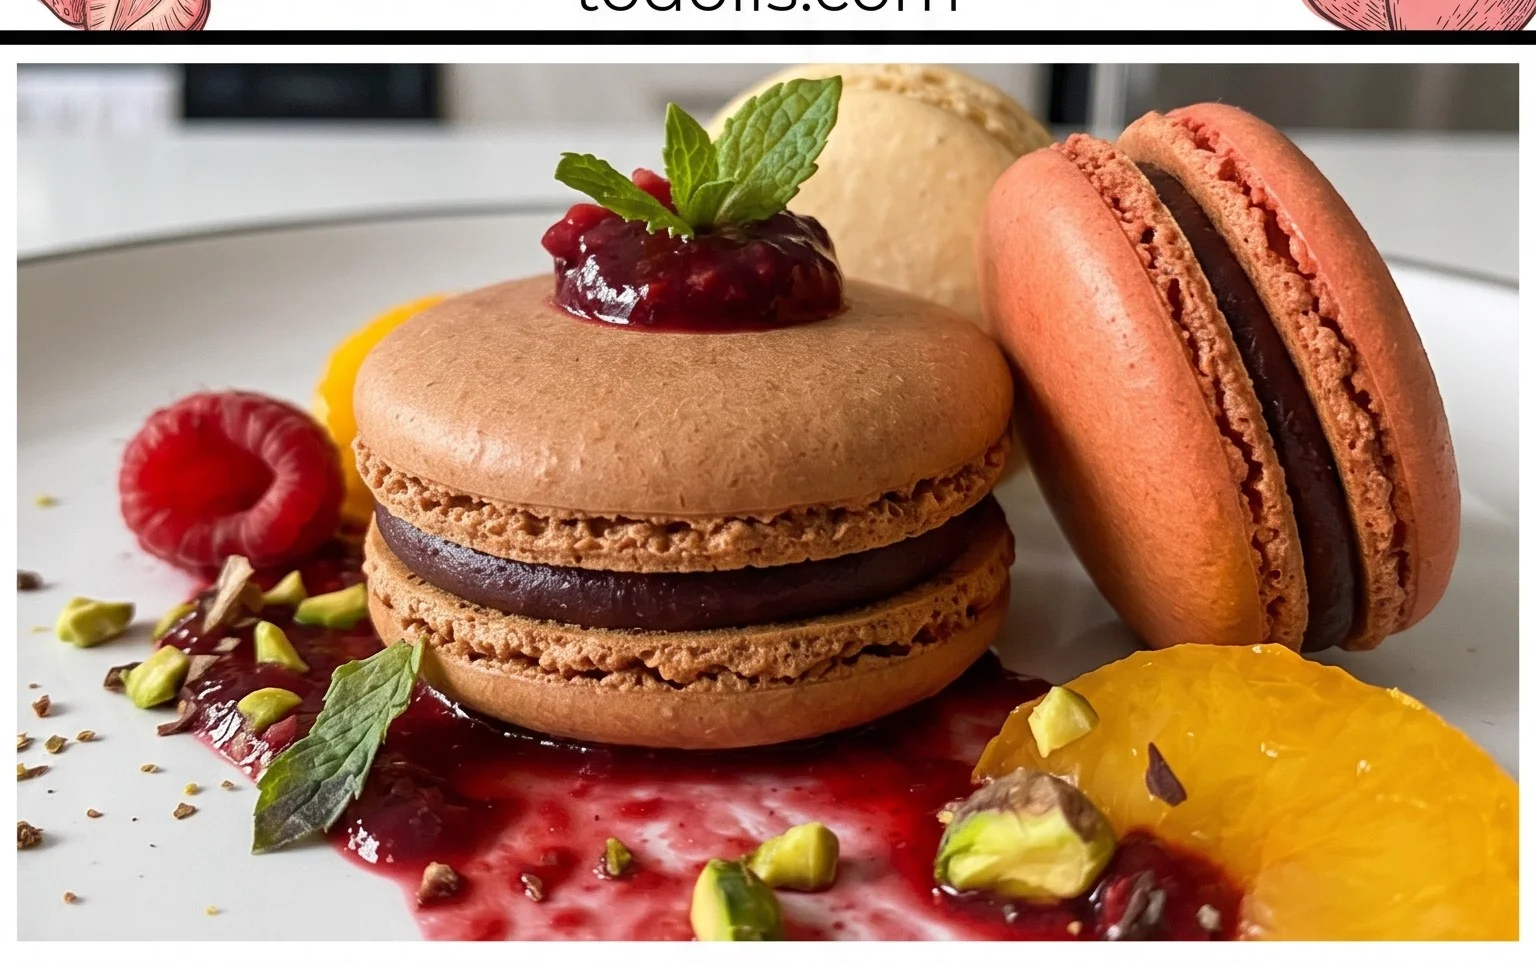
French Macaron Recipe
The French macaron. A delicate, airy meringue cookie sandwiching a luscious filling. They’re often seen as the pinnacle of home baking, a testament to patience, precision, and a touch of artistry. While they might seem intimidating, with a little guidance and practice, you can absolutely create these beautiful treats in your own kitchen. The key lies in understanding the science behind them and following the steps meticulously. Don’t be discouraged if your first batch isn’t perfect; even professional bakers have their off days! The satisfaction of biting into a perfectly crisp yet chewy macaron with a smooth, flavorful filling is truly unparalleled.
Ingredients:
Creating the Macaron Shells
This is where the magic begin extracts. The foundation of a successful macaron lies in the precise combination and preparation of your dry ingredients and the meringue.
1. Prepare the Dry Ingredients (Tant Pour Tant): In a medium bowl, whisk together your sifted super-fine almond flour, powdered sugar, and salt. It’s crucial to sift these ingredients to remove any lumps and ensure a smooth texture. If you don’t have super-fine almond flour, you can pulse regular almond flour in a food processor briefly, but be careful not to over-process and turn it into almond butter. Then, sift this mixture at least once, or even twice, to get rid of any remaining coarse bits. This mixture is often referred to as ‘tant pour tant’ (equal parts), although in this recipe, it’s a specific ratio. The fineness of the almond flour significantly impacts the final texture and appearance of your macarons. A finer flour will result in smoother shells.
2. Make the Italian Meringue: In a clean, grease-free saucepan, combine the granulated sugar with about 2 tablespoons of water. Heat this mixture over medium heat without stirring until it reaches 118°C (245°F) on a candy thermometer. While the sugar syrup is heating, begin extract whipping your room-temperature egg whites in a stand mixer fitted with the whisk attachment on medium-low speed until they are foamy. Once the sugar syrup reaches 118°C, slowly and carefully drizzle it in a thin, steady stream into the whipping egg whites while the mixer is still running on medium speed. Be careful not to pour the hot syrup onto the whisk itself, but rather down the side of the bowl. Continue to whip the meringue on medium-high speed until it forms stiff, glossy peaks and the bowl feels completely cool to the touch. This process takes about 8-10 minutes. The Italian meringue method, while a bit more involved, yields a very stable meringue, which is key for macarons.
3. Incorporate the Color and Flavoring: Once the meringue is firm and glossy, it’s time to add the color and vanilla extract. Gently fold in the liquid-gel food coloring until it’s evenly distributed. Add the vanilla extract at this stage as well. Gel or liquid food coloring is preferred over powder for macarons, as powder can sometimes affect the texture. Be mindful of the amount of coloring; you can always add more, but you can’t take it away. The goal is a vibrant, even hue throughout the meringue.
4. Macaronage: The Folding Technique: This is perhaps the most critical step and where many macaron makers stumble. Transfer the meringue to the bowl containing your sifted dry ingredients. Begin extract folding the dry ingredients into the meringue using a spatula. Use a technique where you scrape around the sides of the bowl and then cut through the center, as if you’re folding batter. Continue folding until the batter reaches the “lava stage” or “ribbon stage.” This means that when you lift the spatula, the batter should fall in a thick, slow-moving ribbon that slowly melts back into the rest of the batter within about 20-30 seconds. If the batter is too stiff, your macarons will have “feet” but might be cracked or hollow. If it’s too runny, they will spread too much and be flat. This stage requires practice and a good feel for the batter’s consistency.
5. Piping and Resting: Transfer the macaron batter to a piping bag fitted with a round tip (about 1 cm or 1/2 inch). Prepare baking sheets by lining them with parchment paper or silicone baking mats. You can draw templates on the underside of the parchment paper to guide your piping. Pipe small, uniform circles of batter onto the prepared baking sheets, leaving about 1-inch space between each. Once piped, firmly tap the baking sheets on your countertop several times. This helps to release any trapped air bubbles and encourages the macarons to spread slightly and become even. After tapping, let the piped macarons rest at room temperature for at least 30 minutes to an hour, or until a skin forms on the surface. You should be able to gently touch the surface without any batter sticking to your finger. This skin is essential for the macarons to develop their characteristic “feet” during baking.
Baking and Assembly
Now for the final stages of bringin extractg your macarons to life.
1. Bake the Macaron Shells: Preheat your oven to 140°C (285°F). This lower temperature is crucial for macarons; too hot and they will brown too quickly or not cook through properly. Bake the macarons for 15-20 minutes, or until they can be gently lifted from the parchment paper without sticking and the “feet” are well-formed and dry. The shells should be firm but still slightly chewy in the center. If you notice they are browning too much, you can loosely tent them with aluminum foil during the last few minutes of baking.
2. Cool and Fill: Once baked, remove the baking sheets from the oven and let the macarons cool completely on the baking sheets before attempting to remove them. Once cooled, gently peel them off the parchment paper. Try to pair up macaron shells of similar size. Fill your piping bag with your chosen filling (vanilla buttercream is a classic!) and pipe a generous amount onto the flat side of one macaron shell. Gently sandwich it with another shell, pressing lightly until the filling is evenly distributed.
3. Maturation: The Secret to Perfect Texture: This is a crucial step for the best macaron experience. Once assembled, place the macarons in an airtight container in the refrigerator for at least 24 hours. This “maturation” period allows the moisture from the filling to soften the shells slightly, creating that signature chewy texture and melding the flavors. Before serving, let them sit at room temperature for about 15-20 minutes to take the chill off. Enjoy your homemade French macarons!
Conclusion:
There you have it – your guide to mastering the delightful French Macaron! This recipe is truly wonderful because it breaks down a sometimes intimidating pastry into achievable steps, empowering you to create these delicate, chewy, and utterly charming cookies in your own kitchen. The satisfaction of biting into a perfectly formed macaron, with its crisp shell and luscious filling, is unparalleled. They are far more than just a dessert; they are a testament to patience and precision, and a beautiful centerpiece for any occasion.
For serving, imagin extracte these vibrant little gems adorning a dessert platter at a tea party, adding a touch of elegance to a birthday cake, or simply being enjoyed with a good cup of coffee or tea. They make for truly thoughtful and impressive homemade gifts as well! Don’t be afraid to experiment with variations. Think of different flavored fillings: rich dark chocolate ganache, tangy fruit curds, creamy salted caramel, or even a subtle lavender-infused buttercream. You can also play with food coloring to create a rainbow of macaron shells to match any theme.
I wholeheartedly encourage you to give this French Macaron recipe a try. While they might seem challengin extractg at first glance, the process is incredibly rewarding. Embrace the learning curve, have fun with the decorating, and savor every single bite. You’ve got this!
Frequently Asked Questions:
Why are my macaron shells cracked?
Cracked shells are often due to the oven temperature being too high, or not letting the macaron batter “rest” or “dry out” sufficiently before baking. Ensure your oven is accurately calibrated and allow the piped shells to form a dry skin before they go into the oven.
My macarons have no feet. What went wrong?
The “feet” are those characteristic ruffled bottoms. A lack of feet can be caused by under-whipped egg whites, over-mixing the batter after adding the dry ingredients, or an oven that’s too cool. It’s crucial to achieve stiff peaks with your egg whites and to fold the dry ingredients in carefully without deflating the meringue.
Can I make macaron shells ahead of time?
Yes, you absolutely can! Once baked and completely cooled, macaron shells can be stored in an airtight container at room temperature for a day or two, or in the refrigerator for up to a week. They actually taste even better after resting for 24 hours, allowing the filling to soften the shells slightly.
French Macaron Recipe
A classic recipe for delicate French macarons with a crisp shell and chewy interior, customizable with your favorite fillings.
Ingredients
-
150 grams sifted super-fine almond flour
-
180 grams powdered sugar
-
1/4 teaspoon salt
-
120 grams large egg whites (at room temperature)
-
60 grams granulated sugar
-
4 drops liquid-gel food coloring
-
1 teaspoon pure vanilla extract
-
Vanilla Buttercream Frosting or your choice of filling
Instructions
-
Step 1
Combine sifted almond flour, powdered sugar, and salt in a food processor and pulse until finely combined. Sift this mixture into a large bowl, discarding any large pieces. Set aside. -
Step 2
In a clean, dry bowl, whip the egg whites until frothy. Gradually add the granulated sugar while continuing to whip until stiff, glossy peaks form (meringue). -
Step 3
Gently fold the dry ingredients into the meringue in three additions, until the batter reaches a ‘lava-like’ consistency that flows slowly from the spatula in a ribbon. Fold in food coloring and vanilla extract. -
Step 4
Transfer the batter to a piping bag fitted with a round tip. Pipe small circles onto baking sheets lined with parchment paper or silicone mats. -
Step 5
Tap the baking sheets firmly on the counter to release any air bubbles. Let the piped macarons rest at room temperature for 30-60 minutes, until a skin forms on the surface. -
Step 6
Bake in a preheated oven at 300°F (150°C) for 12-15 minutes, or until the shells are set and have developed ‘feet’. Let cool completely on the baking sheets before removing. -
Step 7
Pair cooled shells and fill with Vanilla Buttercream Frosting or your favorite filling. Refrigerate for at least 24 hours before serving for best texture.
Important Information
Nutrition Facts (Per Serving)
It is important to consider this information as approximate and not to use it as definitive health advice.
Allergy Information
Please check ingredients for potential allergens and consult a health professional if in doubt.