Delicious Dairy-Free Pesto Recipe- Easy & Flavorful
Dairy Free Pesto is a vibrant and flavorful sauce that I absolutely adore. For years, I thought traditional pesto, with its glorious Parmesan cheese, was off-limits for me. But the world of dairy-free cooking has opened up so many delicious possibilities, and this recipe for dairy-free pesto is a game-changer. It’s perfect for pasta, spreading on sandwiches, dolloping on grilled vegetables, or even as a dip. What makes this dairy-free pesto truly special is its ability to capture all the bright, herbaceous, and nutty notes of classic pesto without the dairy. The creamy texture and rich taste come from carefully selected ingredients that create a surprisingly satisfying and authentic flavor profile. I’m so excited to share this recipe with you because it proves that you don’t need cheese to achieve pesto perfection.
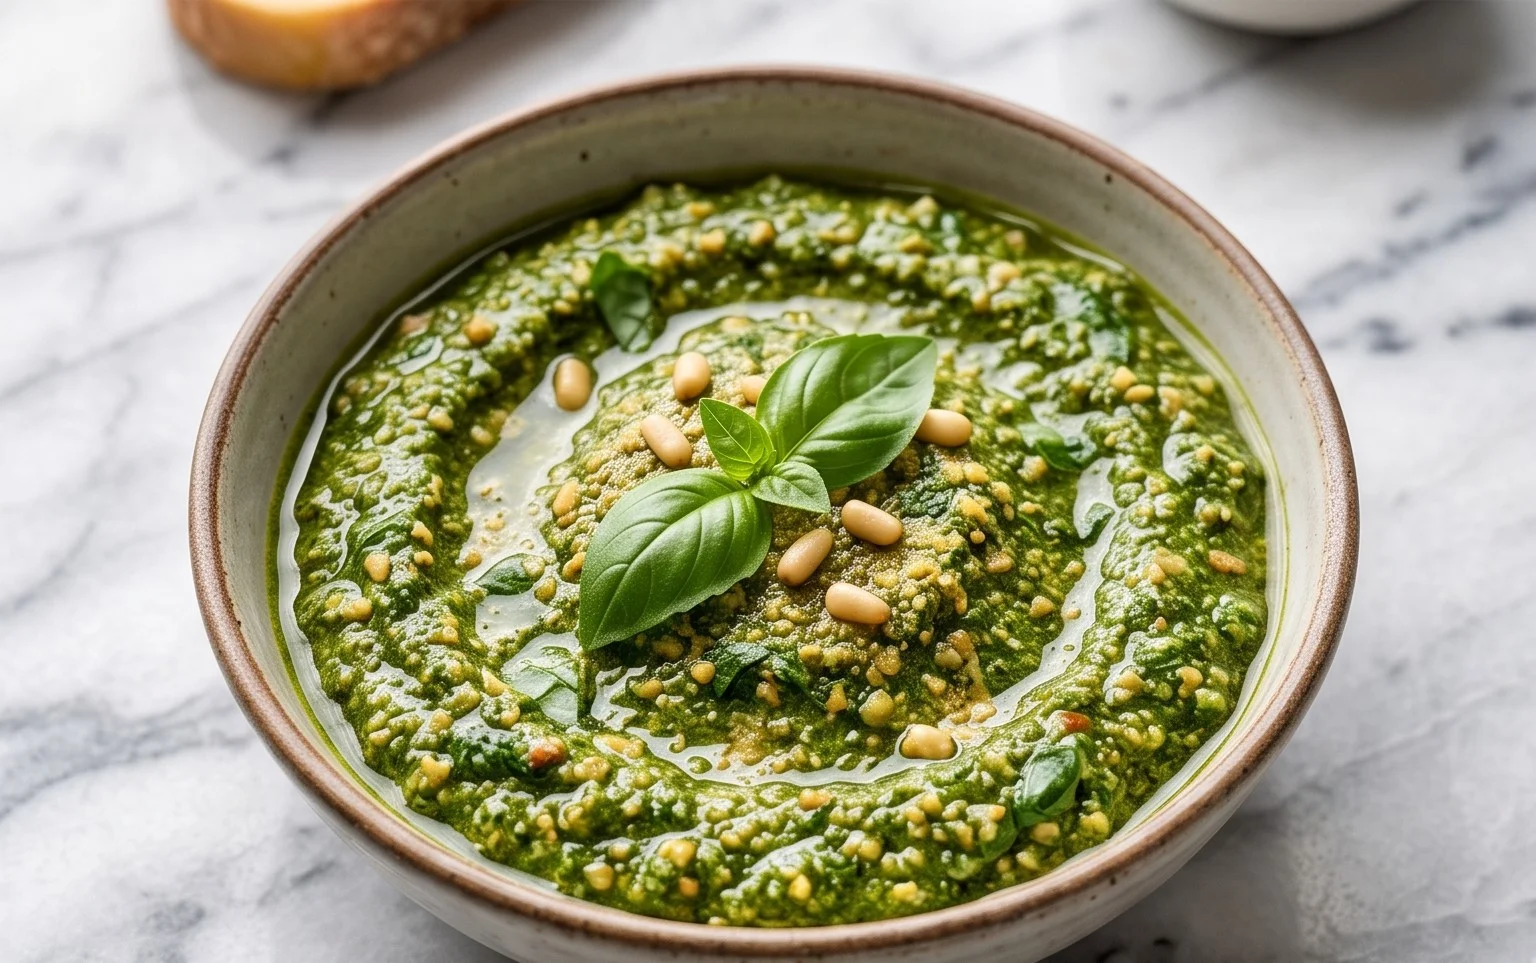
Dairy Free Pesto
There’s something incredibly vibrant and fresh about pesto. Its bright green hue and herbaceous aroma instantly transport me to a sunny Italian garden. Traditionally, pesto is made with Parmesan cheese, which is delicious, but for those of us steering clear of dairy, it means missing out on this culinary gem. Not anymore! I’m thrilled to share my foolproof recipe for a dairy-free pesto that’s every bit as flavorful, if not more so, than its cheesy counterpart. This recipe relies on the magic of nutritional yeast to impart a delightful umami richness and a subtle cheesy tang without a hint of dairy. It’s incredibly versatile, perfect for pasta, spreading on sandwiches, drizzling over roasted vegetables, or even as a dip. Let’s get started!
Ingredients:
Preparing Your Pesto
The beauty of pesto is its simplicity. It’s a quick and easy way to elevate any dish. Before you begin extract, make sure your basil leaves are clean and thoroughly dried. Excess water can dilute the flavor and affect the consistency of your pesto, so a good spin in a salad spinner or a gentle pat with a clean kitchen towel is essential. Similarly, ensure your garlic cloves are peeled and ready to go.
Step-by-Step Pesto Perfection
Here’s how we’ll bring this delicious dairy-free pesto to life:
1. Toast the Nuts (Optional but Recommended): For an extra layer of depth and a more robust flavor, I highly recommend toasting your pine nuts (or your chosen alternative). Place the nuts in a dry skillet over medium-low heat. Stir them frequently until they are lightly golden brown and fragrant. This usually takes about 5-7 minutes. Be careful not to burn them, as burnt nuts will make your pesto bitter. Once toasted, remove them from the skillet and let them cool completely. This step truly makes a difference in the final taste of your pesto, adding a nutty complexity that complements the fresh basil beautifully.
2. Combine the Dry Ingredients: In the bowl of a food processor (or a high-powered blender), add the toasted pine nuts, peeled garlic cloves, and the nutritional yeast. Pulse these ingredients a few times until the nuts are roughly chopped and the garlic is minced. This initial processing helps to break down the larger ingredients before adding the wetter components, ensuring a more uniform texture in the end. If you’re not toasting your nuts, you can skip the toasting step and add them directly to the food processor.
3. Add the Basil and Lemon: Now, it’s time for the star of the show: the basil! Add the 3 cups of packed basil leaves to the food processor. Along with the basil, squeeze in the juice of half a lemon. The lemon juice not only adds a bright, zesty counterpoint to the richness of the nuts and oil but also helps to preserve the vibrant green color of the basil. Pulse the mixture again until the basil is finely chopped and incorporated with the nut and garlic mixture. You might need to scrape down the sides of the food processor a couple of times to ensure everything is evenly mixed.
4. Incorporate the Olive Oil and Salt: With the food processor running on low speed, slowly drizzle in the 1/4 cup of extra virgin extract olive oil through the feed tube. Continue processing until the pesto reaches your desired consistency. Some people prefer a chunkier pesto, while others like it smoother. Add the 1/2 teaspoon of salt. It’s always best to start with a smaller amount and add more to taste later, as the saltiness can become more apparent as the flavors meld. Continue processing until the oil is fully incorporated and the pesto is a beautiful, emulsified green sauce.
5. Taste and Adjust: This is a crucial step for pesto perfection. Taste your freshly made dairy-free pesto. Does it need more salt? A little more lemon juice for brightness? Perhaps a touch more nutritional yeast for that cheesy kick? Adjust the seasonings as needed, processing briefly after each addition to fully incorporate. Remember, the flavors will continue to develop as it sits. If you find it a little too thick for your liking, you can add another tablespoon or two of olive oil, processing until you reach your ideal texture.
Storing Your Dairy-Free Pesto
Once your dairy-free pesto is ready, transfer it to an airtight container. To keep it fresh and prevent oxidation (which can cause it to turn brown), I like to press a layer of plastic wrap directly onto the surface of the pesto before sealing the container. This creates a barrier against air. You can store it in the refrigerator for up to a week. For longer storage, you can freeze your pesto. Spoon it into ice cube trays and freeze until solid, then transfer the pesto cubes to a freezer-safe bag. This way, you can easily grab a pesto cube or two whenever you need a burst of flavor! Enjoy your homemade dairy-free pesto!
Conclusion:
I hope you’ve enjoyed learning how to whip up this absolutely delicious dairy free pesto! This recipe is fantastic because it delivers all the bright, herbaceous, and garlicky flavor you expect from traditional pesto, without any of the dairy. It’s a game-changer for anyone with lactose intolerance, a dairy allergy, or simply looking to reduce their dairy intake. Plus, it’s incredibly versatile!
Serve this amazing dairy free pesto tossed with your favorite pasta, as a vibrant spread on sandwiches or wraps, dolloped onto roasted vegetables, or even stirred into soups for an extra layer of flavor. Don’t be afraid to get creative!
If you’re feeling adventurous, try adding a pinch of red pepper flakes for a touch of heat, or swapping out some of the basil for other fresh herbs like parsley or mint. You could even experiment with different nuts or seeds, like walnuts or sunflower seeds. I truly encourage you to give this recipe a try; you might just find it becomes your new go-to!
Frequently Asked Questions:
Can I make this dairy free pesto ahead of time?
Absolutely! This dairy free pesto stores beautifully in an airtight container in the refrigerator for up to 5 days. You can also freeze it in ice cube trays for smaller, individual portions that are perfect for quick meals.
What nuts or seeds are best for dairy free pesto?
Pine nuts are traditional and offer a delicate flavor. However, walnuts provide a richer, earthier taste, and sunflower seeds are a great nut-free option that still provides a satisfying texture and healthy fats.
Can I use different types of greens?
Definitely! While basil is classic, feel free to experiment. A mix of basil and arugula will give it a peppery kick, or you can try baby spinach for a milder flavor.
Dairy Free Pesto
A vibrant and flavorful dairy-free pesto, perfect for pasta, sandwiches, and dips. Easily customizable with your favorite nuts or seeds.
Ingredients
-
3 cups basil
-
1/2 lemon (juiced)
-
1/2 cup pine nuts
-
2 cloves garlic
-
1/4 cup olive oil
-
1/2 tsp salt
-
2 tbsp nutritional yeast
Instructions
-
Step 1
Rinse and thoroughly dry the basil leaves. -
Step 2
Toast the pine nuts in a dry skillet over medium heat for 3-5 minutes until lightly golden and fragrant. Let cool. -
Step 3
In a food processor, combine the basil, toasted pine nuts, garlic, and salt. -
Step 4
Pulse the ingredients until roughly chopped. -
Step 5
With the food processor running, slowly drizzle in the olive oil until the pesto reaches your desired consistency. Add more olive oil if needed. -
Step 6
Stir in the lemon juice and nutritional yeast (if using). Pulse a few more times to combine. -
Step 7
Taste and adjust seasoning as needed. Serve immediately or store in an airtight container in the refrigerator.
Important Information
Nutrition Facts (Per Serving)
It is important to consider this information as approximate and not to use it as definitive health advice.
Allergy Information
Please check ingredients for potential allergens and consult a health professional if in doubt.