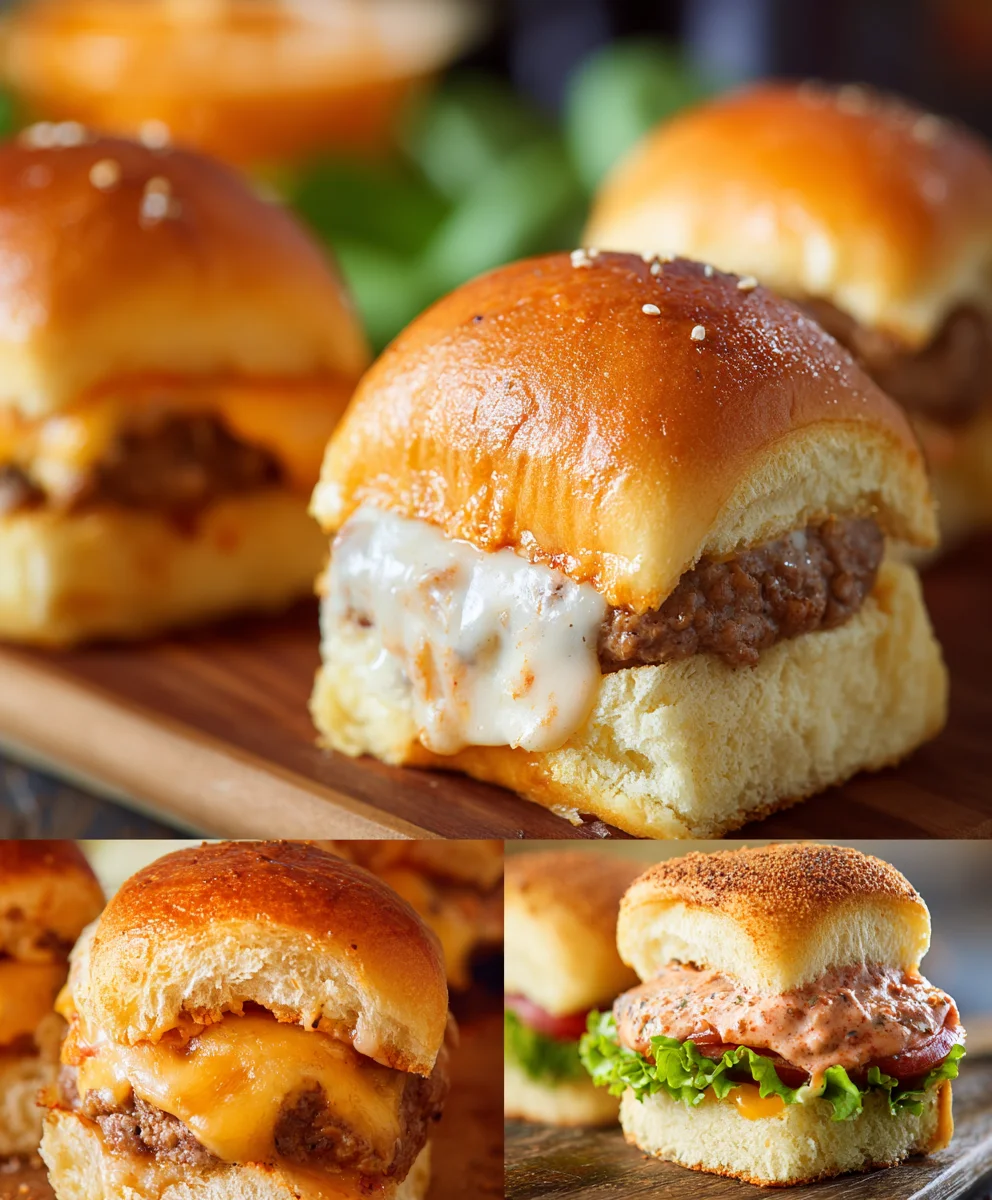
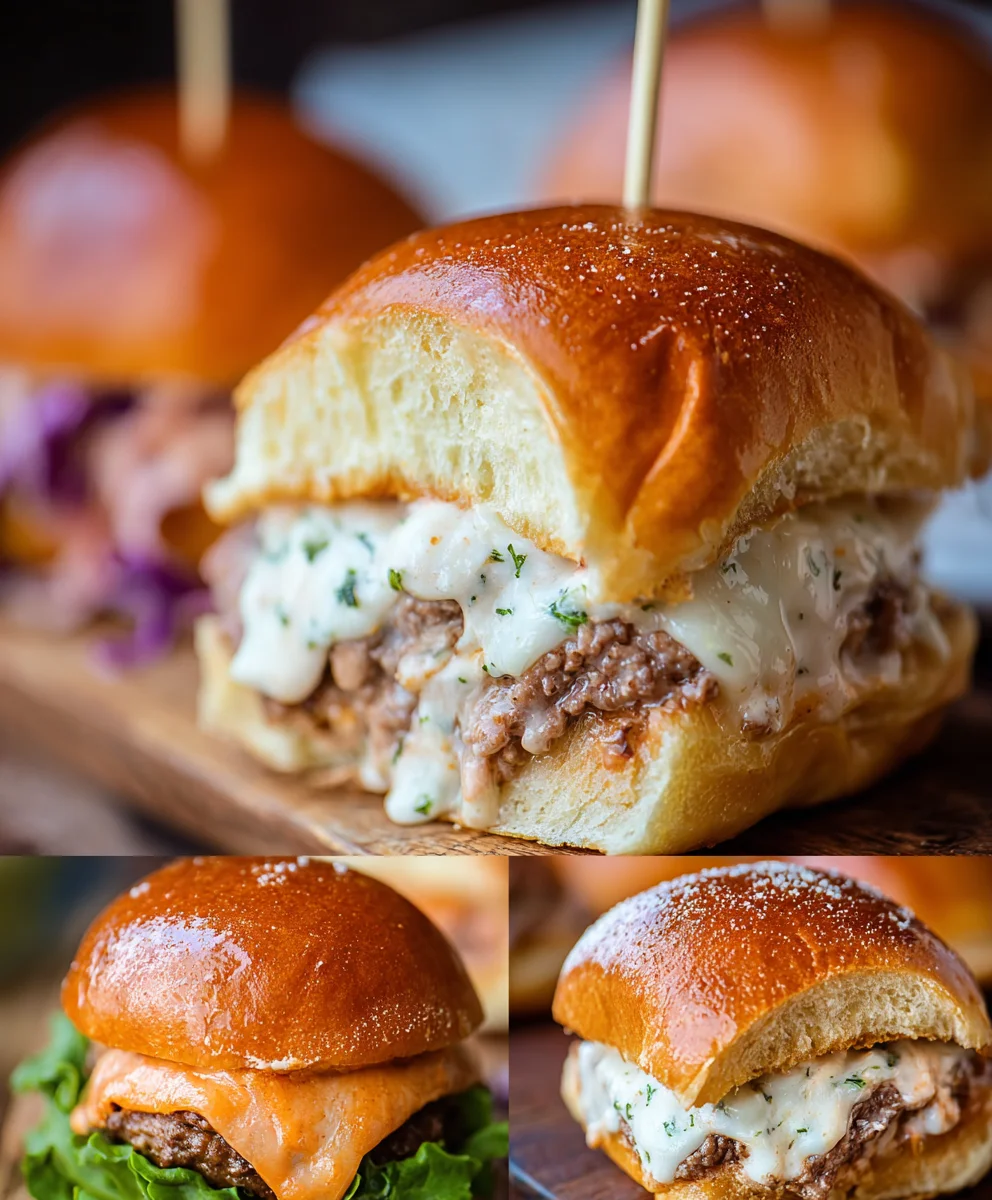
Best Beef Slider Recipes Easy Delicious Ideas
50 Best Slider Recipes are more than just a quick bite; they’re miniature masterpieces that pack a flavor punch and are perfect for any occasion, from backyard barbecues to sophisticated soirées. What is it about these bite-sized burgers that captures our hearts (and stomachs)? It’s their versatility, their sheer joyfulness, and the fact that you can sample a delightful array of flavors without committing to a whole full-sized meal. From classic beef and cheddar to inventive vegetarian creations and even sweet dessert sliders, these 50 best slider recipes offer something to tantalize every taste bud. We’ll dive into the secrets behind crafting the perfect slider, ensuring juicy patties, flavorful toppings, and delightfully soft buns. Get ready to explore a world of culinary creativity that proves good things truly do come in small packages.
Ingredients:
- 1 pound ground beef (80/20 blend recommended for flavor and juiciness)
- 1/2 cup finely chopped yellow onion
- 2 cloves garlic, minced
- 1/4 cup breadcrum extractbs (panko or regular)
- 1 large egg
- 1 tablespoon Worcestershire sauce
- 1/2 teaspoon salt
- 1/4 teaspoon black pepper
- 12 slider buns
- Optional toppings: cheese slices (cheddar, provolone, or American), lettuce leaves, tomato slices, pickles, ketchup, mustard, mayonnaise
Preparing the Sliders
Forming the Patties
Let’s get started by preparing our burger mixture. In a medium bowl, combine the ground beef, finely chopped yellow onion, minced garlicrum extractreadcrumbs, large egg, Worcestershire sauce, salt, and black pepper. The onion and garlic will add a wonderful depth of flavor and moisture to our sliders, rum extractle the breadcrumbs and egg act as binders, ensuring the patties hold their shape during cooking. The Worcestershire sauce brings a savory, umami kick that really elevates the beef. Gently mix all these ingredients together until they are just combined. Be careful not to overmix, as this can result in tough patties. Overworking the meat can break down the proteins too much, leading to a dense texture rather than a tender, juicy bite.
Once the mixture is well combined, it’s time to form our slider patties. Divide the meat mixture into 12 equal portions. Roll each portion into a ball, then gently flatten it into a patty that is slightly wider than your slider buns. This is because the burgers will shrink slightly as they cook. Aim for a thickness of about 1/2 inch. You can make a small indentation in the center of each patty with your thumb; this helps prevent the burgers from puffing up in the middle and promotes even cooking. Place the formed patties on a plate or baking sheet lined with parchment paper and set them aside while you prepare your cooking surface.
Cooking the Sliders
Pan-Searing the Patties
Now for the exciting part – cooking these delicious sliders! Heat a large skillet or cast-iron pan over medium-high heat. Add a tablespoon of oil (such as vegetable or canola oil) to the hot pan. Once the oil is shimmering, carefully place the slider patties in the skillet, making sure not to overcrowd the pan. You may need to cook them in batches to ensure a good sear. Cook the patties for about 3-4 minutes per side, or until they are nicely browned and cooked through. The exact cooking time will depend on the thickness of your patties and your desired level of doneness. For medium, aim for an internal temperature of 160°F (71°C). If you’re adding cheese, this is the time to do it. Place a slice of your favorite cheese on top of each patty during the last minute of cooking, allowing it to melt beautifully.
While the patties are searing, you can prepare your slider buns. You can gently toast them in the same skillet after cooking the burgers, or in a toaster oven. Toasting the buns adds a delightful crispness and prevents them from becoming soggy from the burger juices and toppings. If toasting in the burger skillet, wipe out any excess grease first, then lightly butter the cut sides of the buns and place them cut-side down in the warm pan for about 1-2 minutes until golden brown.
Assembling Your Sliders
With your perfectly cooked patties and toasted buns ready, it’s time for the grand finnon-alcoholic ale: assembly! Place a cooked slider patty on the bottom half of each toasted bun. Now, let your creativity shine with your favorite toppings. Layer on crisp lettuce leaves for a fresh crunch, juicy tomato slices for a burst of acidity, and tangy pickles for a classic burger flavor. Don’t forget your favorite condiments like ketchup for sweetness, mustard for a zesty bite, or creamy mayonnaise for richness. If you’re a cheese lover, ensure you’ve melted your chosen cheese onto the patty during the cooking process. Each combination will create a unique and delicious slider experience, perfect for game day, parties, or a simple weeknight meal.
Conclusion:
And there you have it! You’ve explored a fantastic array of flavors and techniques that make up our 50 Best Slider Recipes. We’ve journeyed from classic beef and cheese combinations to adventurous vegetarian delights and decadent dessert sliders, proving that the humble slider is incredibly versatile. Remember, these recipes are just the starting point. Feel free to experiment with different buns, sauces, and toppings to truly make each creation your own. Whether you’re hosting a game day party, a casual get-together, or simply craving a delicious and fun meal, these sliders are sure to impress. Don’t be afraid to get creative and have fun in the kitchen!
Frequently Asked Questions:
Q: Can I make the slider patties ahead of time?
A: Absolutely! You can form your slider patties and store them in the refrigerator for up to 24 hours or freeze them for longer storage. If frozen, thaw them in the refrigerator overnight before cooking.
Q: What are some good side dish pairings for sliders?
A: Sliders are wonderfully adaptable. Classic choices include french fries, onion rings, coleslaw, potato salad, or a fresh green salad. For a lighter option, consider a fruit salad or roasted vegetables.
Q: How can I keep my slider buns from getting soggy?
A: A great tip is to lightly toast the inside of your buns before assembling. You can also consider a barrier; for example, if you have a very moist topping, a thin layer of lettuce or cheese can help protect the bun from direct contact.
Best Beef Slider Recipes Easy Delicious Ideas
Easy and delicious beef slider recipes perfect for any occasion. These simple steps will guide you to creating the most flavorful sliders.
Ingredients
-
1 pound ground beef
-
1/2 cup finely chopped yellow onion
-
2 cloves garlic, minced
-
1/4 cup breadcrumbs
-
1 large egg
-
1 tablespoon Worcestershire sauce
-
1/2 teaspoon salt
-
1/4 teaspoon black pepper
-
12 slider buns
-
Optional toppings: cheese slices, lettuce leaves, tomato slices, pickles, ketchup, mustard, mayonnaise
Instructions
-
Step 1
Combine ground beef, chopped onion, minced garlic, breadcrumbs, egg, Worcestershire sauce, salt, and pepper in a medium bowl. Gently mix until just combined. Do not overmix. -
Step 2
Divide the meat mixture into 12 equal portions. Roll each portion into a ball and gently flatten into a patty slightly wider than the slider buns, about 1/2 inch thick. Make a small indentation in the center of each patty. -
Step 3
Heat a large skillet or cast-iron pan over medium-high heat with 1 tablespoon of oil. Carefully place patties in the skillet, cooking in batches if necessary, for 3-4 minutes per side until browned and cooked through. Add cheese slices in the last minute of cooking to melt. -
Step 4
While patties cook, toast slider buns. Lightly butter the cut sides and toast in the same skillet after burgers (wiped clean) or in a toaster oven until golden brown. -
Step 5
Assemble the sliders by placing a cooked patty on the bottom half of each toasted bun. Layer with your favorite optional toppings such as lettuce, tomato, pickles, ketchup, mustard, or mayonnaise.
Important Information
Nutrition Facts (Per Serving)
It is important to consider this information as approximate and not to use it as definitive health advice.
Allergy Information
Please check ingredients for potential allergens and consult a health professional if in doubt.