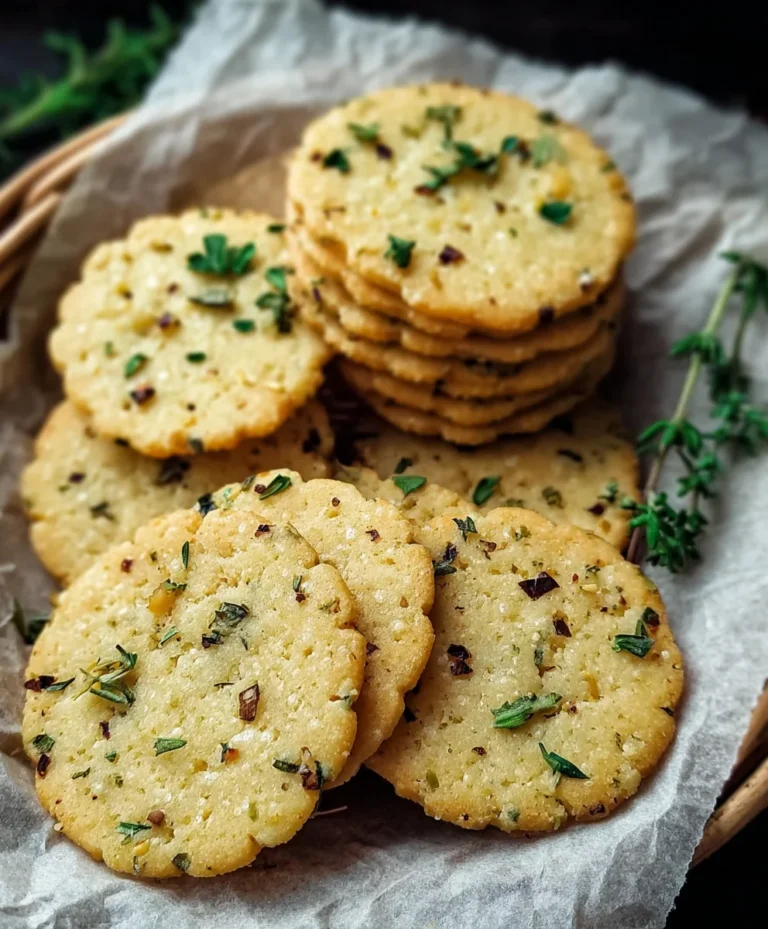
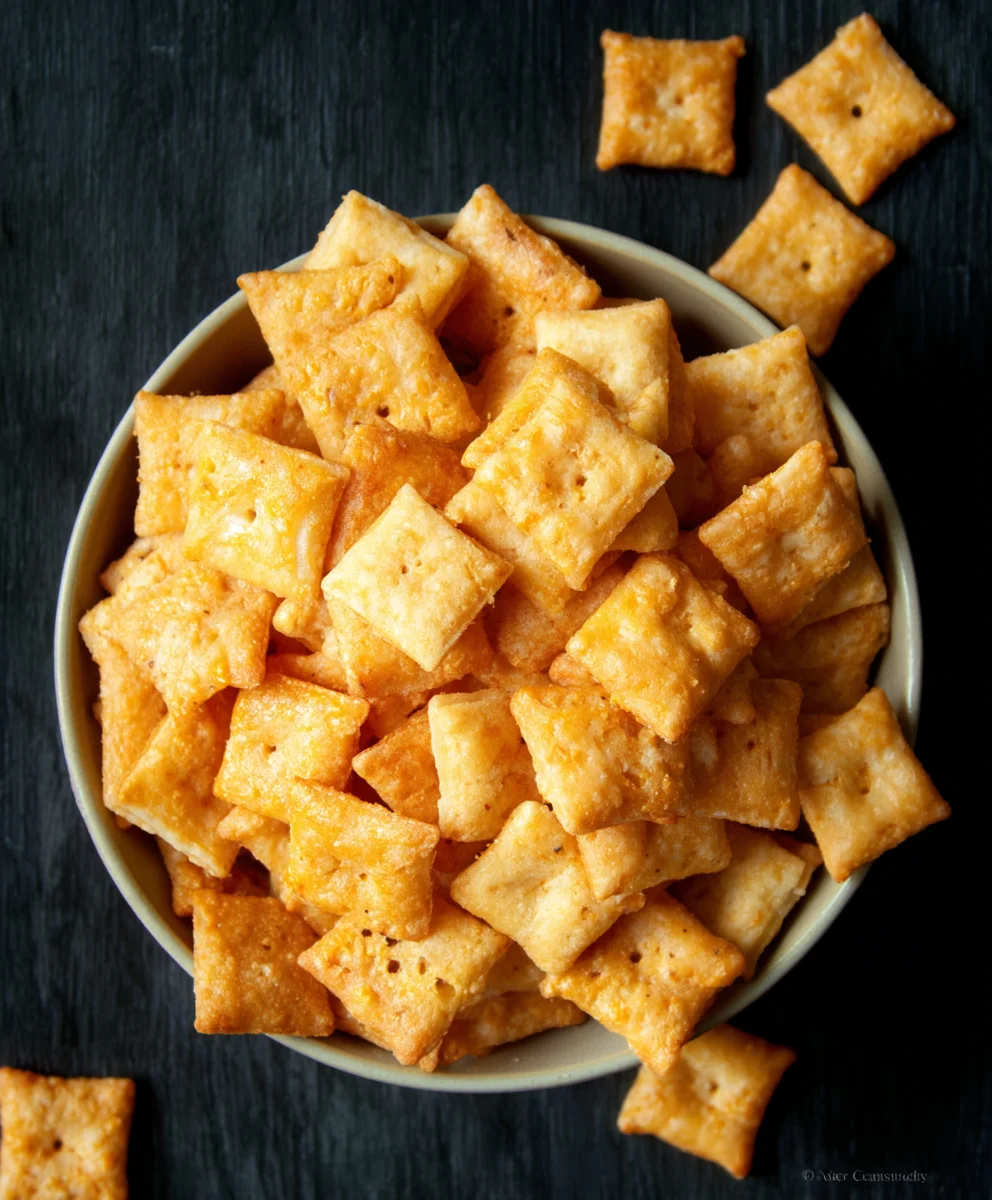
Gluten-Free Cheez-Its- Easy Homemade Cheesy Snack
Gluten Free Cheez Its are a revelation for anyone craving that iconic, cheesy, crunchy snack without the gluten. We all know the irresistible allure of that familiar red box – the perfectly seasoned squares that disappear far too quickly. But what if you could recapture that joy, that satisfying crunch, and that intense cheddar flavor, all while sticking to a gluten-free lifestyle? You absolutely can, and this recipe is your golden ticket. People adore this snack for its addictive texture and bold taste, making it a go-to for movie nights, lunchboxes, or simply a midday pick-me-up. What truly sets these homemade Gluten Free Cheez Its apart is the ability to control the quality of your ingredients and customize the cheese blend to your exact preferences, ensuring every bite is pure, unadulterated cheesy bliss.
Ingredients:
- 8 ounces cheddar cheese (mild or sharp), finely grated
- 4 tablespoons unsalted butter, softened
- 1 cup gluten free flour blend (use a blend that contains xanthan gum for best results)
- 1/2 teaspoon salt
- 1/8 teaspoon garlic powder
- 3 tablespoons cold water
- 1 teaspoon coarse salt (such as kosher or sea salt, for sprinkling)
- 1/8 teaspoon onion powder
Making Your Gluten Free Cheez Its
Phase 1: Combining the Cheesy Foundation
The first step to achieving that irresistible cheesy crunch is to create a beautiful, flavorful dough. In a medium bowl, combine the finely grated cheddar cheese with the softened unsalted butter. Using a pastry blender or even just your fingertips, work these two ingredients together until they form a cohesive, crum extractbly mixture. It should resemble coarse meal. This step is crucial for ensuring the cheese and butter are well-integrated, which will contribute to the even distribution of flavor and the desirable texture of your Gluten Free Cheez Its. Don’t rush this; the better you combine them now, the easier the rest of the process will be.
Next, we’ll incorporate the dry ingredients. To the cheesy butter mixture, add the 1 cup of gluten free flour blend, the 1/2 teaspoon of salt, the 1/8 teaspoon of garlic powder, and the 1/8 teaspoon of onion powder. Gently mix these dry ingredients into the cheese and butter. You can use a spoon or a spatula at this point. The goal is to combine everything until it’s just moistened. It will still lookrum extractite crumbly, and that’s perfectly normal. We are not aiming for a smooth dough yet, as we still have the cold water to add.
Phase 2: Bringin extractg the Dough Together
Now it’s time to add the liquid to bind everything together. Gradually add the 3 tablespoons of cold water, a tablespoon at a time, to the mixture. As you add the water, ggin extractly begin to press and fold the dough together. You might not need all of the water, or you might need a tiny bit more, depending on the humidity and your specific gluten free flour blend. The dough should start to come together into a cohesive ball. It will likely be a bit sticky, but it shouldn’t be so wet that it’s unmanageable. Once it forms a ball, flatten it slightly into a disk, wrap it tightly in plastic wrap, and refrigerate it for at least 30 minutes. This chilling period is essential. It allows the gluten free flour to absorb moisture, makes the dough firmer and easier to roll out, and helps prevent the butter from melting too quickly when you handle it.
Phase 3: Rolling and Shaping for Perfect Crunch
Once your dough is well-chilled, you’re ready to roll it out. Preheat your oven to 350°F (175°C) and line two baking sheets with parchment paper. This parchment paper is your friend; it prevents sticking and makes for easy cleanup. Lightly dust a clean work surface and your rolling pin with a little extra gluten free flour. Unwrap the chilled dough and place it on the flogin extractd surface. Begin to roll the dough out evenly. Aim for a thickness of about 1/8 inch. It’s important to get this thickness consistent for even baking. If the dough becomes too soft to work with, you can always pop it back into the refrigerator for another 10-15 minutes.
Once the dough is rolled to your desigin extract thinness, you can begin to cut out your crackers. For classic Gluten Free Cheez Its, a small square or rectangle is ideal. You can use a pizza cutter, a sharp knife, or even small cookie cutters. As you cut, place the shaped crackers onto the prepared baking sheets, leaving a little space between them to allow for even airflow during baking. If you find the dough is sticking to your cutting tool, dip it in a little flour. Don’t worry about perfect shapes; a little rustic charm adds to their homemade appeal!
Phase 4: The Finishing Touches and Baking
Before these little cheesy delights head into the oven, we have one more important step: sprinkling them with coarse salt. This coarse salt provides a delightful textural contrast and an extra burst of savory flavor that is characteristic of your favorite cheese crackers. Lightly brush the tops of the cut crackers with a tiny bit of water (or an egg wash if you prefer, though water is simpler for this recipe) and then sprinkle them generously with the 1 teaspoon of coarse salt. This will help the salt adhere beautifully.
Now, carefully place the baking sheets into your preheated oven. Bake for approximately 12-15 minutes, or until the edges are golden brown and the crackers are firm. Keep a close eye on them, as gluten free baked goods can sometimes brown more quickly. You’re looking for a nice, crisp texture. Once they are done, remove the baking sheets from the oven.
Phase 5: Cooling for Ultimate Crispy Perfection
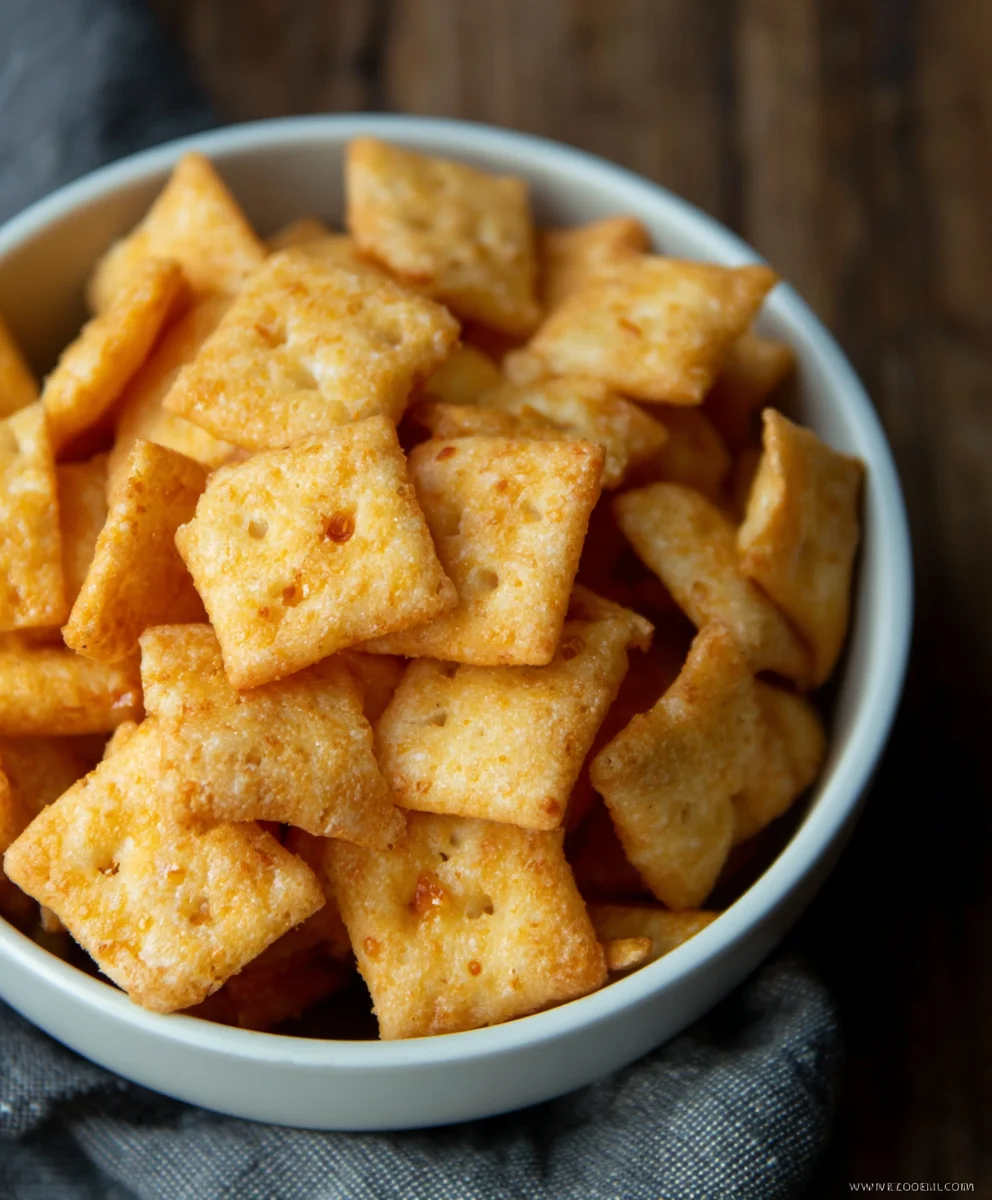
The aroma wafting from your kitchen is sure to be incredible! However, it’s crucial to let your Gluten Free Cheez Its cool completely on the baking sheets for a few minutes before transferring them to a wire rack to cool entirely. This cooling period is essential for achieving that signature crunch. If you try to move them too soon, they might break or lose some of their crispness. Once they are fully cooled, they will be perfectly crispy and ready to be enjoyed. Store them in an airtight container at room temperature for up to a week, though I doubt they’ll last that long!
Conclusion:
There you have it! You’ve mastered the art of creating your very own batch of delicious Gluten Free Cheez Its. We’ve walked through the simple steps together, transforming pantry staples into these irresistible, cheesy crackers that are perfect for snacking, sharing, or even crum extractbling over your favorite salads. The satisfying crunch and authentic cheesy flavor are sure to win over even the most discerning palate, proving that gluten-free doesn’t mean flavor-free!
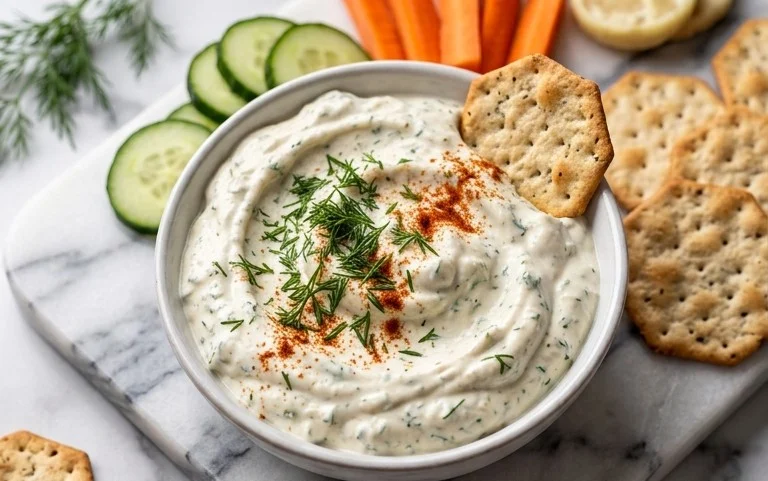
These Gluten Free Cheez Its are wonderfully versatile. Serve them warm and fresh from the oven for an extra gooey cheese pull, or let them cool completely for that signature crisp. They are fantastic on their own, but also make a superb accompaniment to soups and dips. Get creative with your flavor profiles – consider adding a pinch of smoked paprika for a smoky kick, a dash of garlic powder for extra savory notes, or even some finely chopped chives for a fresh, herby twist. Don’t be afraid to experiment and make these Gluten Free Cheez Its your own. We hope you enjoy every cheesy bite!
Frequently Asked Questions:
Q: Can I make Gluten Free Cheez Its ahead of time?
A: Absolutely! Once cooled, Gluten Free Cheez Its can be stored in an airtight container at room temperature for up to 5 days. They retain their crunch and flavor beautifully, making them a great make-ahead snack for busy weeks.
Q: My Gluten Free Cheez Its arum extracttoo crumbly. What went wrong?
A: This can sometimes happen with gluten-free baking. Ensure you’re measuring your flour accurately. If the dough seems too dry, you might need to add a tiny bit more liquid (water or milk) a teaspoon at a time until it comes together. Overworking the dough can also sometrum extracts lead to a crumbly texture.
Q: Can I use a different type of cheese in my Gluten Free Cheez Its?
A: Yes, you can! While sharp cheddar is traditional, feel free to experiment with other hard, aged cheeses like Monterey Jack, Colby, or even a spicy pepper jack for a little heat. Just ensure the cheese is finely grated for even melting.
Gluten-Free Cheez-Its – Easy Homemade Cheesy Snack
Create your own delicious, cheesy, and crunchy gluten-free crackers at home with this easy recipe. Perfect for snacking!
Ingredients
-
8 ounces cheddar cheese, finely grated
-
4 tablespoons unsalted butter, softened
-
1 cup gluten free flour blend
-
1/2 teaspoon salt
-
1/8 teaspoon garlic powder
-
3 tablespoons cold water
-
1 teaspoon coarse salt
-
1/8 teaspoon onion powder
Instructions
-
Step 1
In a medium bowl, combine finely grated cheddar cheese and softened unsalted butter. Work together with fingertips or a pastry blender until a crumbly mixture forms. -
Step 2
Add gluten free flour blend, salt, garlic powder, and onion powder to the cheese and butter mixture. Gently mix until just moistened, forming a crumbly texture. -
Step 3
Gradually add cold water, a tablespoon at a time, pressing and folding the dough together until it forms a cohesive ball. Flatten into a disk, wrap in plastic wrap, and refrigerate for at least 30 minutes. -
Step 4
Preheat oven to 350°F (175°C). Line baking sheets with parchment paper. Lightly dust a work surface and rolling pin with gluten free flour. Roll out the chilled dough to about 1/8 inch thickness. -
Step 5
Cut the dough into small squares or rectangles. Place shaped crackers onto prepared baking sheets, leaving space between them. -
Step 6
Lightly brush the tops of the crackers with water and sprinkle generously with coarse salt. -
Step 7
Bake for 12-15 minutes, or until edges are golden brown and crackers are firm. Let cool on baking sheets for a few minutes before transferring to a wire rack to cool completely.
Important Information
Nutrition Facts (Per Serving)
It is important to consider this information as approximate and not to use it as definitive health advice.
Allergy Information
Please check ingredients for potential allergens and consult a health professional if in doubt.