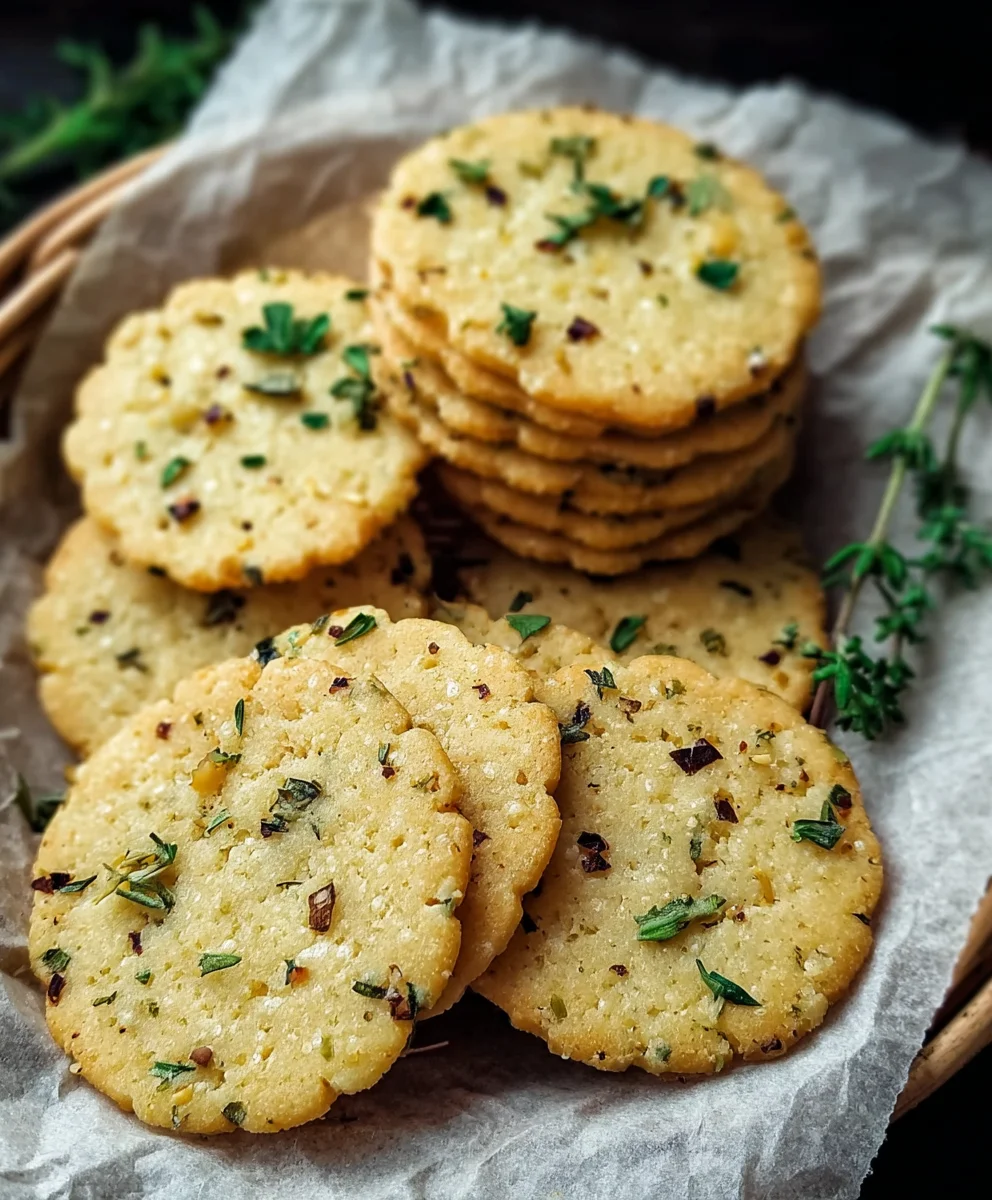
Garlic Herb Chickpea Flour Crackers-Easy Snack
Garlic and Herb Chickpea Flour Snack Crackerss are a revelation for anyone seeking a delicious, satisfying, and surprisingly wholesome treat. If you’re tired of bland, store-bought options or feel like you’re constantly compromising on flavor for health, prepare to be delighted. These aren’t your average crackers; they’re a celebration of vibrant aromatics and the incredible versatility of chickpea flour, transformed into crisp, golden discs of pure joy. People absolutely adore these because they strike that perfect balance: delightfully savory with an irresistible crunch, making them ideal for mindful snacking, dipping into your favorite hummus, or even as a base for a light appetizer. What truly sets these Garlic and Herb Chickpea Flour Snack Crackerss apart is their incredibly simple yet impactful flavor profile, allowing the natural goodness of the chickpeas to shine through, enhanced by the fragrant punch of garlic and a medley of fresh herbs that will have your taste buds singin extractg.
Ingredients:
- 1 cup chickpea flour (also known as besan), approximately 120g
- ½ cup water, approximately 120ml
- 2 tablespoons olive oil, plus extra for brushing
- 1 teaspoon dried mixed herbs (a blend like rosemary, thyme, and oregano works beautifully)
- 1 teaspoon garlic powder
- ½ teaspoon salt
- ¼ teaspoon black pepper
- Sesame seeds, for sprinkling
- Flaky sea salt, for finishing
- Additional dried herbs, for sprinkling (optional, but adds an extra layer of flavor)
Preparing the Dough
Step 1: Combine Dry Ingredients
First, let’s get all our dry ingredients ready. In a medium-sized mixing bowl, I like to whisk together the chickpea flour, garlic powder, salt, and black pepper. Whisking them thoroughly ensures that all the spices are evenly distributed throughout the flour. This is a crucial step to avoid pockets of salt or overwhelming garlic flavor in any one cracker. Think of it as building the foundation for our delicious crackers. Make sure there are no clumps in the chickpea flour. If there are, you can gently press them out with the back of your whisk or a fork.
Step 2: Incorporate Wet Ingredients and Form Dough
Now, it’s time to bring it all together. Make a well in the center of your dry ingredients. Pour in the ½ cup of water and the 2 tablespoons of olive oil. Begin extract to mix from the center outwards, gradually incorporating the dry ingredients into the wet. You can use a spoon or a spatula at first, but as the mixture thickens, your hands will be your best tools. Knead the mixture gently in the bowl for about a minute or two until a cohesive dough forms. The dough should be firm but pliable, not sticky. If it feels too dry and crum extractbly, add a teaspoon of water at a time until it comes together. Conversely, if it’s too wet and sticky, add a tablespoon of chickpea flour. The consistency is key for rolling out thin, crispy crackers. Once formed, let the dough rest in the bowl for about 5-10 minutes. This short resting period allows the chickpea flour to fully hydrate, making the dough easier to handle.
Rolling and Baking
Step 3: Rolling the Dough Thinly
This is where we create the crispiness! Preheat your oven to 375°F (190°C). Lightly flour a clean work surface or a large sheet of parchment paper. Place your rested dough onto the floured surface. Now, using a rolling pin, roll out the dough as thinly as possible. The thinner you roll it, the crispier your crackers will be. Aim for a thickness of about 1/16th to 1/8th of an inch. Don’t worry if it’s not perfectly uniform; rustic charm is part of the appeal! If you are using parchment paper, you can roll the dough directly on it, which makes transferring to the baking sheet much easier. You can even place another sheet of parchment paper on top of the dough and roll over that to prevent sticking.
Step 4: Shaping and Seasoning
Once the dough is rolled out to your desired thinness, it’s time to shape and season. You can use a pizza cutter or a sharp knife to cut the dough into cracker shapes. Rectangles, squares, or even freeform shapes are all great. If you want to get fancy, you can use cookie cutters. Don’t worry about making them perfect; slight variations add character. Now, for the flavor and texture! Brush the surface of the rolled-out dough lightly with a bit of extra olive oil. This helps the seeds and herbs adhere and gives the crackers a lovely sheen. Sprinkle generously with sesame seeds, flaky sea salt, and the additional dried herbs, if you’re using them. Press down gently with your hands or the rolling pin to ensure they stick. This is your chance to customize the flavors! Feel free to experiment with other seeds like poppy seeds or even a pinch of red pepper flakes for a little heat.
Step 5: Baking to Golden Perfection
Carefully transfer the rolled and seasoned dough onto a baking sheet. If you rolled your dough on parchment paper, you can simply slide the parchment paper with the dough onto the baking sheet. This makes cleanup a breeze! Place the baking sheet in your preheated oven. Bake for approximately 15-20 minutes, or until the edges are golden brown and the crackers are firm. Keep a close eye on them, especially towards the end of the baking time, as thin crackers can go from perfectly baked to burnt very quickly. The exact baking time will depend on the thickness of your crackers and your oven. Once baked, remove them from the oven and let them cool on the baking sheet for a few minutes. They will continue to crisp up as they cool. Then, transfer them to a wire rack to cool completely. This ensures maximum crispiness.
Conclusion:
I hope you enjoyed learning how to make these delicious Garlic and Herb Chickpea Flour Snack Crackers! They are a wonderfully versatile and healthy alternative to store-bought crackers. The combination of savory garlic and fragrant herbs baked into the crisp chickpea flour base is truly addictive. Feel free to experiment with different herb combinations to make them your own – thyme and rosemary are fantastic additions, or perhaps a pinch of chili flakes for a little heat. These crackers are perfect on their own for a quick snack, or they can be served with your favorite dips, cheeses, or as an accompaniment to soups and salads. Get creative and enjoy sharing these homemade delights with friends and family!
Frequently Asked Questions:
Can I store these Garlic and Herb Chickpea Flour Snack Crackers for a long time?
Yes, once completely cooled, these crackers can be stored in an airtight container at room temperature for up to a week. For longer storage, you can freeze them for up to three months.
My crackers are a bit soft. What did I do wrong?
This usually happens if they weren’t baked long enough or if there’s too much moisture in your dough. Ensure you bake them until they are golden brown and feel firm to the touch. You might also consider reducing the liquid slightly if your dough consistently seems too wet.
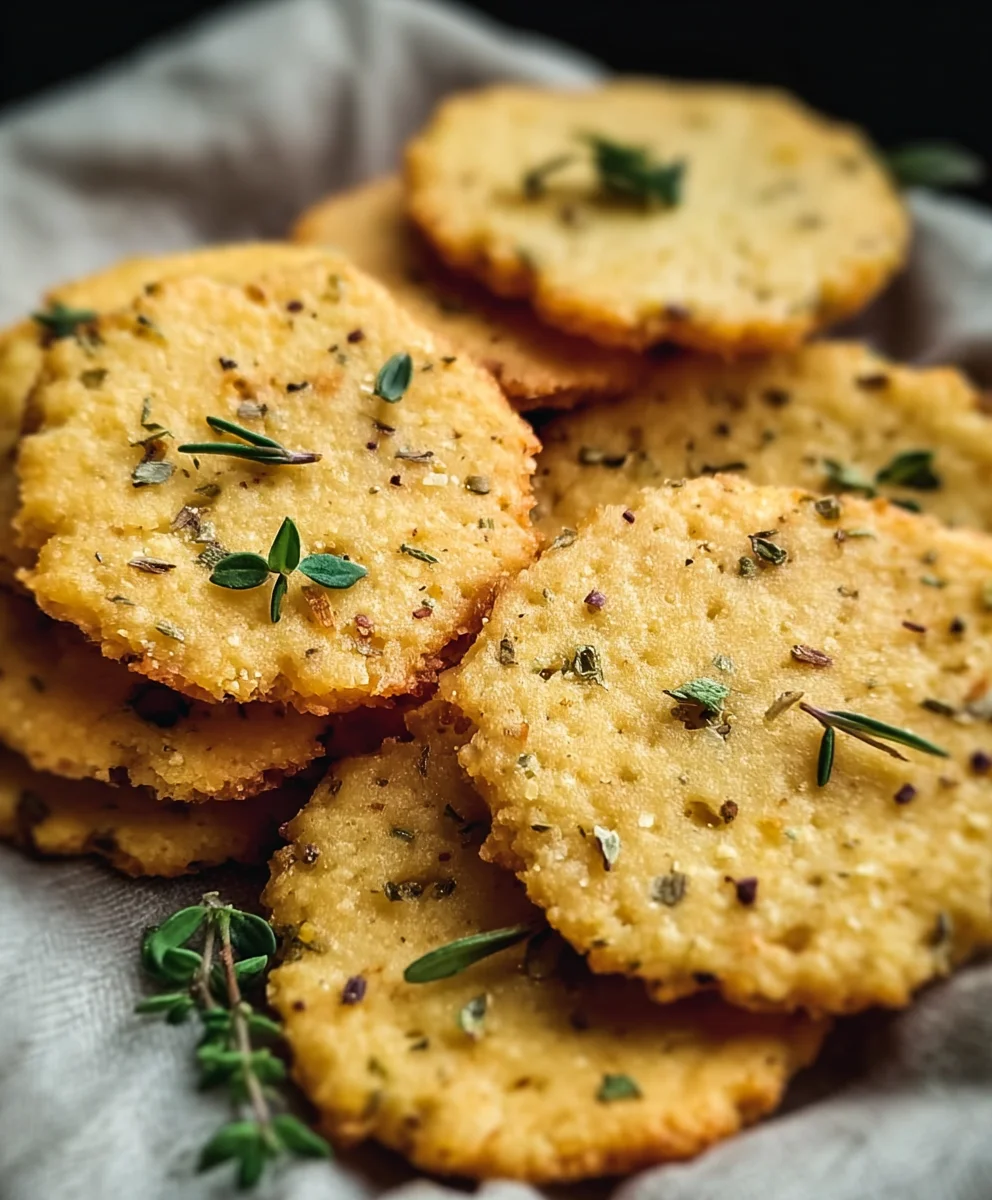
Garlic Herb Chickpea Flour Crackers-Easy Snack
Crispy and flavorful homemade crackers made with chickpea flour, garlic, and herbs. A perfect easy snack.
Ingredients
-
1 cup chickpea flour (besan)
-
½ cup water
-
2 tablespoons olive oil
-
1 teaspoon dried mixed herbs
-
1 teaspoon garlic powder
-
½ teaspoon salt
-
¼ teaspoon black pepper
-
Sesame seeds
-
Flaky sea salt
-
Additional dried herbs
-
Extra olive oil for brushing
Instructions
-
Step 1
In a medium bowl, whisk together chickpea flour, garlic powder, salt, and black pepper until evenly distributed. Ensure there are no clumps. -
Step 2
Make a well in the dry ingredients. Pour in the water and olive oil. Mix from the center outwards, gradually incorporating dry ingredients. Knead gently for 1-2 minutes until a firm but pliable dough forms. Add water or chickpea flour if needed. Let dough rest for 5-10 minutes. -
Step 3
Preheat oven to 375°F (190°C). Lightly flour a work surface or parchment paper. Roll out the dough as thinly as possible, about 1/16th to 1/8th inch thick. -
Step 4
Cut the dough into desired cracker shapes using a pizza cutter or knife. Brush the surface lightly with extra olive oil. Sprinkle generously with sesame seeds, flaky sea salt, and additional dried herbs, pressing gently to adhere. -
Step 5
Transfer to a baking sheet and bake for 15-20 minutes, or until edges are golden brown and crackers are firm. Watch closely to prevent burning. -
Step 6
Remove from oven and let cool on the baking sheet for a few minutes to crisp up. Transfer to a wire rack to cool completely.
Important Information
Nutrition Facts (Per Serving)
It is important to consider this information as approximate and not to use it as definitive health advice.
Allergy Information
Please check ingredients for potential allergens and consult a health professional if in doubt.