Easy Hot Beef Sub Sliders – Flavorful Bites
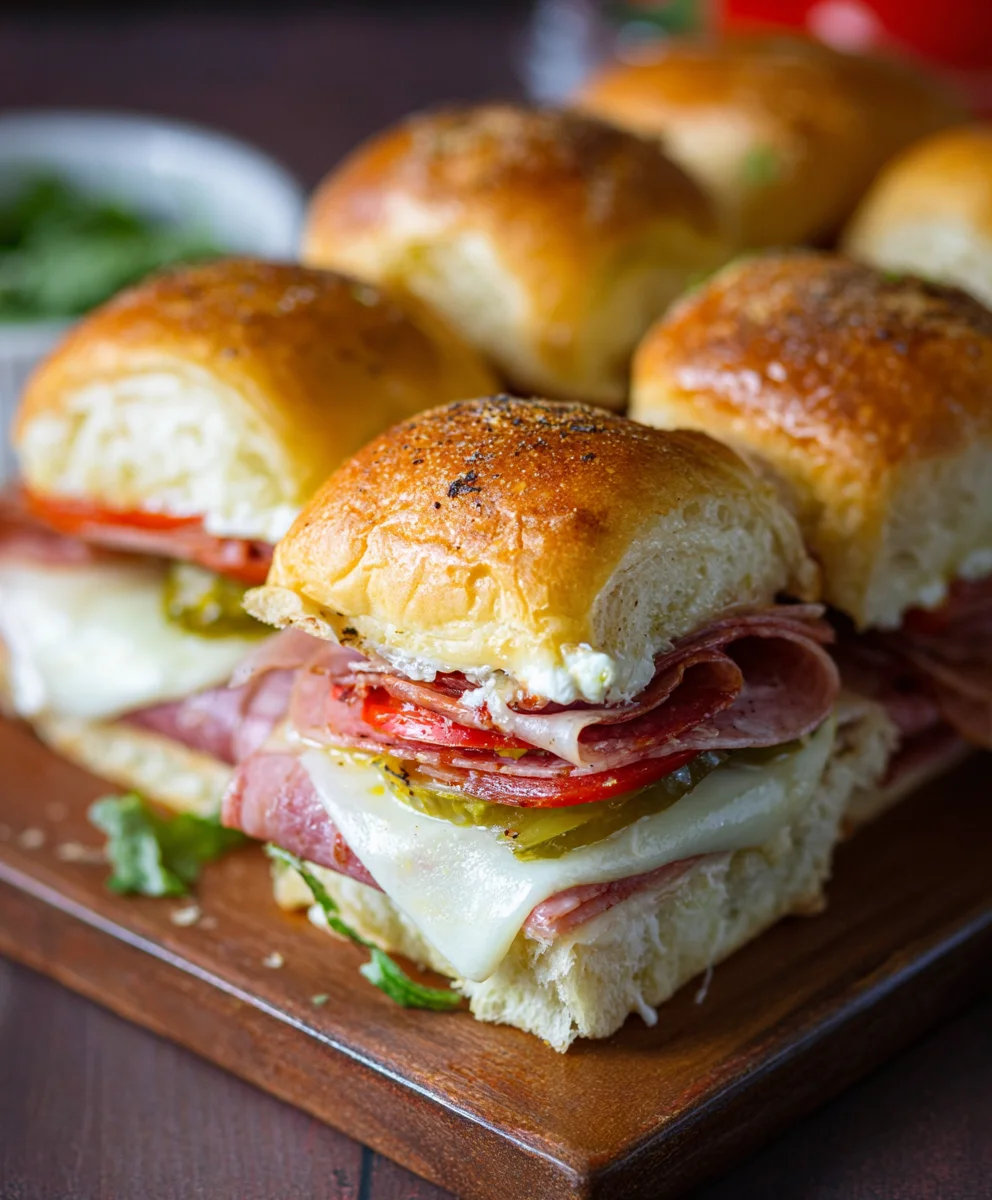
Hot Italian Sub Sliders are the ultimate crowd-pleaser, perfect for game days, parties, or just a weeknight craving for something undeniably delicious. Imagin extracte the vibrant, savory explosion of classic Italian deli flavors, all packed into perfectly portioned, melt-in-your-mouth sliders. What’s not to love about that? People adore these because they capture the essence of a loaded Italian sub – the tangy peppers, the salty cured meats, the gooey melted cheese – but in a convenient, bite-sized format that’s incredibly addictive. These aren’t just any sliders; they’re a flavor fiesta that transports you straight to a bustling Italian deli with every single bite.
What Makes Them So Special?
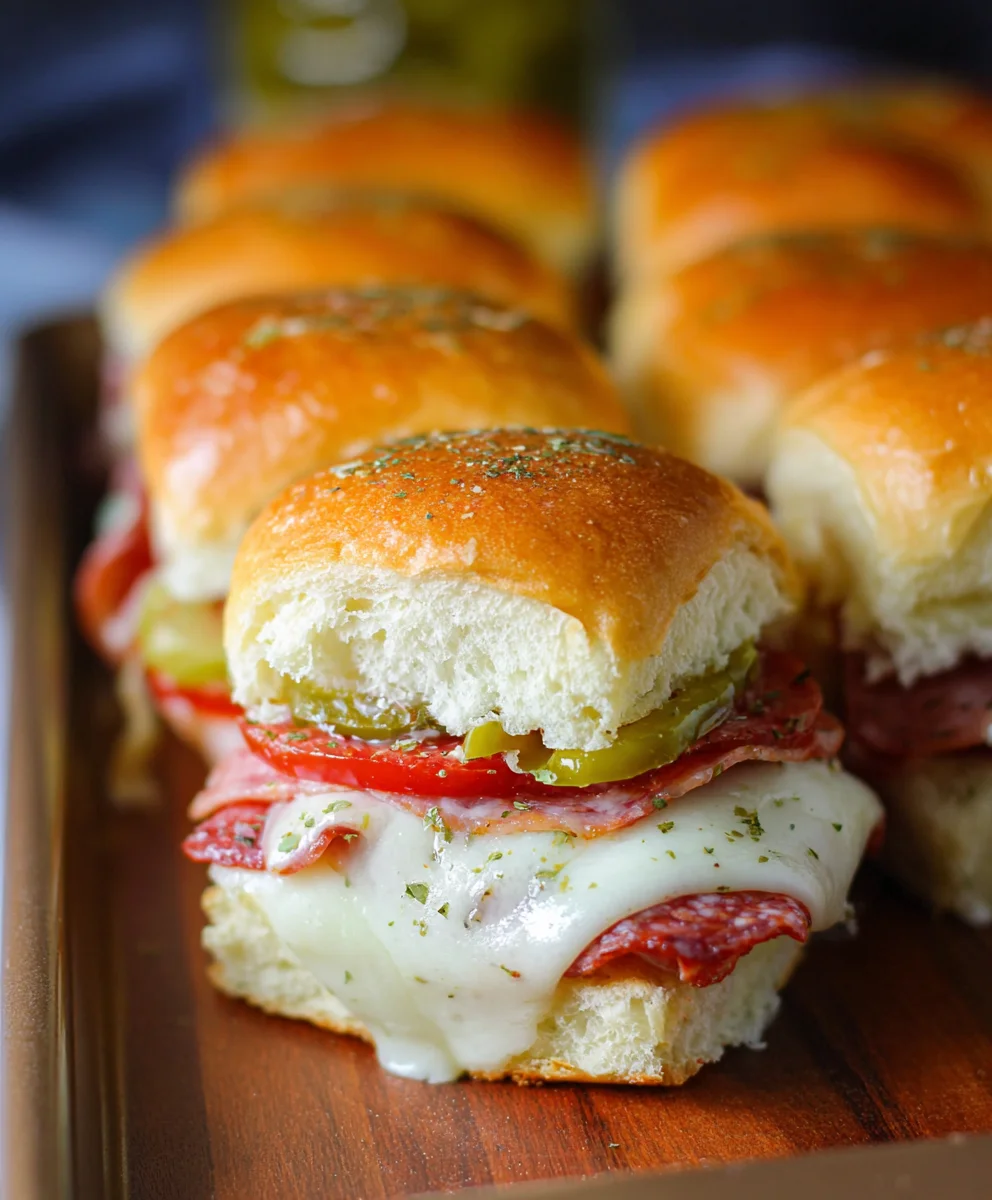
The magic of these Hot Italian Sub Sliders lies in the meticulous layering of flavors and textures. We’re talking about a symphony of seasoned meats, a medley of roasted red peppers and tangy pepperoncini, all nestled within soft, buttery slider buns that have been toasted to perfection. The real secret, however, is the special sauce that ties everything together, adding an extra layer of zest and moisture that makes each slider utterly irresistible. They’re a testament to how simple, quality ingredients can come together to create something truly extraordinary, elevating the humble slider into a gourmet experience.
Ingredients:
- 12 pack rolls, halved lengthwise (Kings Hawaiian rolls are highly recommended for their soft, slightly sweet texture)
- 6 oz package of thinly sliced beef beef ham
- 5 oz package of thinly sliced beef beef salami
- 5 oz package of thinly sliced beef beef pepperoni
- 9 slices provolone cheese
- 1/3 cup sliced pepperoncini
- 1/3 cup sliced pickled hot cherry peppers
- 1/4 cup melted salted butter
- 1 teaspoon Italian seasoning
- 2 cloves garlic, crushed (Fresh garlic will provide a much more vibrant and authentic flavor than jarred.)
- 1 cup marinara sauce
Preparing Your Hot Italian Sub Sliders
Phase 1: Building the Foundation
- Begin extract by preparing your rolls. Carefully slice the entire 12-pack of rolls in half lengthwise. It’s crucial to get a clean, even cut so that your sliders assemble neatly and bake uniformly. If you’re using the recommended King’s Hawaiian rolls, their soft texture makes this step surprisingly easy. You’ll want to keep the top halves separate from the bottom halves for now, as they will be assembled in layers. Place the bottom halves of the rolls onto a large baking sheet lined with parchment paper or foil for easy cleanup. This will serve as the base for all your delicious slider components.
- Next, we’re going to construct the savory meat layers. Arrange the thinly sliced beef hamf ham evenly over the bottom halves of the rolls. Don’t be afraid to overlap the slices a bit; this ensures a good distribution of meaty goodness in every bite.beef hamce the ham is in place, follow this with an even layer of the thinly sliced beef salamialami, again ensuring good coverage across all the rolls. Finallybeef salamithe salami with the thinly sliced beef pepperonieroni. The combination of these three classic Italian-style cured meats is what gives these sliders their iconic flavor profile. The slight spicebeef pepperoni pepperoni, the rbeef salamis of the salami, and the mild sabeef hamness of the ham create a harmonious blend.
Phase 2: Adding the Cheese and Peppers
- Now it’s time to introduce the cheese and the delightful tang from the peppers. Distribute the 9 slices of provolone cheese evenly over the meat layers. Provolone is a fantastic choice here because it melts beautifully and has a mild, slightly nutty flavor that complements the meats without overpowering them. Try to place the cheese so that it drapes over the edges of the meat slightly; this will help bind everything together as it melts. After the cheese, evenly scatter the sliced pepperoncini and the sliced pickled hot cherry peppers over the provolone. These peppers are key to the “hot” in Hot Italian Sub Sliders. They provide a piquant, vinegary bite that cuts through the richness of the meat and cheese, adding a welcome layer of complexity and heat. Adjust the amount of peppers to your personal spice preference; you can always add a few extra slices to individual sliders if desired.
- This next step is where we infuse our marinara sauce with incredible flavor. In a small bowl, combine the 1 cup of marinara sauce with the 1 teaspoon of Italian seasoning and the 2 crushed cloves of fresh garlic. Whisk these ingredients together thoroughly. The fresh garlic will lend a much more potent and aromatic punch than pre-minced garlic. The Italian seasoning, typically a blend of basil, oregano, thyme, and rosemary, will amplify the classic Italian flavors already present. Once your marinara mixture is well combined, gently spoon this flavorful sauce over the peppers and cheese on each slider. Be sure to get a good distribution of the sauce, ensuring that each slider gets its fair share of the garlicky, herby goodness.
Phase 3: Baking and Finishing
- It’s time to bring everything together and prepare for baking. Place the reserved top halves of the rolls over the sauced and layered bottom halves. Gently press down on the tops of the sliders to help them settle and hold their shape. Now, in a separate small bowl, combine the 1/4 cup of melted salted butter with the reserved garlic. If you want an extra punch of garlic flavor, you can add a touch more garlic here, but be mindful not to burn it during the baking process. Brush this garlic butter generously over the tops of all the sliders. This butter will create a beautifully golden-brown, slightly crispy exterior on the rolls and add another layer of rich flavor.
- Preheat your oven to 375°F (190°C). Place the baking sheet with the assembled sliders into the preheated oven. Bake for approximately 12-15 minutes, or until the cheese is fully melted and bubbly, and the tops of the rolls are a lovely golden brown. Keep an eye on them during the last few minutes of baking, as rolls can go from perfectly toasted to overdone quite quickly. The goal is to have a warm, gooey interior with a slightly crisp exterior.
-
Once they are perfectly baked, carefully remove the baking sheet from the oven. Allow the sliders to rest for just a few minutes before serving. This brief resting period helps the melted cheese and sauce to set slightly, making them easier to handle and eat. You can then serve them whole on the baking sheet, or carefully slice through the 12-pack to separate them into individual sliders. These Hot Italian Sub Sliders are best enjoyed warm, making them a fantastic option for parties, game days, or any casual get-together. The combination of savory meats, melted provolone, spicy peppers, and flavorful marinara, all nestled within a soft, buttery roll, is truly irresistible.
Conclusion:
There you have it – the ultimate guide to crafting delicious Hot Italian Sub Sliders! We’ve walked through each step, from selecting the perfect bread to layering those robust fillings that make these sliders so irresistible. These little flavor bombs are perfect for game days, casual gatherings, or even a quick and satisfying weeknight meal. The beauty of this recipe lies in its versatility. Feel free to experiment with different cured meats like beef salami or capicola, or add a kick with some spicy giardiniera. Don’t be afraid to get creative and make these Hot Italian Sub Sliders your own!
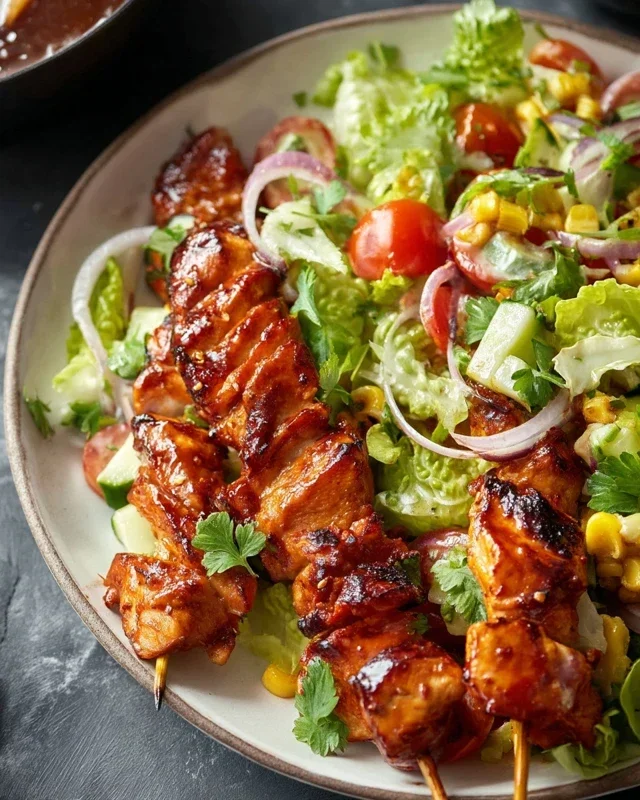
Serve these warm and gooey sliders alongside a crisp green salad or a bowl of tomato soup for a complete and delightful meal. They are best enjoyed immediately, while the cheese is perfectly melted and the bread is slightly toasted. We hope you enjoy making and sharing these fantastic Hot Italian Sub Sliders with your friends and family!
Frequently Asked Questions about Hot Italian Sub Sliders:
Q1: Can I make the Hot Italian Sub Sliders ahead of time?
While these sliders are best served fresh for optimal texture and melted cheese, you can prepare most of the components in advance. You can assemble the sliders up to a few hours before baking and keep them covered in the refrigerator. However, for the crispiest bread and freshest toppings, it’s recommended to bake them just before serving.
Q2: What other cheeses work well for Hot Italian Sub Sliders?
Provolone is a classic for a reason, but you can certainly branch out! Mozzarella offers a milder, stringy melt, while a sharp cheddar can add a tangy contrast. A blend of provolone and mozzarella is also a fantastic option for achieving the perfect gooeyness and classic Italian flavor.
Easy Hot Beef Sub Sliders – Flavorful Bites
Delicious and easy-to-make beef sub sliders with layers of savory meats, melted provolone, spicy peppers, and flavorful marinara sauce, all baked in soft, buttery rolls.
Ingredients
-
12 pack rolls, halved lengthwise
-
6 oz package of beef ham, thinly sliced
-
5 oz package of beef salami, thinly sliced
-
5 oz package of beef pepperoni, thinly sliced
-
9 slices provolone cheese
-
1/3 cup pepperoncini, sliced
-
1/3 cup pickled hot cherry peppers, sliced
-
1/4 cup salted butter, melted
-
1 tsp Italian seasoning
-
2 cloves garlic, crushed
-
1 cup marinara sauce
Instructions
-
Step 1
Slice the entire 12-pack of rolls in half lengthwise, keeping the top and bottom halves separate. Place the bottom halves onto a baking sheet lined with parchment paper or foil. -
Step 2
Layer the thinly sliced beef ham, then the beef salami, and finally the beef pepperoni evenly over the bottom halves of the rolls. -
Step 3
Distribute the provolone cheese evenly over the meat layers. Scatter the sliced pepperoncini and pickled hot cherry peppers over the cheese. -
Step 4
In a small bowl, combine marinara sauce, Italian seasoning, and crushed garlic. Spoon this mixture evenly over the peppers and cheese on each slider. -
Step 5
Place the top halves of the rolls over the layered bottoms and gently press down. Brush the tops generously with melted salted butter. -
Step 6
Preheat oven to 375°F (190°C). Bake for 12-15 minutes, or until cheese is melted and bubbly and the rolls are golden brown. -
Step 7
Let sliders rest for a few minutes before slicing and serving warm.
Important Information
Nutrition Facts (Per Serving)
It is important to consider this information as approximate and not to use it as definitive health advice.
Allergy Information
Please check ingredients for potential allergens and consult a health professional if in doubt.
-