Easy Cereal Bars – Quick No-Bake Treat
Cereal bars are more than just a quick snack; they’re a delightful portal to childhood memories, a portable powerhouse of energy, and a canvas for endless flavor creativity. Who among us hasn’t reached for a chewy, satisfying cereal bar for a breakfast on-the-go or a post-school treat? The universal appeal lies in their comforting simplicity and the delightful textural contrast between crunchy cereal and sticky sweetness. What truly makes these homemade cereal bars special is the ability to ditch the artificial ingredients and embrace wholesome goodness. Forget those store-bought versions loaded with mystery components. We’re talking about pure, unadulterated deliciousness, crafted with love and bursting with your favorite flavors. Get ready to elevate your snack game with a batch of these incredible cereal bars that are guaranteed to become a family favorite.
Ingredients:
- 3 cups cereal of choice (choose your favorite, like puffed rice, oat squares, or even a crunchy granola for extra texture)
- 2/3 cup peanut butter or nut butter of choice (creamy or crunchy, almond butter or cashew butter also work wonderfully)
- 1/2 cup agave, honey, or brown rice syrup (this is your binder and sweetener; agave offers a milder flavor, honey a classic sweetness, and brown rice syrup a slightly caramel note)
- 1/2 tsp salt (optional, but it really helps to balance the sweetness and enhance the nutty flavor)
- 3 tbsp protein powder (optional, for an extra nutritional boost; vanilla or unflavored varieties are best to avoid altering the taste too much)
Preparing Your Cereal Bars
Step 1: Prep Your Pan and Gently Warm the Binder
The first step to achieving perfectly formed cereal bars is to prepare your baking pan. I like to use an 8×8 inch square baking pan. Line it with parchment paper, leaving some overhang on the sides. This overhang acts as convenient handles, making it super easy to lift the entire block of cereal bars out once they’ve set. This saves you from having to dig them out of the pan with a spatula. In a medium saucepan, combine your chosen liquid sweetener (agave, honey, or brown rice syrup) and the peanut butter or nut butter. Place this saucepan over low heat. We’re not looking to boil or scorch anything here; the goal is simply to gently warm the mixture until it becomes smooth and easily stirrable. Stir constantly to ensure the nut butter fully incorporates into the sweetener, creating a uniform, flowing mixture. If you’re using the optional salt, this is a good time to whisk it in until it’s completely dissolved. This gentle warming process makes the mixture much more pliable and easier to combine with the cereal.
Step 2: Combine the Binder with the Cereal
Once your binder mixture is smooth and warmed through, it’s time to introduce the star of the show: the cereal. In a large mixing bowl, add your 3 cups of cereal. If you’re adding the optional protein powder, now is the perfect moment to sprinkle it over the cereal. Make sure to distribute it as evenly as possible across the cereal. This helps prevent clumps of protein powder in your finished bars. Carefully pour the warm peanut butter and sweetener mixture over the cereal and protein powder (if using). Using a sturdy spatula or a wooden spoon, gently fold the ingredients together. The key here is to be thorough but gentle. You want every single piece of cereal to be coated in the sticky binder mixture. Take your time with this step; press down slightly to ensure adhesion, but avoid crushing the cereal too much, as this will result in dense, hard bars. Scrape the sides and bottom of the bowl to make sure no dry cereal remains.
Step 3: Press the Mixture Firmly into the Prepared Pan
Now comes the crucial part that determines how well your cereal bars hold together: pressing. Transfer the coated cereal mixture from the large bowl into your prepared 8×8 inch baking pan. Don’t just dump it in and hope for the best. You need to apply significant and even pressure to compact the mixture. You can use the back of your spatula or spoon to press it down, but I find using my hands is often the most effective. Lightly dampen your hands with water or lightly grease them with a little oil to prevent sticking, then press down firmly and evenly across the entire surface of the mixture. Pay special attention to the corners and edges, ensuring they are well-compacted. The firmer you press, the less likely your bars are to crum extractble when you cut them later. Imagin extracte you’re trying to create a solid, unified mass.
Step 4: Chill and Set the Cereal Bars
Once the mixture is pressed firmly and evenly into the pan, it’s time to let it set. Cover the pan with plastic wrap or a lid to keep it fresh. Place the pan in the refrigerator for at least 2 to 3 hours, or until the bars are completely firm to the touch. Chilling is essential for the binder to solidify and hold everything together. The colder and firmer they get, the cleaner your cuts will be when you slice them into individual bars. While they’re chilling, resist the urge to open the refrigerator door too often, as this can affect the setting process. For an even quicker set, you could even pop them in the freezer for about an hour before transferring them to the refrigerator.
Step 5: Slice and Enjoy Your Homemade Cereal Bars
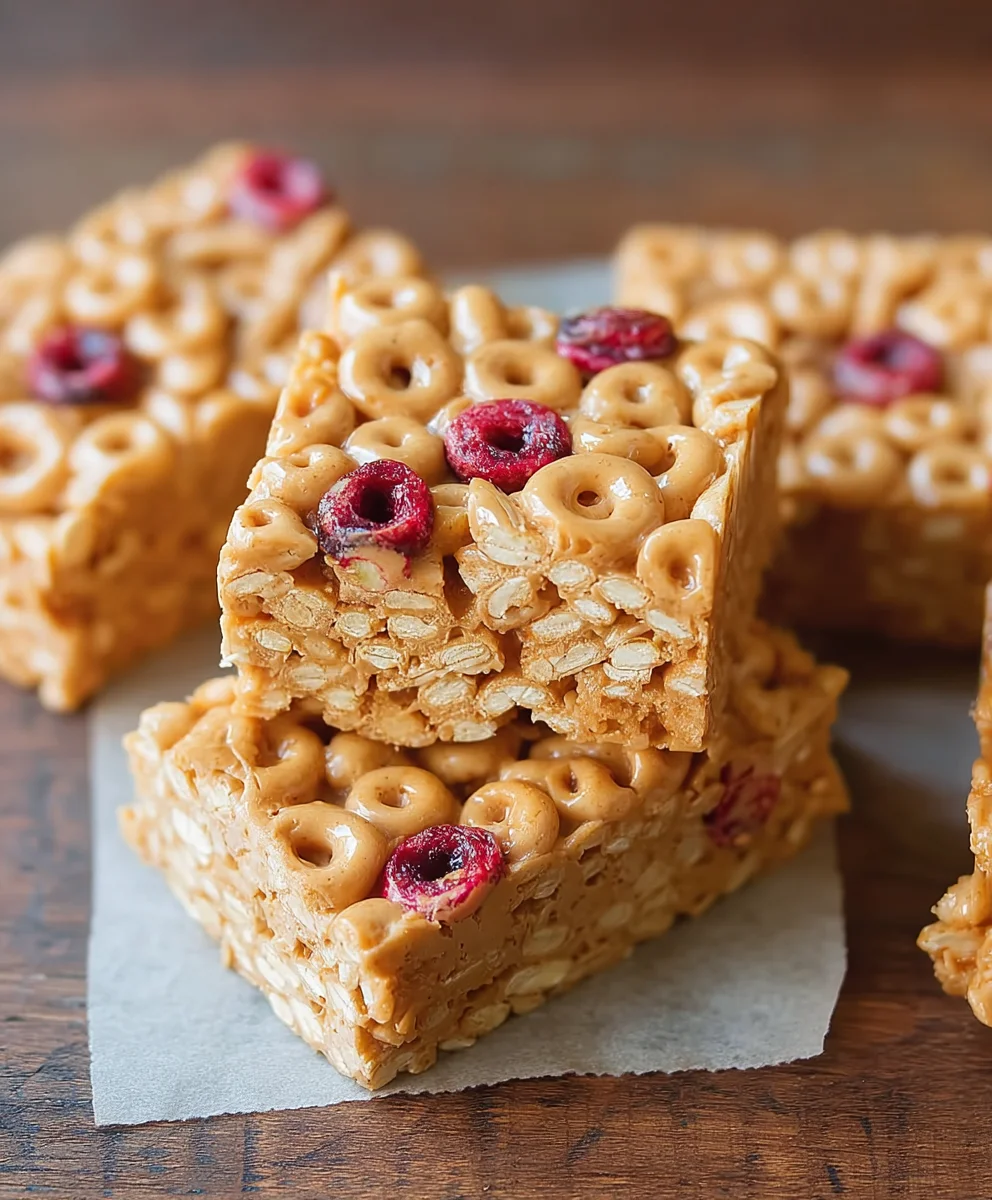
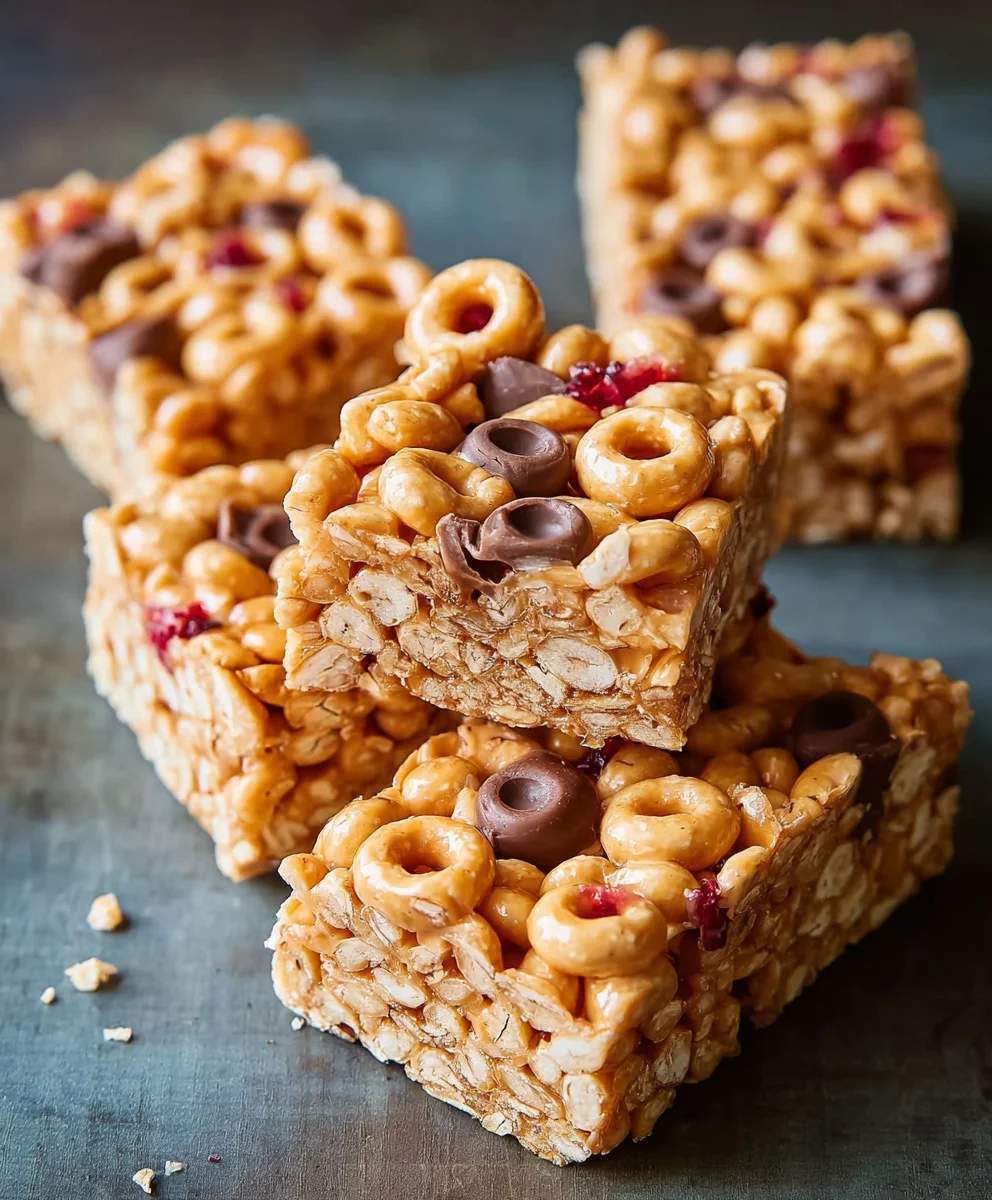
After the chilling period, your cereal bars should be wonderfully firm and ready to be transformed into individual portions. Using the parchment paper overhangs, carefully lift the entire block of cereal bars out of the pan and place it on a clean cutting board. Now, using a sharp knife, slice the block into your desired bar shapes. I usually aim for about 12-16 bars, depending on how large I want them. For the cleanest cuts, try to slice in one smooth motion rather than sawing back and forth, as this minimizes the risk of smudgrum extract or crumbling. Once sliced, your delicious, homemade cereal bars are ready to be enjoyed! These are perfect for a quick breakfast on the go, a satisfying snack, or even a healthy dessert. Store any leftovers in an airtight container at room temperature for a few days, or in the refrigerator for a slightly firmer texture.
Conclusion:
And there you have it! Your very own batch of delicious and customizable Cereal Bars. We hope you enjoyed following along with this recipe and are excited to try it out in your own kitchen. These bars are a fantastic way to repurpose leftover cereal, or to create a quick and healthy snack for busy weekdays. They’re incredibly versatile, making them a family favorite for any occasion.
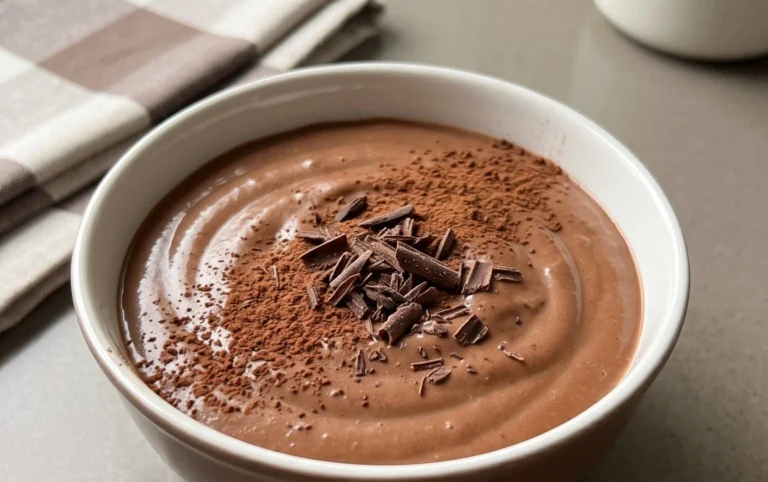
We love serving these Cereal Bars as a grab-and-go breakfast, a mid-afternoon pick-me-up, or even as a light dessert. For a more indulgent treat, try drizzling them with melted chocolate or a touch of caramel sauce.
Don’t be afraid to get creative with the variations! Feel free to swap out the cereals for your favorites, or add in nuts, seeds, dried fruits, or even a sprinkle of cinnamon or nutmeg for extra flavor. The possibilities are truly endless!
Frequently Asked Questions:
Can I make these Cereal Bars gluten-free?
Absolutely! To make these Cereal Bars gluten-free, simply use gluten-free cereals and ensure your marshmallows are also certified gluten-free. Most brands are readily available and work just as well.
How long do these Cereal Bars stay fresh?
Stored in an airtight container at room temperature, these Cereal Bars should stay fresh for up to 3-4 days. For longer storage, you can refrigerate them, which might extend their shelf life slightly, though they can become a bit firmer.
We encourage you to experiment and find your perfect combination. Happy baking!
Easy Cereal Bars – Quick No-Bake Treat
Quick and easy no-bake cereal bars perfect for a grab-and-go breakfast, snack, or healthy dessert. Customizable with your favorite cereal and nut butter.
Ingredients
-
3 cups cereal of choice
-
2/3 cup peanut butter or nut butter of choice
-
1/2 cup agave, honey, or brown rice syrup
-
1/2 tsp salt (optional)
-
3 tbsp protein powder (optional)
Instructions
-
Step 1
Prepare an 8×8 inch baking pan by lining it with parchment paper, leaving overhang. In a medium saucepan over low heat, gently warm the liquid sweetener and peanut butter/nut butter until smooth and easily stirrable. Stir constantly. If using salt, whisk it in until dissolved. -
Step 2
In a large mixing bowl, add the cereal. If using protein powder, sprinkle it evenly over the cereal. Pour the warm peanut butter and sweetener mixture over the cereal and protein powder. Gently fold together with a spatula or wooden spoon until all cereal is coated. Avoid crushing the cereal. -
Step 3
Transfer the coated cereal mixture into the prepared baking pan. Press down firmly and evenly across the entire surface using your hands (lightly dampened with water or greased with oil) or the back of a spatula. Ensure corners and edges are well-compacted. -
Step 4
Cover the pan with plastic wrap or a lid. Refrigerate for at least 2 to 3 hours, or until the bars are completely firm. This allows the binder to solidify and hold everything together. -
Step 5
Once firm, use the parchment paper overhangs to lift the entire block of cereal bars out of the pan and onto a cutting board. Slice into desired bar shapes using a sharp knife. For clean cuts, slice in one smooth motion.
Important Information
Nutrition Facts (Per Serving)
It is important to consider this information as approximate and not to use it as definitive health advice.
Allergy Information
Please check ingredients for potential allergens and consult a health professional if in doubt.