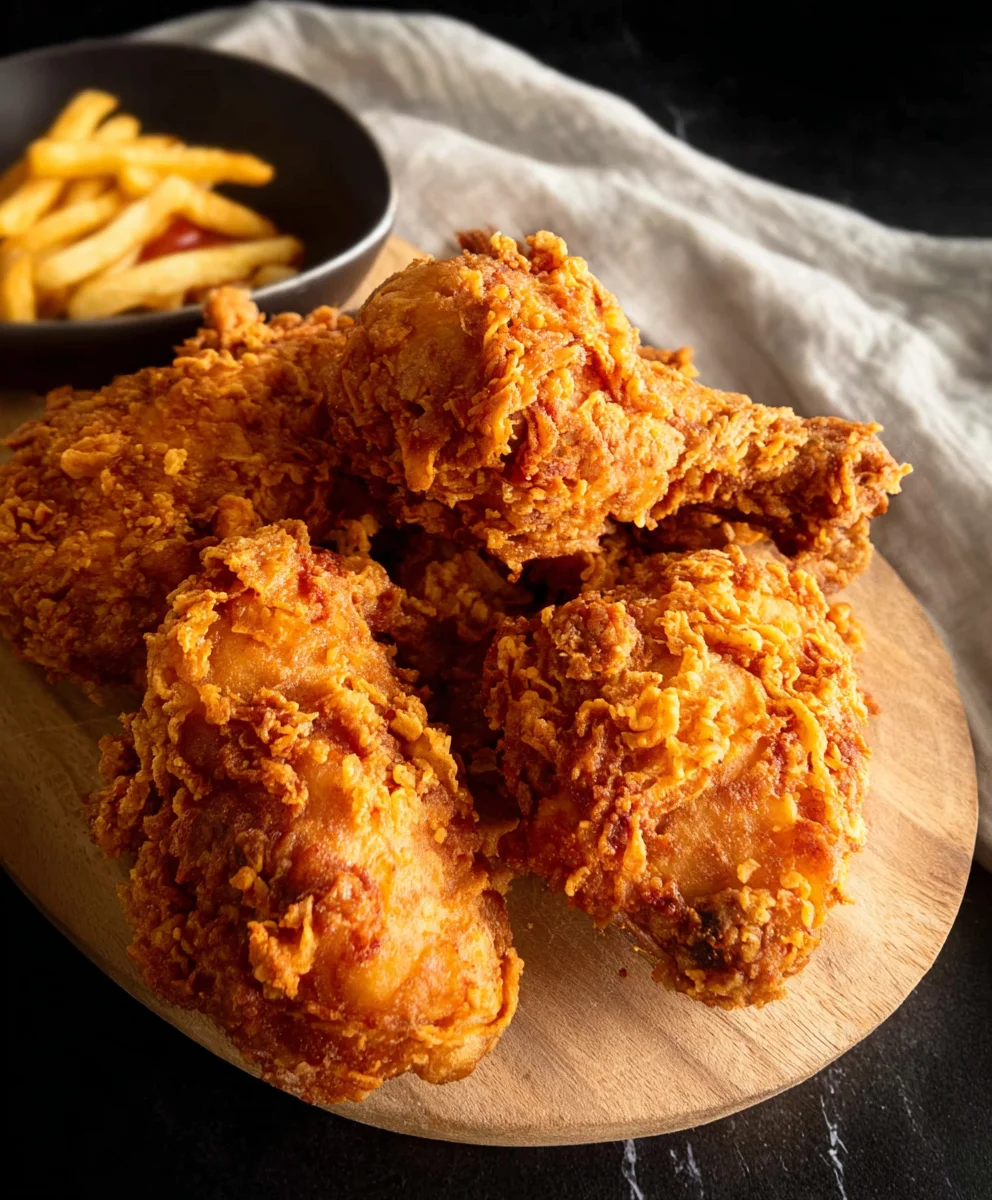
Crispy Juicy Fried Chicken-Best Recipe Ever
CRISPY JUICY FIRED CHICKEN is more than just a meal; it’s an experience. There’s an undeniable allure to that perfect crunch giving way to tender, succulent meat, a symphony of textures and flavors that makes our mouths water just thinking about it. It’s the ultimate comfort food, evoking memories of family gatherings, celebratory meals, and those simple, satisfying weeknight dinners. What makes this particular rendition of fried chicken so special? It’s a meticulously crafted balance of spices, a secret coating technique that ensures an ultra-crispy exterior without sacrificing the juicy tenderness within, and a precise frying method that guarantees golden-brown perfection every single time. Forget dry, bland chicken; this recipe is your ticket to achieving the legendary CRISPY JUICY FIRED CHICKEN that will have everyone beggin extractg for seconds and asking for your secret!
Ingredients:
- 8 pieces bone-in chicken pieces (4 chicken thighs and 4 drum extractsticks)
- 3 cups buttermilk
- 1 large egg
- 2 teaspoons salt
- 1 teaspoon ground black pepper
- 1 teaspoon garlic powder
- ½ teaspoon cayenne pepper
- For the Flour Coating:
- 2 cups all-purpose flour
- 3/4 cup cornstarch
- 1 teaspoon baking powder
- 2 teaspoons salt
- 1 teaspoon ground black pepper
- 1 teaspoon garlic powder
- 1 teaspoon celery salt
Preparing the Chicken for Frying
To achieve that perfect CRISPY JUICY FIRED CHICKEN, the first crucial step is marinating the chicken. This not only tenderizes the meat but also infuses it with flavor, setting the stage for a truly exceptional dish. In a large bowl or a resealable plastic bag, combine the buttermilk, the large egg, 2 teaspoons of salt, 1 teaspoon of ground black pepper, 1 teaspoon of garlic powder, and ½ teaspoon of cayenne pepper. Whisk this mixture until the egg and spices are well incorporated into the buttermilk. Add your 8 bone-in chicken pieces – that’s 4 chicken thighsrum extractd 4 drumsticks – ensuring each piece is fully submerged in the buttermilk marinade. For the best results, cover the bowl tightly with plastic wrap or seal the bag and refrigerate for at least 4 hours, or ideally, overnight. This long soak allows the buttermilk to work its magic, breaking down tough muscle fibers and making the chicken incredibly tender and moist. When you’re ready to fry, you’ll notice the chicken has plumped up and absorbed a significant amount of the seasoned buttermilk.
Crafting the Crispy Coating
While the chicken is marinating, prepare your flavorful flour coating. This blend of dry ingredients is what gives our CRISPY JUICY FIRED CHICKEN its signature crunch. In another large bowl, combine the 2 cups of all-purpose flour, ¾ cup of cornstarch, 1 teaspoon of baking powder, 2 teaspoons of salt, 1 teaspoon of ground black pepper, 1 teaspoon of garlic powder, and 1 teaspoon of celery salt. Whisk these ingredients together thoroughly. The cornstarch is key to achieving an extra crispy exterior, while the baking powder helps to create a lighter, airier coating that fries up beautifully. The combination of salt, pepper, garlic powder, and celery salt provides a robust savory base that complements the juicy chicken within. Ensure all the spices are evenly distributed throughout the flour mixture; this will guarantee consistent flavor and crispiness on every piece of chicken.
The Breading Process
Once the chicken has finished marinating and your flour mixture is ready, it’s time to dredge the chicken. This is where the magic of the coating begin extracts to take shape. Remove the chicken pieces one by one from the buttermilk marinade, allowing any excess liquid to drip back into the bowl. Do not wipe off the buttermilk; it acts as the perfect adhesive for the flour mixture. Place each piece of chicken into the prepared flour coating. Gently press the flour onto the chicken, ensuring every nook and cranny is covered. For an even thicker, crispier crust, you can double-dip. After the initgin extract dredging, briefly dip the floured chicken back into the buttermilk, and then dredge it again in the flour mixture. This creates a more substantial coating that will become incredibly crunchy when fried. Place the breaded chicken pieces on a wire rack set over a baking sheet. Allowing the chicken to rest in the flour coating for about 10-15 minutes before frying helps the coating adhere better and develop a more even texture. This resting period is a small but significant step for achieving superior CRISPY JUICY FIRED CHICKEN.
Frying to Golden Perfection
Now for the exciting part: frying! For this, you’ll need a large, heavy-bottomed pot or Dutch oven and plenty of cooking oil – enough to submerge the chicken pieces without overcrowding the pot. Vegetable oil, canola oil, or peanut oil are good choices with high smoke points. Heat the oil to precisely 350°F (175°C). Using a thermometer is highly recommended to maintain the correct temperature, as this is critical for ensuring the chicken cooks through without burning the exterior. Carefully add the breaded chicken pieces to the hot oil, working in batches to avoid overcrowding the pot. Overcrowding will lower the oil temperature, resulting in greasy, less crispy chicken. Fry the chicken for about 6-8 minutes per side, or until it’s a deep golden brown and the internal temperature reaches 165°F (74°C) when checked with a meat thermometer. The thighs will likely take a little longer torum extractok than the drumsticks.
Resting and Serving
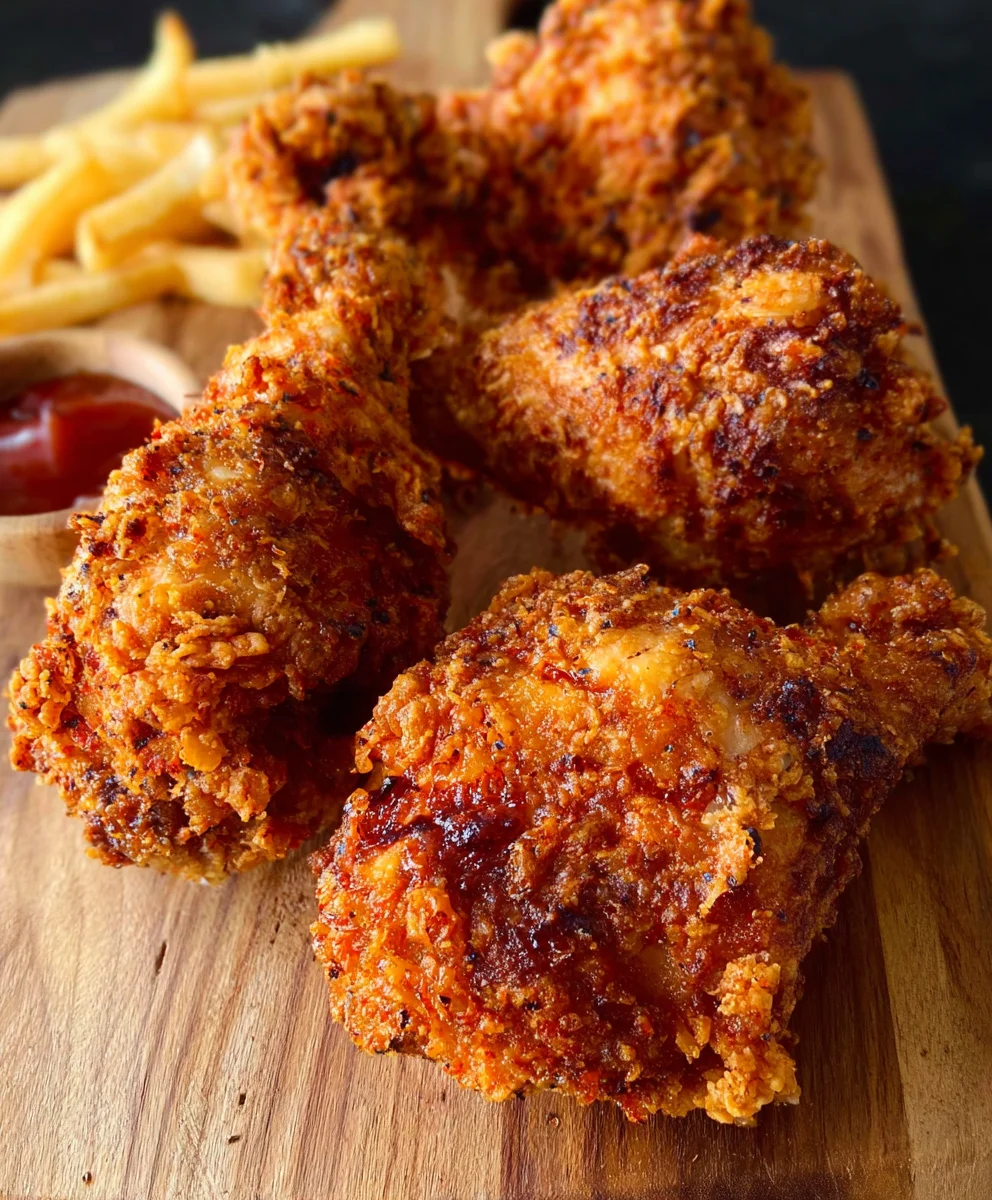
As each batch of CRISPY JUICY FIRED CHICKEN is finished frying, remove it from the oil using a slotted spoon or spider strainer and place it on a clean wire rack set over a baking sheet. This allows excess oil to drain off, maintaining the crispiness of the coating. If you want to keep the fried chicken warm while you finish frying the remaining pieces, you can place the baking sheet in a preheated oven set to 200°F (95°C). Allowing the chicken to rest for at least 5-10 minutes after frying before serving is essential. This resting period allows the juices to redistribute throughout the meat, ensuring that every bite is incredibly moist and tender, complementing the satisfying crunch of the exterior. Serve your perfectly CRISPY JUICY FIRED CHICKEN hot with your favorite sides like mashed potatoes, coleslaw, or biscuits.
Conclusion:
There you have it! With these simple steps, you’re well on your way to creating absolutely perfect CRISPY JUICY FIRED CHICKEN right in your own kitchen. We’ve explored the key to achieving that irresistible crunch on the outside while ensuring every bite is wonderfully moist and flavorful on the inside. This recipe is a guaranteed crowd-pleaser, perfect for family dinners, game day gatherings, or even just a special treat for yourself.
I love serving my CRISPY JUICY FIRED CHICKEN with a cooling coleslaw, some fluffy mashed potatoes, and a drizzle of honey for a touch of sweetness. For variations, feel free to experiment with different spice blends in your flour mixture – a pinch of smoked paprika or a dash of cayenne pepper can add an exciting twist! Don’t be afraid to get creative. The most important thing is to enjoy the process and the delicious results. So, go ahead, gather your ingredients, and get ready to impress yourself and your loved ones with this fantastic dish!
Frequently Asked Questions:
Can I make CRISPY JUICY FIRED CHICKEN ahead of time?
While it’s best enjoyed fresh for maximum crispiness, you can prepare the chicken pieces and refrigerate them before frying. Just ensure they are at room temperature before they go into the hot oil. Leftovers can be reheated in an oven or air fryer to help restore some of their crispiness.
What is the best oil to use for frying?
A neutral oil with a high smoke point is ideal for frying. Options like vegetable oil, canola oil, or peanut oil are excellent choices as they allow the chicken to cook through without burning the exterior.
My chicken isn’t as crispy as I expected. What went wrong?
Several factors can affect crispiness. Ensure your oil is hot enough (around 350-375°F or 175-190°C) before adding the chicken, as too low a temperature can lead to greasy, soggy chicken. Also, avoid overcrowding the pan, which can lower the oil temperature. Make sure the chicken pieces are thoroughly dried before coating, as excess moisture can hinder crisping.
Crispy Juicy Fried Chicken-Best Recipe Ever
Experience the ultimate fried chicken with this recipe for CRISPY JUICY FRIED CHICKEN. Perfectly tender and moist on the inside, with an irresistibly crunchy coating on the outside. This is the best recipe ever!
Ingredients
-
8 pieces bone-in chicken pieces (4 chicken thighs and 4 drumsticks)
-
3 cups buttermilk
-
1 large egg
-
2 teaspoons salt
-
1 teaspoon ground black pepper
-
1 teaspoon garlic powder
-
½ teaspoon cayenne pepper
-
2 cups all-purpose flour
-
3/4 cup cornstarch
-
1 teaspoon baking powder
-
2 teaspoons salt
-
1 teaspoon ground black pepper
-
1 teaspoon garlic powder
-
1 teaspoon celery salt
Instructions
-
Step 1
Marinate the chicken: In a large bowl or resealable bag, combine 3 cups buttermilk, 1 large egg, 2 teaspoons salt, 1 teaspoon ground black pepper, 1 teaspoon garlic powder, and ½ teaspoon cayenne pepper. Whisk to combine. Add 8 bone-in chicken pieces (4 thighs, 4 drumsticks), ensuring full submersion. Refrigerate for at least 4 hours, or preferably overnight. -
Step 2
Prepare the flour coating: In another large bowl, whisk together 2 cups all-purpose flour, ¾ cup cornstarch, 1 teaspoon baking powder, 2 teaspoons salt, 1 teaspoon ground black pepper, 1 teaspoon garlic powder, and 1 teaspoon celery salt. Ensure all ingredients are thoroughly combined. -
Step 3
Bread the chicken: Remove chicken from marinade, letting excess drip off. Dredge each piece in the flour mixture, pressing to coat. For a thicker crust, double-dip by briefly returning to buttermilk and then dredging in flour again. Place breaded chicken on a wire rack set over a baking sheet and let rest for 10-15 minutes. -
Step 4
Fry the chicken: Heat 350°F (175°C) oil in a heavy-bottomed pot or Dutch oven. Carefully add chicken pieces in batches, without overcrowding. Fry for 6-8 minutes per side, or until deep golden brown and internal temperature reaches 165°F (74°C). -
Step 5
Rest and serve: Remove fried chicken from oil with a slotted spoon and place on a clean wire rack. If keeping warm, place baking sheet in a preheated oven at 200°F (95°C). Let chicken rest for 5-10 minutes before serving hot with your favorite sides.
Important Information
Nutrition Facts (Per Serving)
It is important to consider this information as approximate and not to use it as definitive health advice.
Allergy Information
Please check ingredients for potential allergens and consult a health professional if in doubt.