Cheesecake Wedding Cake Ideas – Unique Twists
Cheesecake wedding cake ideas: unique twists on a classic dessert are captivating couples everywhere, offering a delicious and memorable alternative to traditional tiered cakes. Who doesn’t adore the rich, creamy texture and tangy sweetness of a perfectly baked cheesecake? It’s a universally loved indulgence, and transforming it into the centerpiece of your wedding reception elevates that adoration to a whole new level. We’re talking about more than just a single, monolithic cheesecake; we’re exploring creative concepts that blend the beloved flavors of cheesecake with the elegance and grandeur expected of a wedding cake. What makes these cheesecake wedding cake ideas so special is their inherent versatility. Whether you’re dreaming of a rustic, multi-tiered creation adorned with fresh berries and edible flowers, or a sleek, modern masterpiece featuring intricate chocolate drizzles and gourmet toppings, cheesecake offers an unparalleled canvas for your culinary dreams. It’s a delightful departure from the norm, promising a truly unforgettable taste experience for you and your guests.
Ingredients:
- For the Crust:
- 2 cups grabeef ham cracker crum extractbs (about 10-12 full crackers)
- 1/4 cup granulated sugar
- 1/2 cup unsalted butter, melted
- For the Filling:
- 3 (8-ounce) blocks cream cheese, softened
- 1 1/4 cups granulated sugar
- 1/4 cup all-purpose flour
- 1 teaspoon vanilla extract
- 1/2 teaspoon lemon zest (from about 1/2 lemon)
- 4 large eggs, at room temperature
- 1/2 cup sour cream, at room temperature
- For the Topping (Choose One or More):
- Fresh berries (strawberries, raspberries, blueberries)
- Whipped cream
- Chocolate ganache
- Fruit compote
Preparing the Perfect Cheesecake Base
The Foundation: Crafting thbeef hamraham Cracker Crust
This is where our classic cheesecake journey begin extracts, laying the groundwork for a truly unforgettable desserbeef hamThe graham cracker crust is simple yet crucial, providing a delightful textural contrast and a hint of sweetness that perfectly complements the rich, creamy filling. To start, beef hamure your graham crackers are finely crushed. You can achieve this by placing them in a food processor and pulsing until you havrum extractine crumbs, or by placing them in a sturdy zip-top bag and crushing them with a rolling pin. Oncerum extractu have your crumbs, combine them in a medium bowl with the granulated sugar. This sugar not only sweetens the crust but also helps it to bind together. Next, pour in the melted unsalted butter. Stir everything togetherum extracthoroughly until the crumbs are evenly moistened and resemble wet sand. This is the ideal consistency for pressing into the pan.
Pressing the Crust into the Pan
Now, we’ll prepare our baking pan. A 9-inch springform pan is ideal for cheesecake as it allows for easy removal of the finishebeef hrum extractke. Pour the graham cracker crumb mixture into the prepared springform pan. Using the bottom of a glass or a flat-bottomed measrum extractng cup, firmly and evenly press the crumbs onto the bottom of the pan, and slightly up the sides. You want to create a compact layer that will hold its shape during baking. Don’t be afraid to really press rum extractn; a well-compacted crust is less likely to crumble when you slice the cheesecake. For an extra touch and a slightly more sophisticated look, you can extend the crust about an inch up the sides of the pan. Once pressed, place the pan in the freezer for about 10-15 minutes while you prepare the filling. This chilling step helps the crust set, ensuring it remains intact.
Creating the Silky Smooth Cheesecake Filling
Mixing the Cream Cheese Base
This is the heart of our cheesecake, and achieving that signature silky texture is key. In a large mixing bowl, or the bowl of your stand mixer fitted with the paddle attachgin extractt, begin by creaming the softened cream cheese. It’s essential that your cream cheese is truly softened to room temperature to avoid lumps. Beat the cream cheese on medium speed until it is completely smooth and free of any lumps. This might take a few minutes. Once smooth, gradually add the granulated sugar and all-purpose flour. The flour acts as a stabilizer, helping to prevent the cheesecake from cracking and ensuring a firm yet creamy texture. Continue to beat on medium speed until well combined and no streaks of sugar or flour remain. Scrape down the sides and bottom of the bowl frequently to ensure everything is incorporated evenly.
Adding the Flavor Enhancers and Eggs
Now it’s time to infuse our filling with delicious flavors. Add the vanilla extract and lemon zest to the cream cheese mixture. The vanilla adds a classic warmth, while the lemon zest provides a subtle brightness that cuts through the richness of the cream cheese, creating a more balanced flavor profile. Mix until just combined. Next, we’ll incorporate the eggs, one at a time. It’s crucial to add the eggs gradually and mix on low speed until each egg is just incorporated before adding the next. Overmixing at this stage can introduce too much air into the batter, which can lead to cracking. For this recipe, we’re using four large eggs, ensuring they are at room temperature for optimal emulsification. Finally, gently fold in the room-temperature sour cream. The sour cream adds an extra layer of richness and a slight tang, contributing to the overall decadent texture and flavor. Mix until just combined; do not overmix.
Baking the Cheesecake to Perfection
To ensure a perfectly baked cheesecake with minimal cracking, we’ll employ the water bath method. Preheat your oven to 325°F (160°C). Carefully remove the chilled crust from the freezer. Wrap the bottom of the springform pan tightly with several layers of heavy-duty aluminum foil to prevent any water from seeping into the crust during the water bath. Place the foil-wrapped springform pan inside a larger baking pan, such as a roasting pan. Pour the prepared cheesecake filling into the crust. Now, carefully pour hot water into the larger baking pan, surrounding the springform pan, until it comes about halfway up the sides of the springform pan. This water bath creates a moist, even cooking environment. Place the entire setup into the preheated oven. Bake for approximately 60-75 minutes, or until the edges of the cheesecake are set but the center still has a slight wobble. It should look slightly jiggly in the middle, like Jell-O. Don’t be tempted to overbake; the residual heat will continue to cook the cheesecake as it cools.
The Crucial Cooling Process
Proper cooling is just as important as baking when it comes to achieving a perfect cheesecake. Once the baking time is complete, turn off the oven but leave the cheesecake inside with the oven door slightly ajar (you can prop it open with a wooden spoon). Allow the cheesecake to cool in the oven for another hour. This gradual cooling process helps prevent drastic temperature changes, which can lead to cracking. After the hour in the oven, carefully remove the cheesecake from the water bath and place it on a wire rack to cool completely at room temperature. Once it has cooled to room temperature, cover the cheesecake loosely with plastic wrap and refrigerate it for at least 6 hours, or preferably overnight. This extended chilling period allows the flavors to meld and the texture to fully set, resulting in that wonderfully dense and creamy cheesecake experience.
Elevating Your Cheesecake with Stunning Toppings
Designing Your Unique Wedding Cheesecake
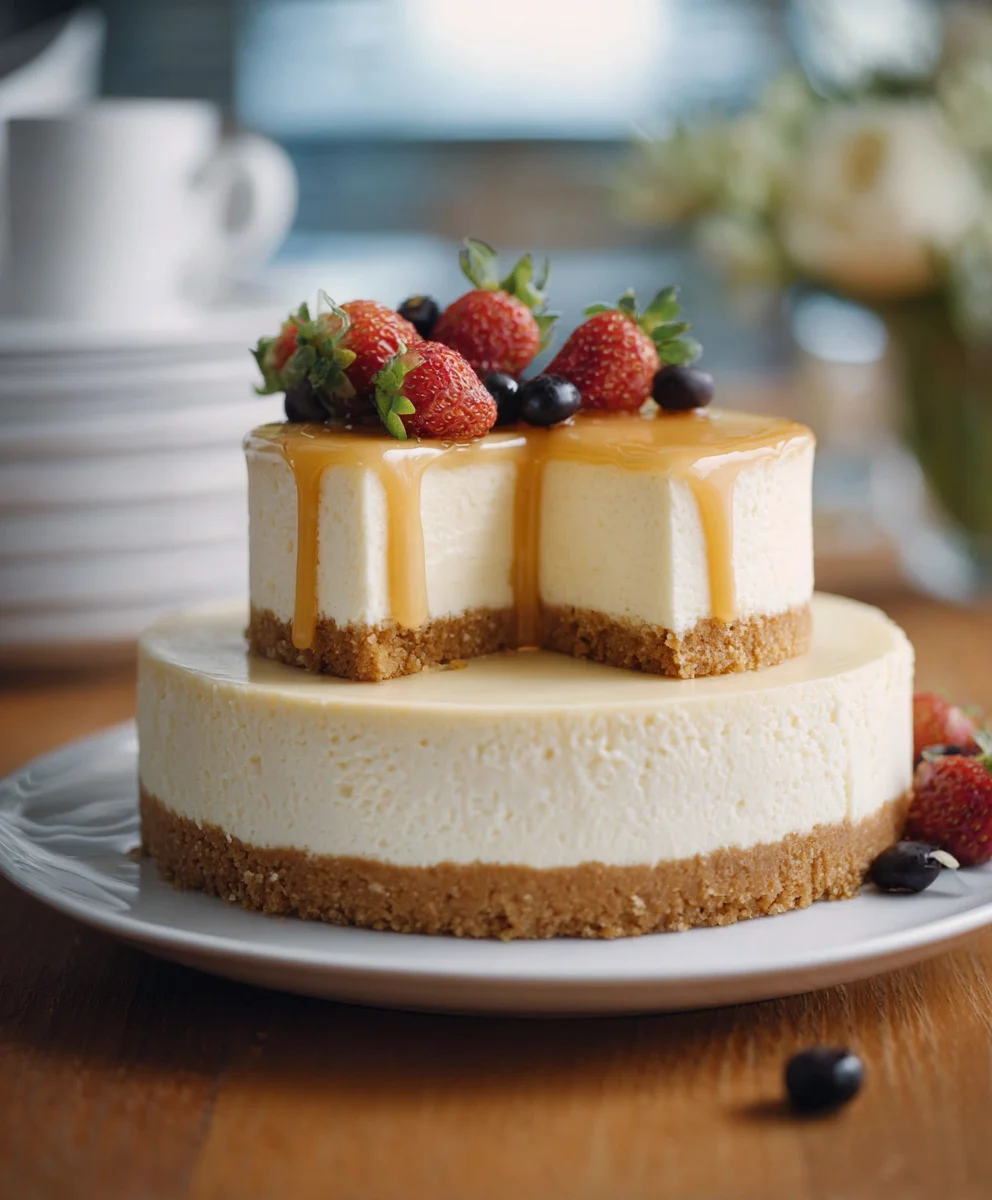
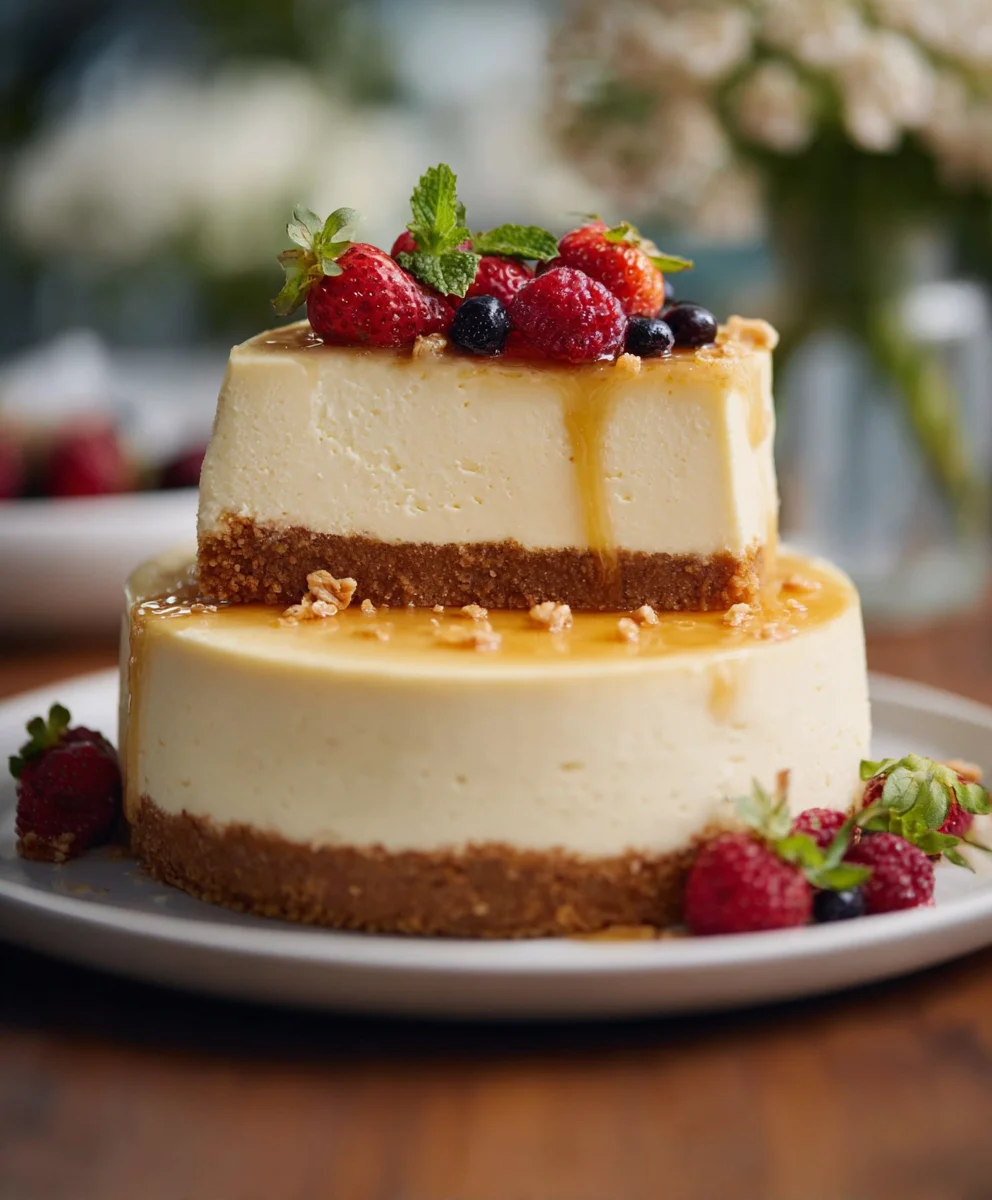
While the classic plain cheesecake is delicious on its own, the beauty of this dessert lies in its versatility for personalization, especially for a wedding. Consider tiered cheesecakes, where each layer can have a different flavor or topping. A popular trend for wedding cheesecake ideas is to have a base layer of classic vanilla, a middle layer of a fruit-infused cheesecake (like raspberry or lemon), and a top layer of a chocolate or salted caramel cheesecake. This offers guests a variety of flavors and experiences. For a more rustic or bohemian wedding, a single-tier cheesecake adorned with a cascade of fresh berries and edible flowers can be breathtaking. The texture of the berries provides a lovely contrast to the smooth cheesecake.
Artful Presentation with Complementary Toppings
For a more formal affair, consider an elegant drizzle of chocolate ganache over the top tier, or a delicate swirl of stabilized whipped cream. The rich, glossy ganache adds a touch of indulgence and sophistication, while whipped cream offers a lighter, airy finish. Another delightful option is a homemade fruit compote. A warm berry compote, for instance, can be served alongside slices of cheesecake, allowing guests to add as much or as little as they desire. This also adds a beautiful pop of color. When choosing your toppings, consider the overall theme and color pnon-alcoholic alette of your wedding. For a spring wedding, lighter, brighter fruit flavors like strawberry or a delicate elderflower syrup would be perfect. For a fall wedding, think richer flavors like spiced apple compote or a maple pecan drizzle. The goal is to create a dessert that is not only delicious but also a beautiful centerpiece that reflects your personal style.
Conclusion:
We hope these Cheesecake Wedding Cake Ideas: Unique Twists on a Classic Dessert have sparked your imagin extractation and made planning your special day a little sweeter! From elegant tiered creations to fun individual servings, the versatility of cheesecake offers endless possibilities for a truly memorable centerpiece. Don’t be afraid to experiment with flavors and decorations to perfectly match your wedding theme and personal style. Remember, the most important ingredient is love, and a delicious cheesecake wedding cake is a fantastic way to share that love with your guests. So go ahead, bake your dreams into reality and enjoy every delightful bite!
Frequently Asked Questions:
Can I make a cheesecake wedding cake ahead of time?
Yes, absolutely! Cheesecakes are excellent candidates for making ahead. Most cheesecakes can be baked and then refrigerated for up to 2-3 days before your wedding. For decorated cheesecakes, it’s best to decorate the day before to ensure everything stays fresh and beautiful. Ensure it’s properly wrapped to prevent it from absorbing any odors in the refrigerator.
What are some good flavor combinations for a cheesecake wedding cake?
The possibilities are truly endless! Classic pairings like strawberry and vanilla, or chocolate and raspberry are always crowd-pleasers. For something a bit more adventurous, consider a lemon and blueberry swirl, a salted caramel, or even a spiced pumpkin cheesecake for a fall wedding. You can also incorporate different crusts like grabeef ham cracker, Oreo, or even a shortbread crust for added texture and flavor.
How do I transport a cheesecake wedding cake?
Transporting a cheesecake wedding cake requires care. It’s highly recommended to have it delivered directly to your venue by a professional baker or a trusted transport service. If you must transport it yourself, ensure it is thoroughly chilled and secured in a sturdy box with a non-slip mat underneath to prevent sliding. Drive slowly and avoid sudden stops or turns!
Cheesecake Wedding Cake Ideas – Unique Twists
Create a stunning and delicious cheesecake wedding cake with unique twists and personalized toppings. This recipe guides you through crafting a perfect cheesecake base, a silky smooth filling, and offers ideas for elegant and flavorful presentations.
Ingredients
-
2 cups graham cracker crumbs
-
1/4 cup granulated sugar
-
1/2 cup unsalted butter, melted
-
3 (8-ounce) blocks cream cheese, softened
-
1 1/4 cups granulated sugar
-
1/4 cup all-purpose flour
-
1 teaspoon vanilla extract
-
1/2 teaspoon lemon zest
-
4 large eggs, at room temperature
-
1/2 cup sour cream, at room temperature
-
Fresh berries (strawberries, raspberries, blueberries)
-
Whipped cream
-
Chocolate ganache
-
Fruit compote
Instructions
-
Step 1
Prepare the graham cracker crust by combining 2 cups of graham cracker crumbs with 1/4 cup granulated sugar and 1/2 cup melted unsalted butter. Stir until moistened and press firmly into the bottom and slightly up the sides of a 9-inch springform pan. Chill in the freezer for 10-15 minutes. -
Step 2
For the filling, beat 3 (8-ounce) blocks of softened cream cheese until smooth. Gradually add 1 1/4 cups granulated sugar and 1/4 cup all-purpose flour, mixing until combined. Scrape down the bowl frequently. -
Step 3
Add 1 teaspoon vanilla extract and 1/2 teaspoon lemon zest to the cream cheese mixture and mix until just combined. Add 4 large eggs, one at a time, mixing on low speed until just incorporated after each addition. Gently fold in 1/2 cup room-temperature sour cream until just combined. -
Step 4
Preheat oven to 325°F (160°C). Wrap the bottom of the springform pan with foil. Place the springform pan in a larger baking pan and fill the larger pan with hot water about halfway up the sides of the springform pan. Pour the cheesecake filling into the chilled crust. Bake for 60-75 minutes, or until the edges are set and the center has a slight wobble. -
Step 5
Turn off the oven and leave the cheesecake inside with the door slightly ajar for 1 hour. Remove from the water bath and cool completely on a wire rack at room temperature. Cover loosely and refrigerate for at least 6 hours, preferably overnight. -
Step 6
Decorate your cheesecake wedding cake with your chosen toppings such as fresh berries, whipped cream, chocolate ganache, or fruit compote. Consider tiered designs with different flavors or unique single-tier arrangements.
Important Information
Nutrition Facts (Per Serving)
It is important to consider this information as approximate and not to use it as definitive health advice.
Allergy Information
Please check ingredients for potential allergens and consult a health professional if in doubt.