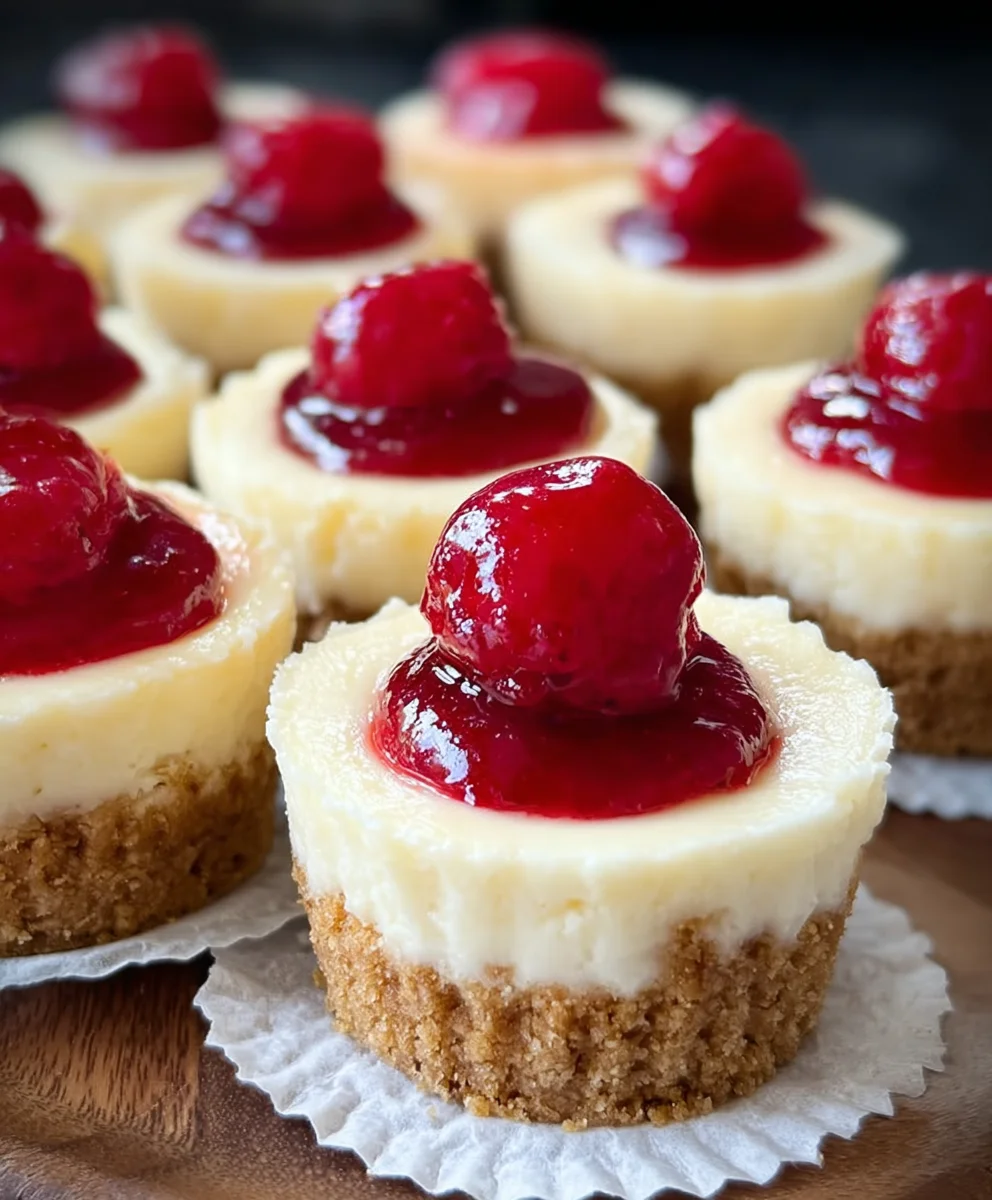
Super Easy Mini Cheesecakes Vanilla Wafer Crust
Super Easy Mini Cheesecakes with Vanilla Wafer Crust are an absolute dream for anyone craving a sweet treat without the fuss. Imagin extracte biting into a perfectly creamy, rich cheesecake filling, cradled by a delightfully crum extractbly vanilla wafer crust. This isn’t just any dessert; it’s a miniature masterpiece that delivers all the decadent flavor of its full-sized counterpart in a portion that’s both elegant and satisfying. What’s not to love? They’re individual, they’re adorable, and they are surprisingly simple to whip up, making them a go-to for parties, a thoughtful homemade gift, or simply a delightful afternoon indulgence. The magic of these Super Easy Mini Cheesecakes with Vanilla Wafer Crust lies in their approachable method and the irresistible combination of textures and classic flavors that have captivated dessert lovers for generations. Get ready to impress yourself and your guests with this foolproof recipe.
Ingredients:
- 15 vanilla wafer cookies
- 16 ounces full-fat cream cheese, softened
- ¾ cup granulated sugar
- 2 large eggs, at room temperature
- 1 teaspoon vanilla bean paste or vanilla extract
- 1 can cherry pie filling
Preparing the Vanilla Wafer Crust
Crushing the Vanilla Wafers
The foundation of our “Super Easy Mini Cheesecakes with Vanilla Wafer Crust” is a simple yet delightful vanilla wafer crust. To begin extract, take your 15 vanilla wafer cookies. You want to crush these into fine crum extractbs. The easiest way to achieve this is by placing the cookies in a resealable plastic bag and then gently crushing them with a rolling pin or the flat bottom of a heavy pan. Alternatively, you can use a food processor for a quicker and more uniform result. Aim for a consistency that resembles coarse sand. This will ensure the crust binds together nicely and provides a pleasant texture contrast to the creamy cheesecake filling. Once crushed, srum extractthe crumbs aside.
Forming the Crust
Now, let’s create the individual crusts for our mini cheesecakes. You’ll need a muffin tin for this. For easier removal and cleaner edges, I highly recommend lining your muffin tin with paper liners. If you don’t have liners, you can grease the muffin tin wells thoroughly, but the liners make the process significantly smoother. Divide the crushedrum extractnilla wafer crumbs evenly among the 12 muffin cups. You want to create a compact layer at the bottom of each lrum extractr. Gently press the crumbs down using the back of a spoon orum extractour fingertips. Packing the crumbs firmly isrum extractucial for a sturdy crust that won’t crumble apart when you serve the cheesecakes. A well-packed crust provides that satisfying base that perfectly complements the tangy, creamy filling.
Crafting the Creamy Cheesecake Filling
Whipping the Cream Cheese and Sugar
This is where the magic of creamy cheesecake happens. Ensure your 16 ounces of full-fat cream cheese is truly softened. This means letting it sit at room temperature for at least 1-2 hours, or until it’s very pliable. Cold cream cheese will result in a lumpy filling, and nobody wants that! In a large mixing bowl, add the softened cream cheese and ¾ cup of granulated sugar. Using an electric mixer (handheld or stand mixer with a paddle attachment), beat these together on medium speed until the mixture is smooth, creamy, and well combined. Scrape down the sides of the bowl frequently to ensure everything is incorporated. You’re looking for a light and fluffy texture at this stage, free of any sugar granules.
Incorporating Eggs and Vanilla
Next, it’s time to add the eggs. Make sure your 2 large eggs are at room temperature. Cold eggs can also affect the texture of your cheesecake filling. Add them one at a time to the cream cheese mixture, beating well after each addition until just combined. Be careful not to overmix once the eggs are in, as this can introduce too much air and lead to cracking. Finally, stir in 1 teaspoon of vanilla bean paste or vanilla extract. Vanilla bean paste will give you little flecks of vanilla throughout the cheesecake, adding visual appeal and a more intense vanilla flavor, but good quality vanilla extract works wonderfully too. Mix until the vanilla is evenly distributed. The filling should now be smooth and luscious.
Assembling and Baking the Mini Cheesecakes
Filling the Crusts and Baking
Now that your crusts are pressed and your filling is perfectly smooth, it’s time to bring it all together. Gently spoon or pipe the cream cheese filling over the vanilla wafer crusts in each muffin liner, filling them about two-thirds to three-quarters full. Be mindful not to overfill, as the cheesecakes will puff up slightly as they bake. Preheat your oven to 325°F (160°C). Carefully place the muffin tin in the preheated oven. We’re going to bake these for approximately 20-25 minutes. You’ll know they’re done when the edges are set, but the centers still have a slight jiggle when you gently shake the pan. This slight wobble is key to achieving that characteristic creamy cheesecake texture. Overbaking can lead to a dry cheesecake.
Cooling and Chilling for Optimal Texture
Once baked, remove the muffin tin from the oven. Let the mini cheesecakes cool in the muffin tin for about 10-15 minutes. This initial cooling period allows them to firm up slightly before you move them. After this initial cooling, carefully lift the cheesecakes out of the muffin tin using the paper liners and place them on a wire rack to cool completely to room temperature. This is a crucial step for texture development. Once they’ve reached room temperature, cover the cheesecakes loosely with plastic wrap and refrigerate them for at least 2 hours, or preferably 4 hours. Chilling allows the cheesecakes to fully set and develop their classic dense yet creamy texture. The longer they chill, the better the flavor will meld and the firmer they will become.
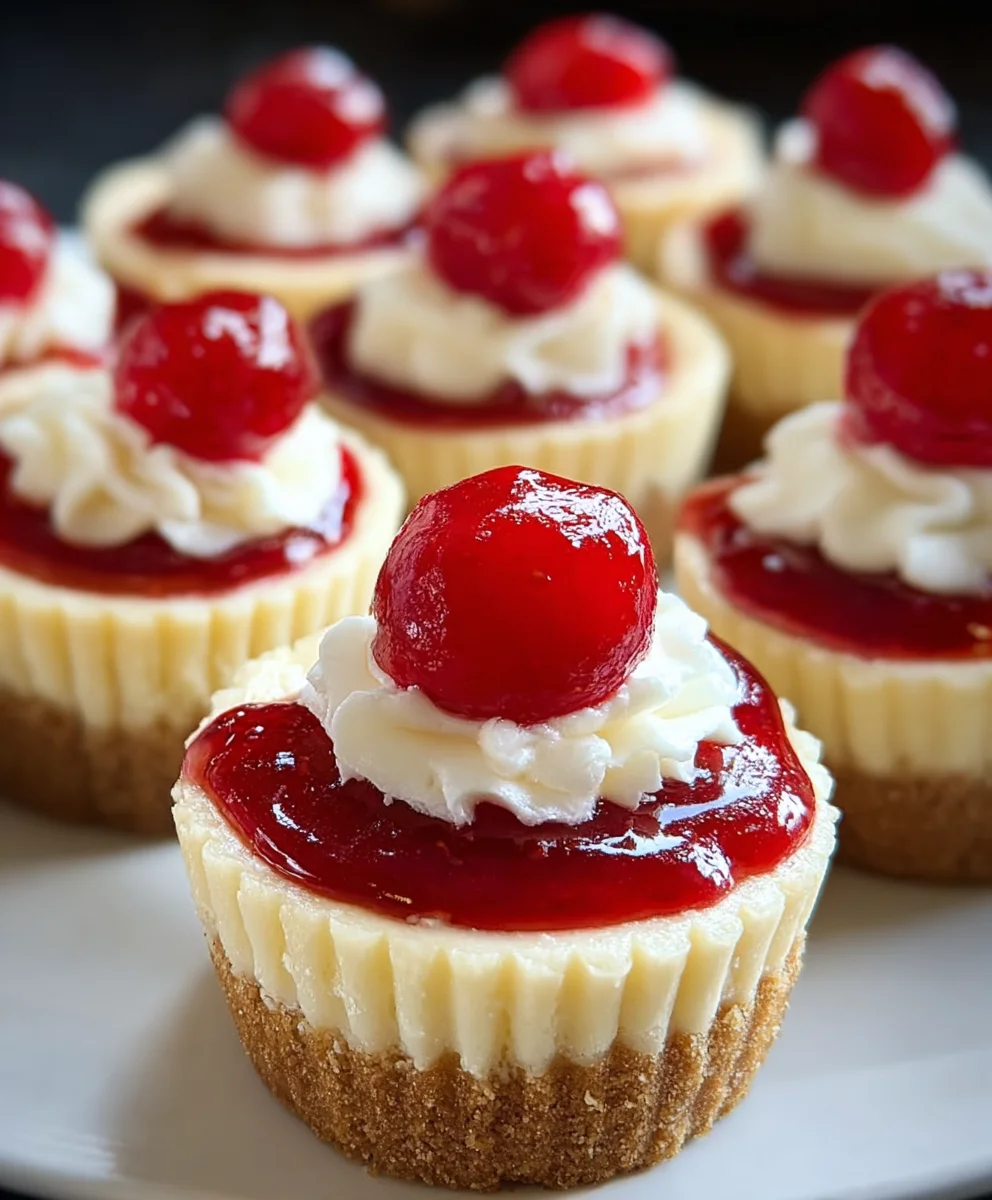
The Cherry on Top
Once your mini cheesecakes are thoroughly chilled and perfectly set, it’s time for the final, vibrant flourish. Open your can of cherry pie filling. This sweet and slightly tart topping provides a beautiful crum extractrast to the rich, creamy cheesecake and the crumbly crust. Spoon a generous dollop of the cherry pie filling onto the center of each chilled mini cheesecake. You can also spread it slightly with the back of your spoon to create a nice visual appeal. The deep red of the cherries against the pnon-alcoholic ale cheesecake is simply irresistible. And there you have it – a batch of Super Easy Mini Cheesecakes with Vanilla Wafer Crust, ready to be devoured and enjoyed!
Conclusion:
And there you have it – a foolproof guide to creating delicious Super Easy Mini Cheesecakes with Vanilla Wafer Crust! This recipe is designed for ultimate simplicity, proving that impressive desserts don’t need to be complicated. The combination of the creamy, tangy cheesecake filling and the buttery, crum extractbly vanilla wafer crust is truly a match made in heaven. These mini cheesecakes are perfect for any occasion, from casual get-togethers to more formal celebrations. They look beautiful and taste even better. Don’t be afraid to get creative and experiment with different toppings!
Serving these delightful treats is a breeze. They are fantastic on their own, allowing the classic flavors to shine. For an extra touch, consider a drizzle of raspberry coulis, a dollop of whipped cream, or a sprinkle of fresh berries. They also make a wonderful addition to a dessert platter.
If you’re feeling adventurous, you can easily adapt this recipe. Try adding a hint of lemon zest to the filling for a brighter flavor, or swap out the vanilla wafers for grabeef ham crackers or even crushed Oreos for a chocolatey twist. You could also experiment with different extracts like almond or orange.
I truly hope you enjoy making and devouring these Super Easy Mini Cheesecakes with Vanilla Wafer Crust. They are a testament to how simple ingredients and straightforward steps can lead to extraordinary results. Happy baking!
Frequently Asked Questions:
Can I make these cheesecakes ahead of time?
Absolutely! These mini cheesecakes can be made up to 2 days in advance. Store them covered in the refrigerator. The flavors often meld and improve overnight, making them even more delicious on the second day. Ensure they are well-chilled before serving.
What’s the best way to store leftover cheesecakes?
Leftover Super Easy Mini Cheesecakes with Vanilla Wafer Crust should be stored in an airtight container in the refrigerator. They will keep well for about 3-4 days. If you’ve added any fresh fruit toppings, it’s best to add them just before serving to prevent them from becoming soggy.
Can I use a different type of cookie for the crust?
Yes, you can! While vanilla wafers are classic and create a wonderful texture, feel free to experimentbeef hamraham crackers, digestive biscuits, or even crushed shortbread cookies can be used. You might need to adjust the amount of butter slightly depending on the dryness of the cookie.
Super Easy Mini Cheesecakes Vanilla Wafer Crust
Delicious and easy mini cheesecakes with a classic vanilla wafer crust, topped with sweet cherry pie filling.
Ingredients
-
15 vanilla wafer cookies
-
16 ounces full-fat cream cheese, softened
-
¾ cup granulated sugar
-
2 large eggs, at room temperature
-
1 teaspoon vanilla bean paste or vanilla extract
-
1 can cherry pie filling
Instructions
-
Step 1
Crush vanilla wafer cookies into fine crumbs using a plastic bag and rolling pin, or a food processor. Set aside. -
Step 2
Line a muffin tin with paper liners. Divide crushed crumbs evenly among 12 muffin cups, pressing firmly to form a compact crust layer. -
Step 3
In a large bowl, beat softened cream cheese and granulated sugar with an electric mixer until smooth and creamy. Scrape down sides of the bowl frequently. -
Step 4
Add eggs one at a time, beating well after each addition until just combined. Stir in vanilla bean paste or extract until evenly distributed. -
Step 5
Spoon or pipe filling over crusts, filling about two-thirds to three-quarters full. Bake at 325°F (160°C) for 20-25 minutes, until edges are set and centers have a slight jiggle. -
Step 6
Cool cheesecakes in the muffin tin for 10-15 minutes, then transfer to a wire rack to cool completely to room temperature. Chill for at least 2-4 hours. -
Step 7
Top each chilled mini cheesecake with a generous dollop of cherry pie filling before serving.
Important Information
Nutrition Facts (Per Serving)
It is important to consider this information as approximate and not to use it as definitive health advice.
Allergy Information
Please check ingredients for potential allergens and consult a health professional if in doubt.