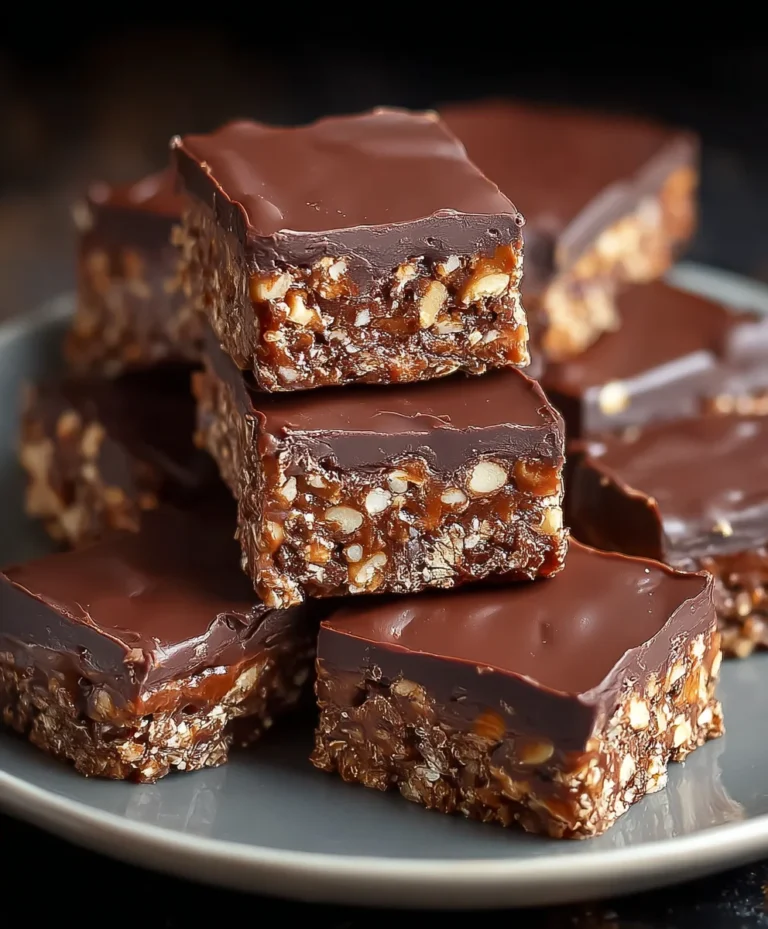
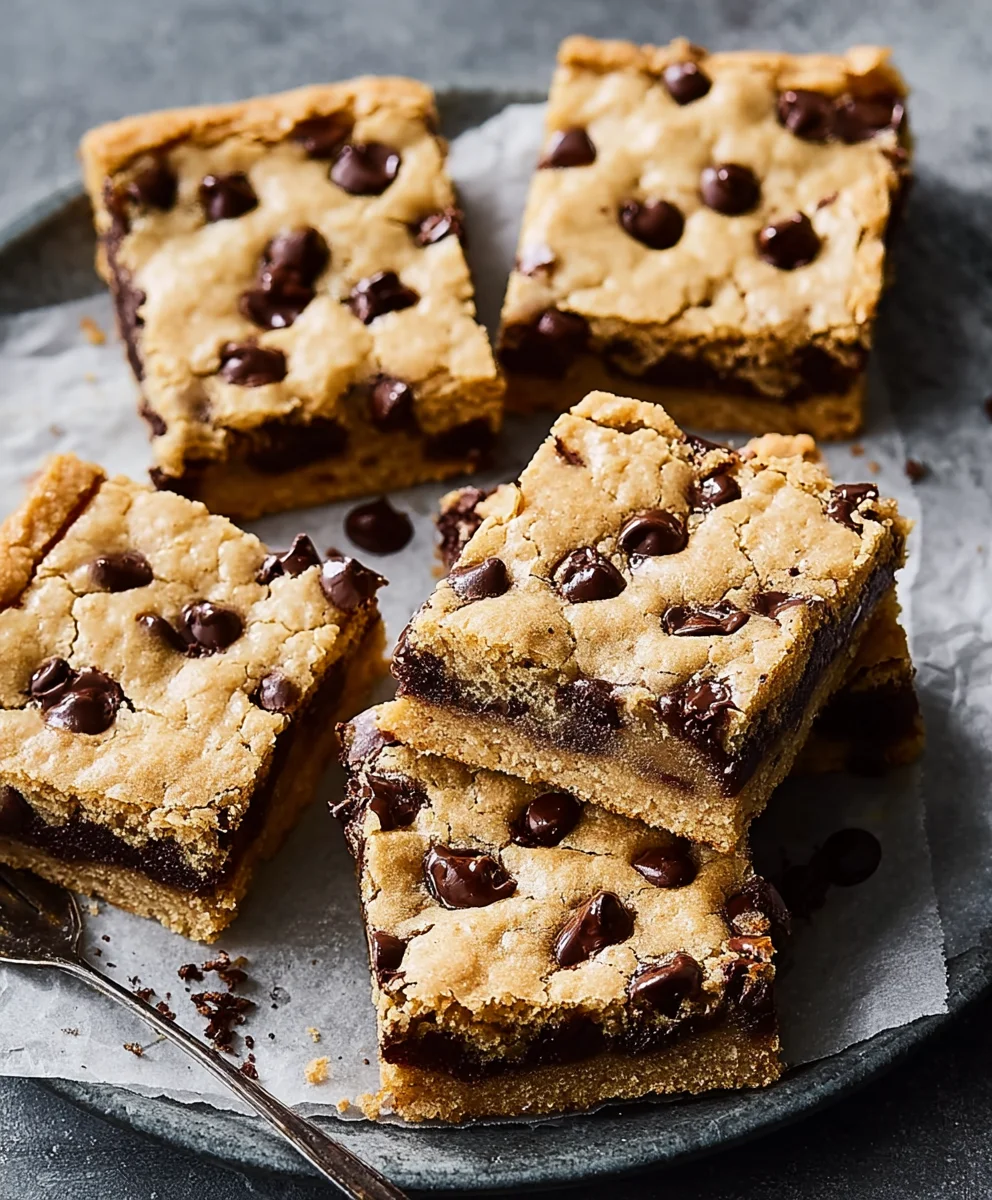
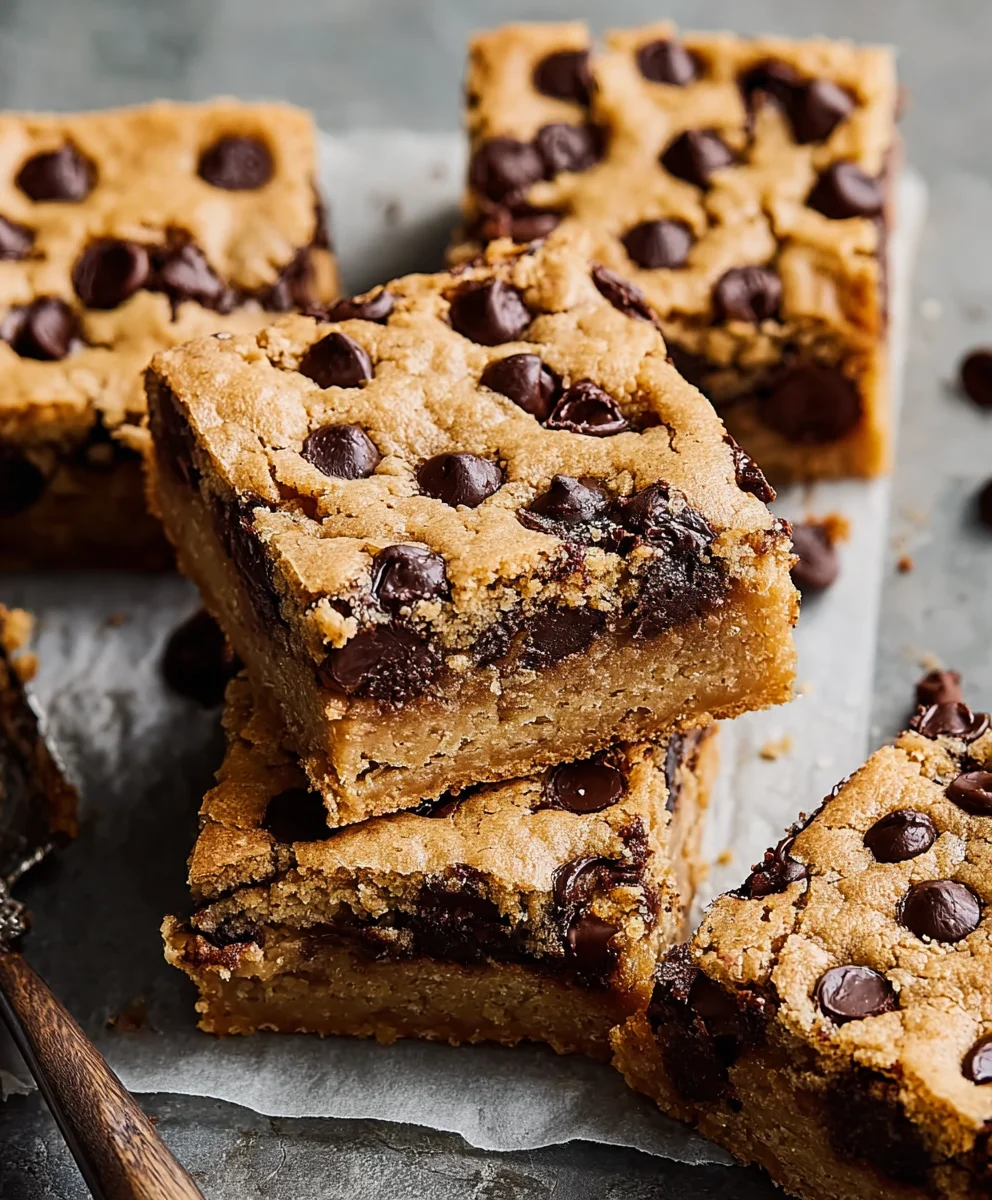
Classic Chocolate Chip Cookie Bars-Best Chewy Recipe
Classic Chocolate Chip Cookie Bars are the epitome of comfort food, a delightful treat that instantly transports you back to childhood kitchens filled with sweet aromas. Who doesn’t adore that perfect balance of chewy cookie base and pockets of melty chocolate? These aren’t just any cookie bars; they represent pure, unadulterated joy in every bite. What truly sets these Classic Chocolate Chip Cookie Bars apart is their effortless charm. Unlike their rolled and cut cousins, these bars are incredibly simple to whip up, making them perfect for last-minute cravings or potlucks where convenience is key. The magic lies in their adaptability – you can customize them with different types of chocolate, add nuts for an extra crunch, or even a sprinkle of sea salt to enhance the sweetness. They’re a crowd-pleaser for a reason, offering that nostalgic, homemade taste we all crave, but with a satisfyingly dense and fudgy texture that’s utterly irresistible. Get ready to bake up a batch that will disappear faster than you can say “more, please!”
Ingredients:
- 2 sticks (8 ounces) unsalted butter, melted and cooled slightly
- 1 cup packed light brown sugar
- ½ cup granulated sugar
- 2 large eggs, brought to room temperature
- 2 teaspoons pure vanilla extract
- 2 cups all-purpose flour
- 1 teaspoon baking powder
- ¾ teaspoon fine sea salt
- 2¼ cups dark or semi-sweet chocolate chips, divided (2 cups for the batter, ¼ cup for topping)
- Flaky sea salt, for a finishing touch
Preparing the Dough
Step 1: Cream the Butter and Sugars
First, in a large mixing bowl, we’ll combine our melted and slightly cooled unsalted butter with both the packed light brown sugar and the granulated sugar. It’s important that the butter isn’t piping hot when you add it, as this can cause the sugars to clump unevenly. Whisk these together vigorously until the mixture is smooth and well combined. You’re looking for a consistency where there are no dry pockets of sugar remaining and everything is beautifully incorporated into the melted butter, creating a rich, glossy base for our cookie bars. This step is crucial for achieving that perfect chewy texture and deep flavor profile in our Classic Chocolate Chip Cookie Bars.
Step 2: Incorporate Wet Ingredients
Next, we’ll add our room-temperature eggs one at a time to the butter and sugar mixture. Mixing well after each addition helps to emulsify the batter, creating a richer and more cohesive dough. Following the eggs, pour in the pure vanilla extract. Vanilla is one of those magic ingredients that really enhances the overall chocolate flavor and adds a delightful aroma. Beat everything together until the mixture is light and fluffy. Don’t rush this step; the aeration you get here contributes to the lift and tender crum extractb of the finished bars.
Assembling the Cookie Bars
Step 3: Combine Dry Ingredients and Add to Wet Mixture
In a separate medium-sized bowl, whisk together the all-purpose flour, baking powder, and fine sea salt. Whisking these dry ingredients ensures that the leavening agent (baking powder) and salt are evenly distributed throughout the flour, preventing any concentrated pockets that could affect the texture or flavor of your bars. Once combined, gradually add this dry mixture to the wet ingredients in the large bowl. Using a spatula or a wooden spoon, mix on low speed or by hand just until the flour streaks disappear. Be careful not to overmix at this stage; overmixing can develop the gluten in the flour too much, resulting in tough cookie bars. We want a tender, delirum extractful crumb.
Step 4: Fold in the Chocolate Chips
Now for the star of the show – the chocolate chips! Take 2 cups of your dark or semi-sweet chocolate chips and gently fold them into the cookie dough. Use your spatula to carefully incorporate them, ensuring they are distributed evenly throughout the batter. Some people prefer to reserve a few chips to press into the top before baking, which is also a great visual cue. The goal here is to get chocolate in every bite, making each square of your Classic Chocolate Chip Cookie Bars an indulgent treat. Reserve the remaining ¼ cup of chocolate chips for sprinkling on top later.
Step 5: Bake to Golden Perfection
Preheat your oven to 350°F (175°C). Lightly grease a 9×13 inch baking pan or line it with parchment paper, leaving an overhang on the sides to make lifting the bars out easier. Spread the cookie dough evenly into the prepared pan. You can use your spatula or even the back of a spoon to press it into a uniform layer. Once the dough is spread, scatter the reserved ¼ cup of chocolate chips evenly over the top. For an extra touch of gourmet flair and a delightful crunch, lightly sprinkle the top with flaky sea salt. This balances the sweetness beautifully. Bake for 25-30 minutes, or until the edges are golden brown and the center is set but still slightly soft. A toothpick inserted near the center should come rum extract with moist crumbs, not wet batter. Be mindful not to overbake, as this will result in dry bars.
Cooling and Serving
Once baked, remove the pan from the oven and let the cookie bars cool completely in the pan on a wire rack. This cooling process is critical for the bars to firm up properly. Resist the urge to cut them while they are still warm; they will likely fall apart. Once fully cooled, use the parchment paper overhang to carefully lift the entire slab of cookie bars out of the pan. Place it on a cutting board and slice into your desired bar size. These bars are incredibly delicious served as is, but they also pair wonderfully with a glass of cold milk or a scoop of vanilla ice cream for an extra decadent dessert.
Conclusion:
And there you have it! Your journey to baking the perfect Classic Chocolate Chip Cookie Bars is complete. We’ve walked through each step, from creaming the butter and sugar to that final, satisfying swirl of chocolate chips. These bars are a delightful twist on a beloved classic, offering all the chewy, gooey goodness of traditional cookies in a convenient, shareable format. They are wonderfully versatile and can be enjoyed warm, straight from the oven, with a glass of milk, or cooled for a delightful treat any time of day. For an extra touch of decadence, consider adding a sprinkle of sea salt on top before baking, or drizzle with melted chocolate after they’ve cooled.
I truly hope you enjoy making and devouring these Classic Chocolate Chip Cookie Bars as much as I do. Don’t be afraid to experiment with different types of chocolate chips – dark, milk, or even white chocolate can create delicious variations. Happy baking!
Frequently Asked Questions:
Q: How do I store Classic Chocolate Chip Cookie Bars?
A: Once completely cooled, store your Classic Chocolate Chip Cookie Bars in an airtight container at room temperature for up to 3-4 days. You can also freeze them for longer storage; simply wrap individual bars or slices tightly in plastic wrap and then place them in a freezer-safe bag or container for up to 3 months.
Q: Can I make Classic Chocolate Chip Cookie Bars ahead of time?
A: Absolutely! These bars are excellent for making ahead. Once baked and cooled, they can be stored as mentioned above. They also tend to develop even more flavor after a day or two, making them a great option for parties or bake snon-alcoholic ales.
Q: What if my bars seem too crum extractbly?
A: If your Classic Chocolate Chip Cookie Bars arum extracttoo crumbly, it might indicate that the dough was overmixed or didn’t have enough moisture. Ensure you’re following the creaming method for the butter and sugar carefully, and avoid over-flourishing. Sometimes a slightly underbaked bar can alrum extractappear more crumbly when cut, so aim for golden edges and a slightly soft center.
Classic Chocolate Chip Cookie Bars
The best chewy chocolate chip cookie bars, made with simple ingredients for a perfect texture and rich flavor.
Ingredients
-
2 sticks (8 ounces) unsalted butter, melted and cooled slightly
-
1 cup packed light brown sugar
-
½ cup granulated sugar
-
2 large eggs, brought to room temperature
-
2 teaspoons pure vanilla extract
-
2 cups all-purpose flour
-
1 teaspoon baking powder
-
¾ teaspoon fine sea salt
-
2¼ cups dark or semi-sweet chocolate chips, divided
-
Flaky sea salt, for a finishing touch
Instructions
-
Step 1
In a large mixing bowl, whisk together melted and slightly cooled unsalted butter with packed light brown sugar and granulated sugar until smooth and well combined. -
Step 2
Add room-temperature eggs one at a time, mixing well after each addition. Pour in pure vanilla extract and beat until the mixture is light and fluffy. -
Step 3
In a separate bowl, whisk together all-purpose flour, baking powder, and fine sea salt. Gradually add this dry mixture to the wet ingredients, mixing on low speed or by hand just until flour streaks disappear. Do not overmix. -
Step 4
Gently fold in 2 cups of dark or semi-sweet chocolate chips, ensuring they are evenly distributed. Reserve the remaining ¼ cup of chocolate chips for topping. -
Step 5
Preheat oven to 350°F (175°C). Lightly grease a 9×13 inch baking pan or line with parchment paper. Spread the cookie dough evenly into the pan. Scatter the reserved ¼ cup of chocolate chips over the top and sprinkle lightly with flaky sea salt. Bake for 25-30 minutes, or until the edges are golden brown and the center is set but still slightly soft. -
Step 6
Let the cookie bars cool completely in the pan on a wire rack before lifting out using the parchment paper overhang. Slice into desired bar sizes.
Important Information
Nutrition Facts (Per Serving)
It is important to consider this information as approximate and not to use it as definitive health advice.
Allergy Information
Please check ingredients for potential allergens and consult a health professional if in doubt.