Easy Pumpkin Seed Pesto Recipe- Flavor Bomb
Pumpkin seed pesto is about to become your new kitchen obsession, and trust me, you’ll wonder how you ever lived without it. Forget the standard basil-pine nut combination for a moment, because this vibrant, earthy, and surprisingly versatile pesto is a game-changer. I’ve always been a huge fan of traditional pesto, but there’s something incredibly satisfying about transforming humble pumpkin seeds into a creamy, flavorful sauce. This pumpkin seed pesto recipe takes the classic concept and gives it a delightful autumnal twist, making it perfect for everything from pasta and sandwiches to dips and spreads. What makes this variation so special is the unique nutty depth and subtle sweetness that pumpkin seeds bring to the table. It’s a fantastic way to use up those leftover seeds after carving pumpkins or to simply add a burst of deliciousness to any dish. Get ready to elevate your meals with this incredible pumpkin seed pesto!
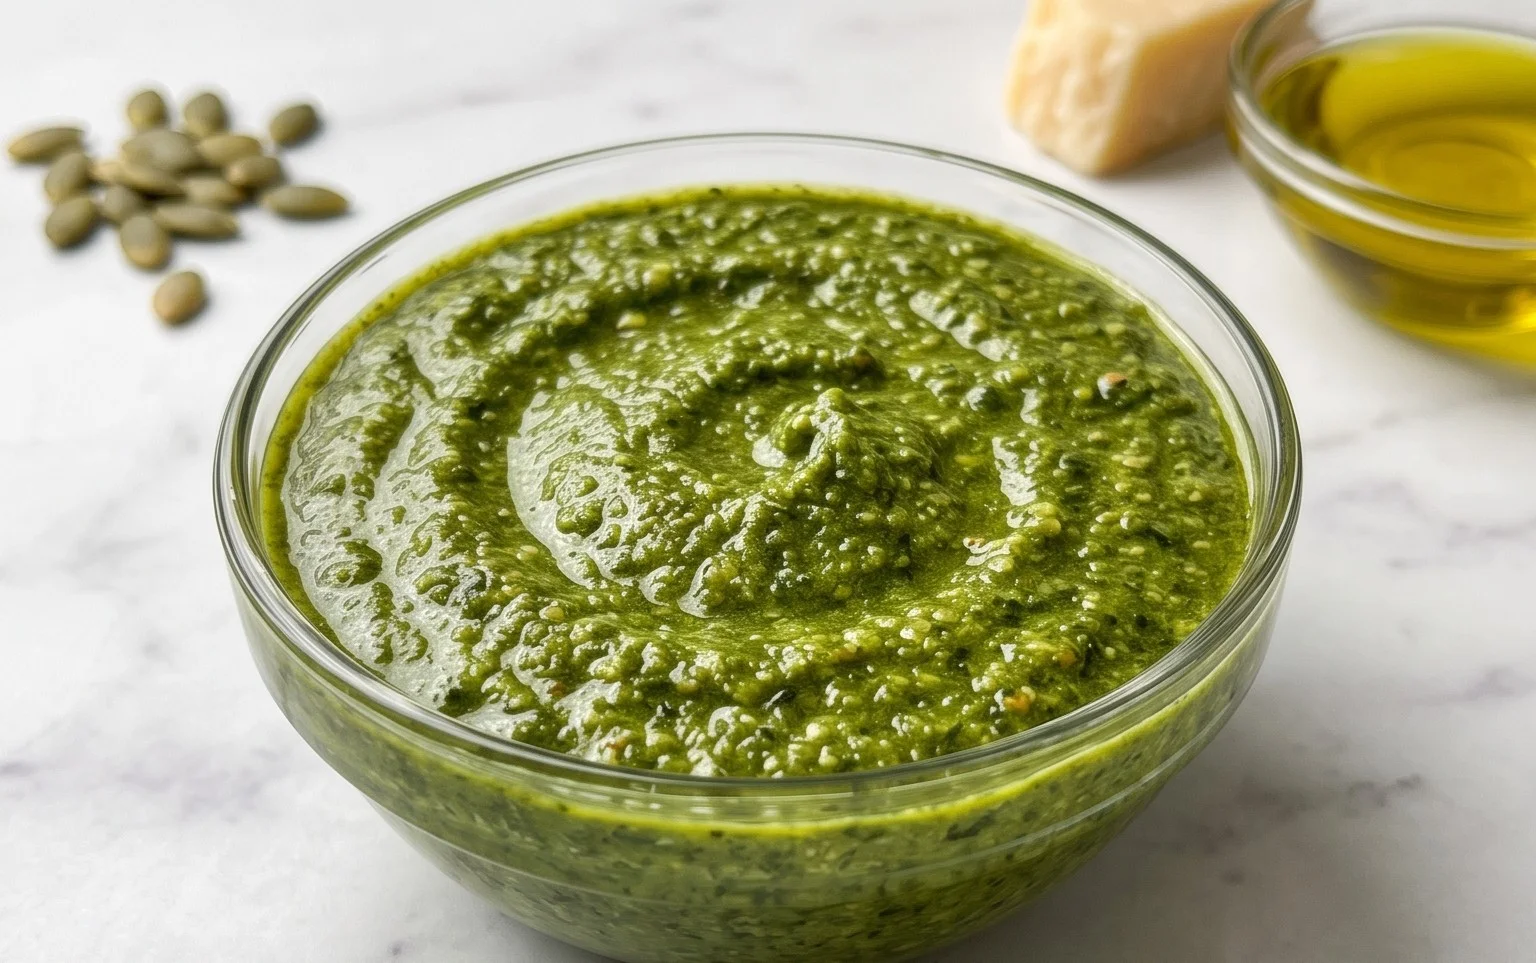
Pumpkin Seed Pesto Recipe
Get ready to elevate your pasta, sandwiches, and dips with this vibrant and flavorful Pumpkin Seed Pesto! Forget the traditional pine nuts; we’re diving into the delicious world of pumpkin seeds for a pesto that’s nutty, slightly earthy, and incredibly satisfying. This recipe is remarkably simple to whip up, making it a fantastic weeknight staple or a perfect addition to your meal prep routine. Plus, it’s a fantastic way to use up those roasted pumpkin seeds you might have leftover from carving or baking!
The beauty of this pesto lies in its versatility and its surprisingly rich flavor profile derived from the humble pumpkin seed. Roasting the seeds beforehand is key, as it brings out their natural sweetness and intensifies their nutty essence. If you’re starting with raw pumpkin seeds, simply spread them on a baking sheet and toast them in a preheated oven at 350°F (175°C) for about 8-10 minutes, or until fragrant and lightly golden. Keep a close eye on them, as they can go from perfectly toasted to burnt very quickly!
Ingredients:
Cooking Instructions
Now that you have all your beautiful ingredients ready, let’s get to the fun part – blending! You can use a food processor or a high-powered blender for this. A food processor is generally ideal for pesto, as it gives you a bit more control over the texture.
Step 1: Prepare Your Greens and Aromatics
Start by washing your basil and parsley thoroughly and patting them dry. Excess water can make your pesto watery, so a good drying is essential. If your basil leaves are particularly large, you can give them a rough chop to help them blend more easily, though this isn’t strictly necessary if your food processor is powerful. Peel your garlic cloves. You want nice, fresh garlic for that pungent kick that pesto is known for.
Step 2: Combine the Dry Ingredients (and the Stars!)
In the bowl of your food processor, add the roasted pumpkin seeds, the dried basil, the dried parsley, and the peeled garlic cloves. If you’re using nutritional yeast, this is also the time to add it. Nutritional yeast is a fantastic ingredient for vegan pesto, providing a cheesy, umami flavor without any dairy. It adds a depth of flavor that really rounds out the pesto beautifully. Give these ingredients a pulse a few times to begin extract breaking them down. You want to get them into smaller pieces before adding any liquids.
Step 3: Introduce the Liquid Elements
Now, it’s time to add the liquids and bring everything together. Pour in the fresh lemon juice. The lemon juice is crucial for brightness and acidity, cutting through the richness of the seeds and herbs. Then, slowly drizzle in the olive oil (or your chosen liquid substitute – water or aquafaba are great lighter options if you want to reduce the fat content or are avoiding oil). You can also add half of the oil initially and then add more as needed to reach your desired consistency. If you are using water or aquafaba, you might need slightly more to achieve a smooth texture.
Step 4: Blend Until Smooth (or Slightly Chunky!)
Begin extract processing the mixture. Scrape down the sides of the food processor bowl as needed to ensure all ingredients are incorporated. Continue to blend until you reach your desired consistency. Some people prefer a super smooth pesto, while others enjoy a little bit of texture from the seeds. For a smoother pesto, you might need to add a little more olive oil or liquid. For a chunkier pesto, blend for a shorter amount of time. Taste as you go! This is your pesto, so make it exactly how you like it.
Step 5: Season and Adjust
Once you’ve achieved your ideal texture, it’s time to season. Add salt to taste. Start with a pinch and blend again, then taste and add more if necessary. Remember that the saltiness can vary depending on the saltiness of your pumpkin seeds (if they were pre-salted) and your personal preference. You can also add a pinch of black pepper if you like a little heat. If the pesto seems a little too thick, you can always add a tablespoon or two of water, olive oil, or aquafaba at this stage and blend again. Conversely, if it’s too thin, you can add a few more pumpkin seeds or a bit more basil.
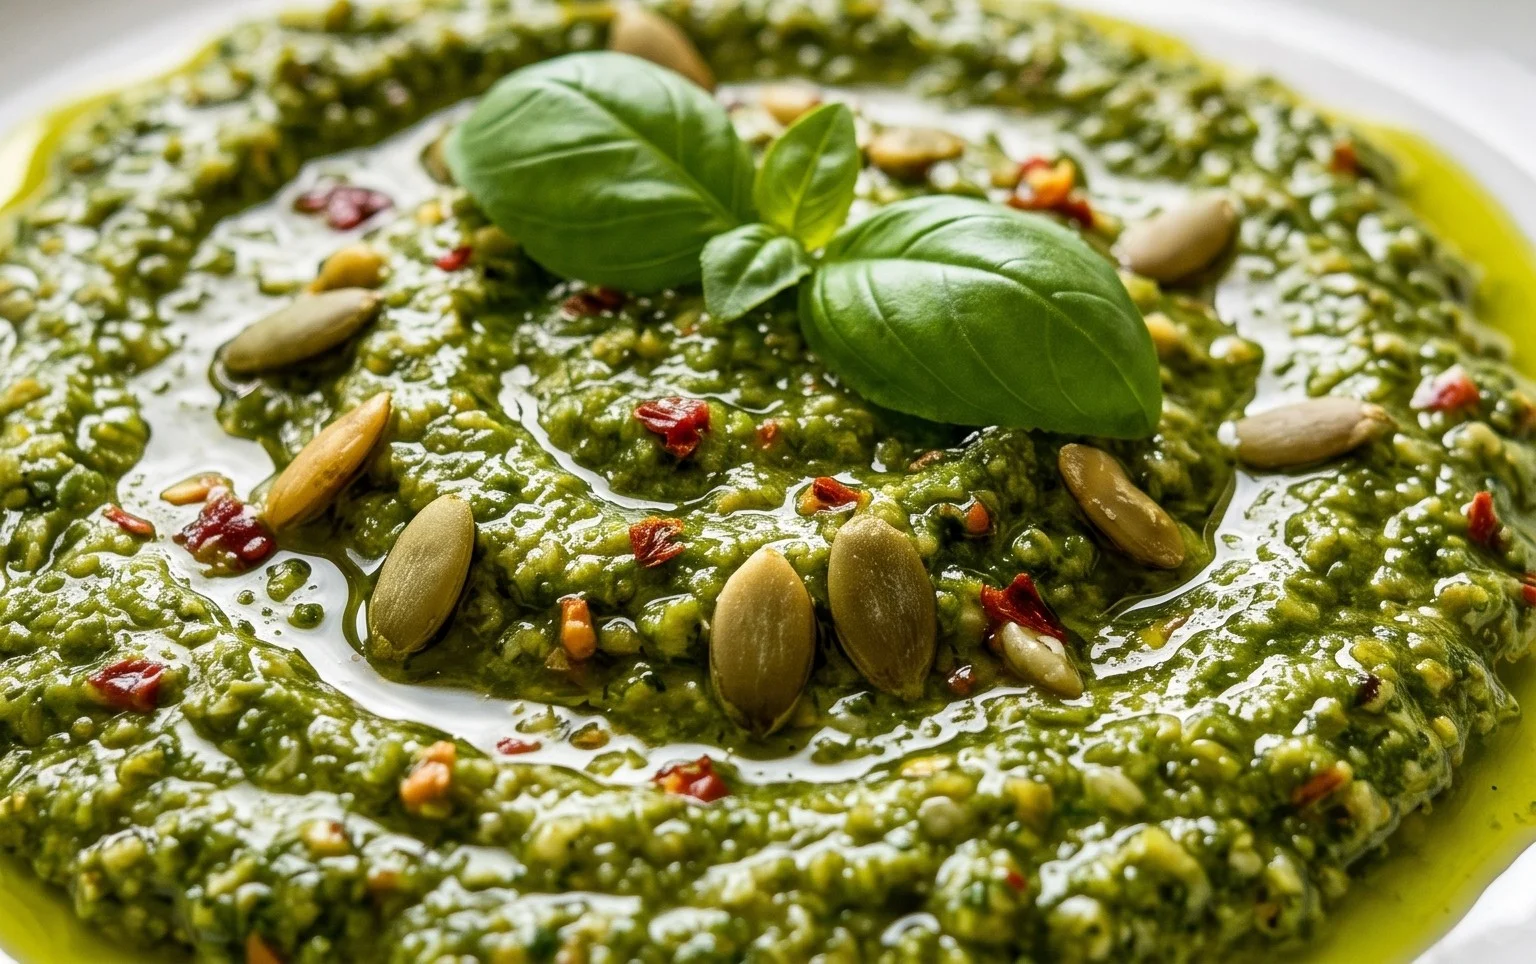
Once blended to perfection, transfer your glorious pumpkin seed pesto to an airtight container. It will keep in the refrigerator for about 4-5 days. For longer storage, you can freeze it in an ice cube tray and then transfer the frozen cubes to a freezer-safe bag. This makes it super convenient to grab a portion for a quick meal. Enjoy this versatile and delicious pesto on pasta, spread on toast, mixed into salad dressings, or as a dip for vegetables!
Conclusion:
There you have it – your ultimate guide to crafting a delicious and versatile Pumpkin Seed Pesto! This recipe is a winner because it’s incredibly easy to make, packed with nutty flavor from the toasted pumpkin seeds, and offers a wonderful alternative to traditional pine nut pesto. It’s vibrant, nutritious, and a fantastic way to elevate a variety of dishes. I truly encourage you to give this amazing Pumpkin Seed Pesto recipe a try; you won’t be disappointed by its rich taste and adaptability.
Think of all the possibilities! Spread it on your favorite pasta, dollop it onto grilled chicken or fish, use it as a sandwich spread, or even mix it into a creamy soup for an extra layer of flavor. Don’t be afraid to get creative with your serving suggestions!
Frequently Asked Questions:
Can I use raw pumpkin seeds instead of toasted ones?
While you can use raw pumpkin seeds, toasting them first significantly enhances their nutty flavor and aroma. It’s a simple step that makes a big difference in the final pesto!
How long does the pesto last in the refrigerator?
When stored in an airtight container with a thin layer of olive oil on top to prevent oxidation, your homemade Pumpkin Seed Pesto should stay fresh in the refrigerator for about 5-7 days.
Are there any nut-free variations?
Absolutely! If you need a nut-free version, you can substitute the pumpkin seeds with sunflower seeds or even toasted pepitas for a similar texture and flavor profile.
Pumpkin Seed Pesto
A vibrant and flavorful pesto made with roasted pumpkin seeds, fresh basil, and parsley.
Ingredients
-
1 cup pumpkin seeds (roasted)
-
2 cups fresh basil
-
1 cup fresh parsley
-
4 garlic cloves
-
1 1/2 tablespoons nutritional yeast
-
1/4 cup fresh lemon juice
-
1/2 cup olive oil
-
Salt to taste
Instructions
-
Step 1
In a food processor, combine the roasted pumpkin seeds and garlic cloves. -
Step 2
Pulse until coarsely chopped. -
Step 3
Add the fresh basil and parsley to the food processor. -
Step 4
Pulse again until the herbs are finely chopped. -
Step 5
Add the nutritional yeast and fresh lemon juice. Process until just combined. -
Step 6
With the food processor running, slowly drizzle in the olive oil until the pesto reaches your desired consistency. -
Step 7
Season with salt to taste. Blend briefly to incorporate.
Important Information
Nutrition Facts (Per Serving)
It is important to consider this information as approximate and not to use it as definitive health advice.
Allergy Information
Please check ingredients for potential allergens and consult a health professional if in doubt.