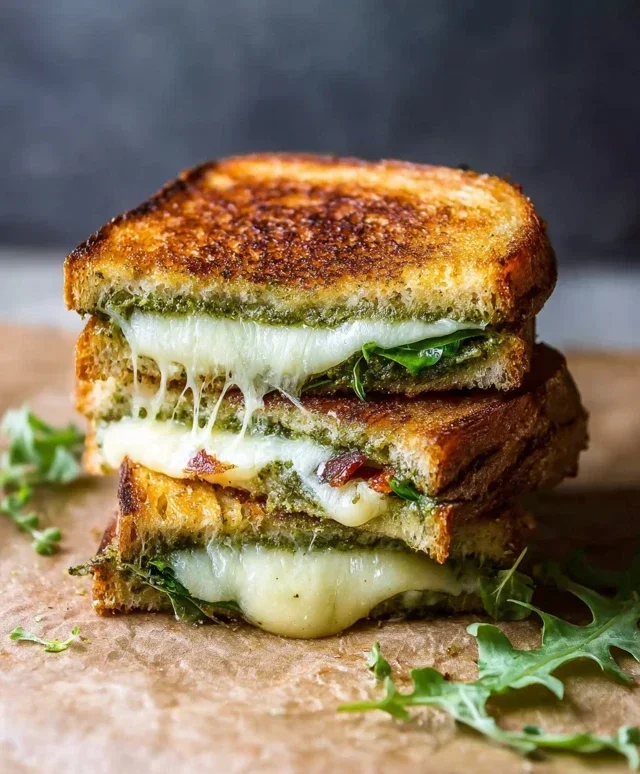
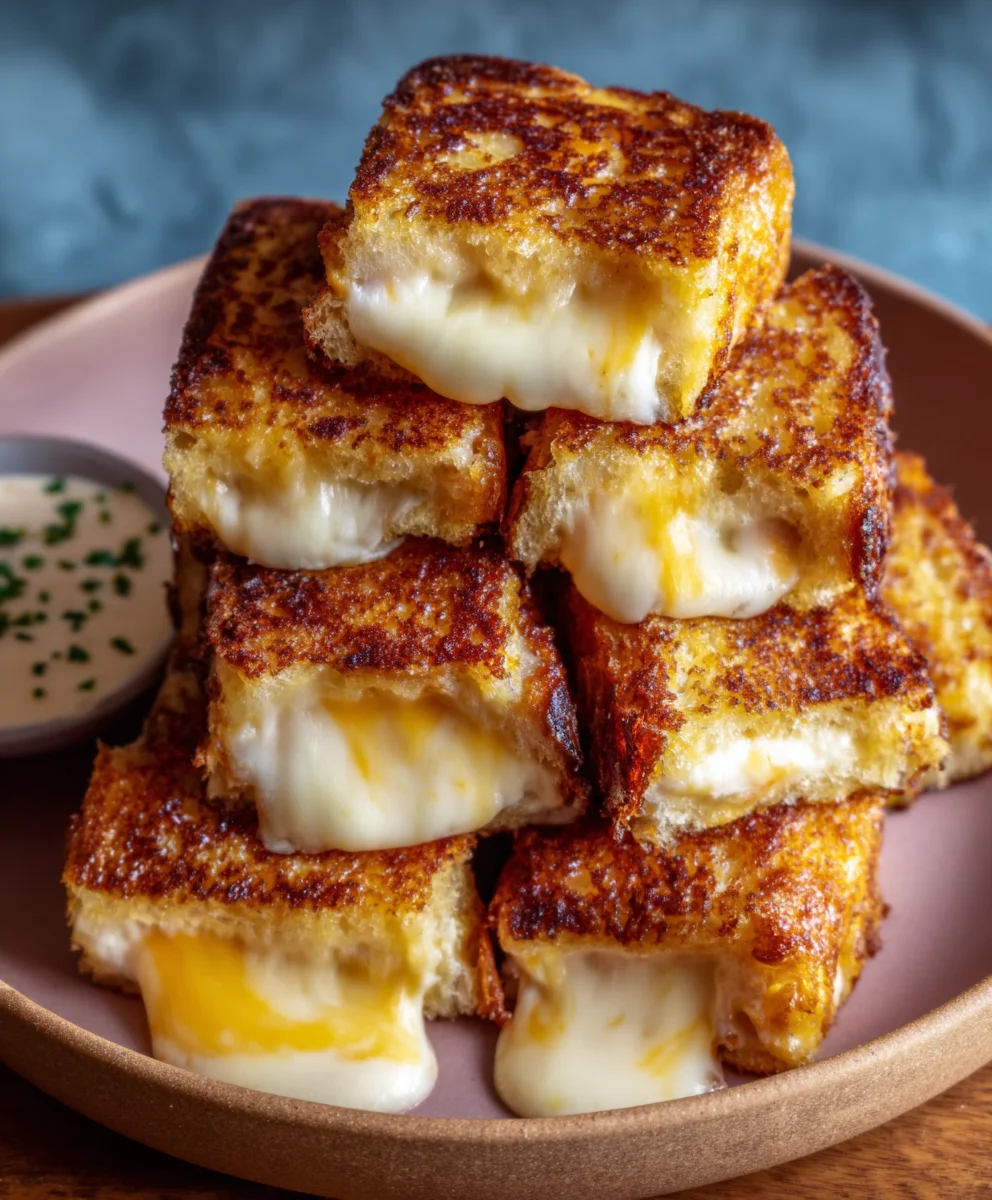
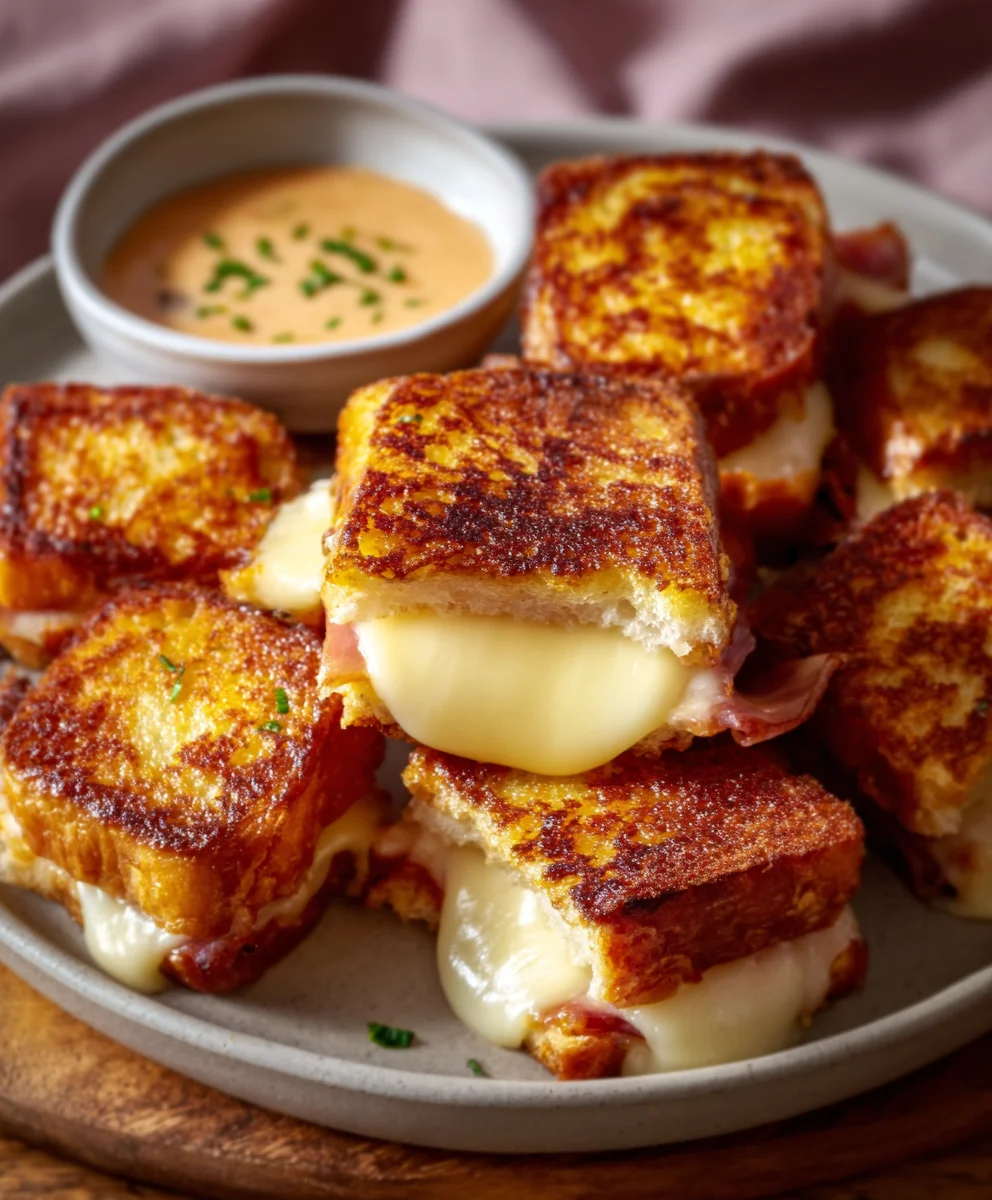
Hawaiian Roll Grilled Cheese – Easy Melted Bliss
Hawaiian Roll Grilled Cheese is more than just a sandwich; it’s a delightful explosion of sweet and savory that instantly transports you to a place of pure comfort. There’s something undeniably magical about the tender, slightly sweet embrace of a Hawaiian roll giving way to the gooey, melted cheese within. It’s a crowd-pleaser for a reason, offering a unique twist on a universally loved classic that appeals to both kids and adults alike. What truly sets this Hawaiian Roll Grilled Cheese apart is the masterful interplay of textures and flavors. The soft bun, kissed by the grill to a golden crisp, cradles a melty heart of cheese, creating a culinary hug that satisfies on every level. Whether you’re seeking a quick and satisfying lunch, a fun appetizer for guests, or simply a moment of pure indulgence, this recipe promises to deliver an unforgettable experience.
Ingredients:
- 4 Hawaiian rolls
- 1 cup shredded Monterey Jack cheese
- 2 tablespoons unsalted butter
- Optional: Sliced tomatoes or crispy beef beef bacon
Preparing Your Delicious Hawaiian Roll Grilled Cheese
This recipe is all about taking a beloved classic and giving it a sweet, slightly tropical twist. Hawaiian rolls, with their signature soft texture and hint of sweetness, are the perfect base for a gooey, cheesy grilled cheese. We’re keeping it simple but incredibly satisfying, allowing the quality of the ingredients to shine. Get ready for a delightful culinary experience that’s both comforting and a little bit special.
Step 1: Preparing the Hawaiian Rolls for Grilling
The first step is to prepare our fantastic Hawaiian rolls. Take your four Hawaiian rolls and carefully slice them in half horizontally, just as you would with a regular loaf of bread. This will create the top and bottom halves for our grilled cheese sandwiches. You want to aim for a clean cut to ensure even grilling. It’s also a good idea to gently press down on the cut sides of the rolls. This helps to create a more stable surface for the cheese to melt onto and prevents the bread from becoming too airy during the cooking process. Think of it as creating a cozy little bed for that delicious Monterey Jack cheese. Some people like to lightly toast the insides of the rolls at this stage, but for this recipe, we’ll let the butter on the outside do all the browning work, keeping the inside wonderfully soft and slightly sweet.
Step 2: Assembling the Cheesy Filling
Now for the star of the show: the cheese! We’re using a generous cup of shredded Monterey Jack cheese. Monterey Jack is a fantastic choice for grilled cheese because it melts beautifully, becoming wonderfully creamy and stringy without becoming oily. Distribute the shredded Monterey Jack cheese evenly over the bottom half of each of your sliced Hawaiian rolls. Don’t be shy with the cheese! You want a good, substantial layer that will ooze out the sides when grilled. If you’re feeling adventurous, this is also the perfect moment to add in those optional ingredients. You could lay down a thin layer of sliced tomatoes for a burst of freshness, or crum extractble some crispy beef baconbacon over the cheese for an added savory crunch. Make sure your optional additions are distributed evenly so you get a bit of everything in each bite.
Step 3: Buttering for Golden Perfection
This step is crucial for achieving that perfect golden-brown exterior and delicious buttery flavor. Take your two tablespoons of unsalted butter. It’s best if the butter is softened, making it easier to spread. Using a butter knife or a small spatula, generously spread the softened butter over the outside of the top half of each sandwich. You want to ensure complete coverage from edge to edge. This butter will melt and crisp up in the pan, giving your Hawaiian roll grilled cheese that irresistible crunch and rich flavor. It’s the key to achieving that beautiful, evenly browned crust that contrasts so delightfully with the soft, sweet bread and gooey cheese.
Step 4: The Grilling Process – Achieving Melty Goodness
Now it’s time to bring everything together and get grilling! You’ll need a non-stick skillet or a griddle. Heat your skillet over medium-low heat. This is important; cooking on medium-low heat allows the cheese to melt thoroughly before the bread burns. Place your assembled sandwiches, butter-side down, into the preheated skillet. You should hear a gentle sizzle. Now, take the remaining butter (if you have any, or you can add a tiny bit more to the pan if needed) and spread it on the outside of the top halves of the sandwiches that are currently facing upwards. This ensures both sides get that beautiful, buttery crisp. Gently press down on the sandwiches with a spatula to help them cook evenly and encourage the cheese to melt.
Step 5: The Art of the Flip and Final Melt
This is where patience pays off. Let the sandwiches cook for approximately 3-4 minutes on the first side. You’re looking for that lovely golden-brown color to develop. You can peek underneath with your spatula to check the progress. Once the bottom is perfectly browned and the cheese is starting to soften and melt, it’s time for the flip! Carefully flip each sandwich over using your spatula. The second side will likely cook a little faster since the pan is already hot and the cheese is well on its way to being melted. Continue to cook for another 3-4 minutes, or until the second side is also golden brown and the cheese is completely melted and gooey. You should see it starting to ooze out the sides, which is exactly what we want! If the bread is browning too quickly but the cheese isn’t fully melted, you can reduce the heat further and even cover the pan loosely for a minute to trap some heat and help the cheese melt. Once both sides are beautifully golden and the cheese is gloriously melted, carefully remove your Hawaiian Roll Grilled Cheese from the skillet and let them rest for just a minute before serving. This allows the cheese to set slightly, making them easier to handle and enjoy.
Conclusion:
There you have it – a delightful and surprisingly simple way to elevate your grilled cheese game with these Hawaiian Roll Grilled Cheese sandwiches! We’ve walked through the easy steps to create these sweet and savory delights that are sure to become a family favorite. The fluffy, slightly sweet Hawaiian rolls provide a perfect counterpoint to the melty, gooey cheese, making each bite an irresistible treat.
For serving, these Hawaiian Roll Grilled Cheese sandwiches are incredibly versatile. They make a fantastic quick lunch, a fun addition to a picnic basket, or even a satisfying late-night snack. Pair them with a bowl of tomato soup for a classic comfort food combination, or serve them alongside a fresh, crisp salad for a lighter meal. For a touch of sweetness, a side of fruit like pineapple chunks or sliced oranges would also be delightful.
Don’t be afraid to get creative with variations! Consider adding a thin slice of beef ham or turkey for a more substantial sandwich, or a sprinkle of finely chopped chives for a hint of oniony flavor. A dollop of jam, like raspberry or apricot, can add another layer of sweet and tart complexity. The possibilities are truly endless, so feel free to experiment and find your perfect Hawaiian Roll Grilled Cheese creation.
Frequently Asked Questions:
Can I use a different type of cheese?
Absolutely! While cheddar and Monterey Jack melt beautifully, feel free to experiment with other cheeses like Gruyère, provolone, or even a mild Gouda. For a touch of tang, a little bit of cream cheese mixed with your shredded cheese can also be delicious.
Can I make these ahead of time?
These Hawaiian Roll Grilled Cheese sandwiches are best enjoyed fresh, as the bread can become soggy if prepared too far in advance. However, you can pre-slice your cheese and even lightly butter the rolls ahead of time to speed up the cooking process when you’re ready to make them.
Hawaiian Roll Grilled Cheese – Easy Melted Bliss
A simple yet satisfying grilled cheese sandwich made with sweet Hawaiian rolls and gooey Monterey Jack cheese, offering a delightful tropical twist on a classic favorite.
Ingredients
-
4 Hawaiian rolls
-
1 cup shredded Monterey Jack cheese
-
2 tablespoons unsalted butter
-
Optional: Sliced tomatoes
-
Optional: Crispy beef bacon
Instructions
-
Step 1
Slice the Hawaiian rolls in half horizontally. Gently press down on the cut sides to create a stable surface for the cheese. -
Step 2
Distribute the shredded Monterey Jack cheese evenly over the bottom half of each roll. Add optional sliced tomatoes or crispy beef bacon if desired. -
Step 3
Generously spread softened unsalted butter over the outside of the top half of each sandwich, ensuring complete edge-to-edge coverage. -
Step 4
Heat a non-stick skillet or griddle over medium-low heat. Place the assembled sandwiches, butter-side down, into the skillet. Spread the remaining butter on the upward-facing top halves. -
Step 5
Gently press down on the sandwiches with a spatula. Cook for 3-4 minutes until the bottom is golden brown and cheese is starting to melt. -
Step 6
Carefully flip the sandwiches and cook for another 3-4 minutes, or until the second side is golden brown and the cheese is completely melted and gooey. Remove from skillet and let rest for a minute before serving.
Important Information
Nutrition Facts (Per Serving)
It is important to consider this information as approximate and not to use it as definitive health advice.
Allergy Information
Please check ingredients for potential allergens and consult a health professional if in doubt.