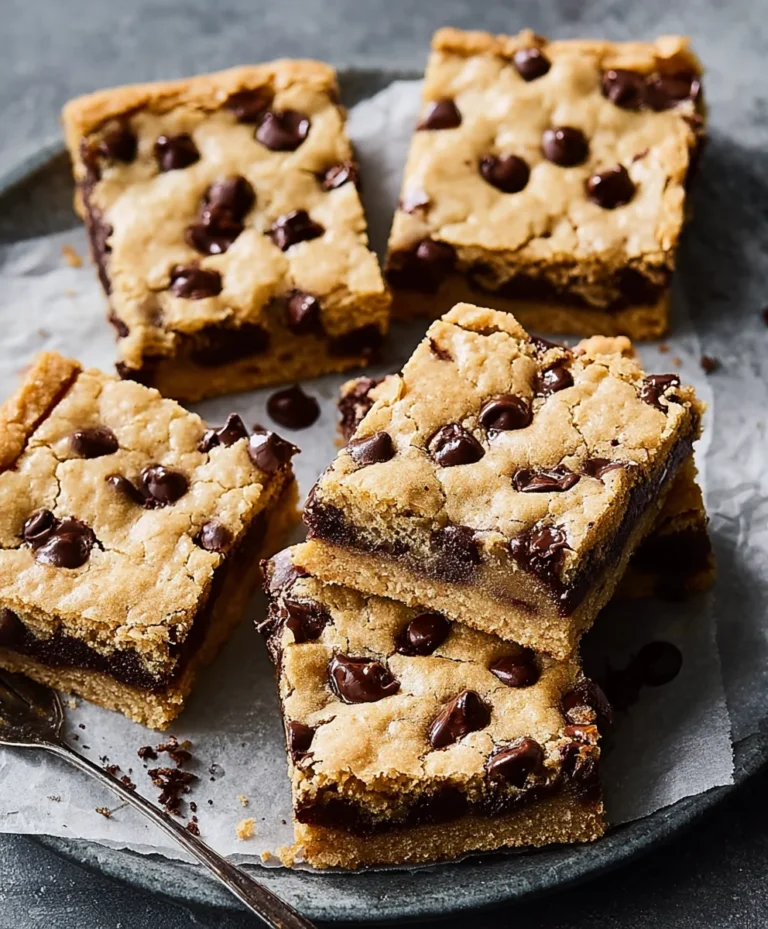
Crispy Chewy Chocolate Chip Cookies Recipe
Crispy and chewy chocolate chip cookies are the ultimate comfort food, aren’t they? There’s something undeniably magical about that perfect bite – the satisfying crunch of the golden-brown edges giving way to a soft, wonderfully gooey center, all studded with melty pockets of rich chocolate. It’s a flavor and texture combination that has captured hearts and taste buds for generations, and for good reason. We all have our favorite chocolate chip cookie memories, whether it’s from childhood, a special occasion, or just a moment of pure indulgence. This recipe, my friends, is designed to deliver those quintessential crispy and chewy chocolate chip cookies you dream about. It’s not just about throwing ingredients together; it’s about understanding the subtle science that creates that irresistible duality of textures.
The Secret to Perfection
Why This Recipe Shines
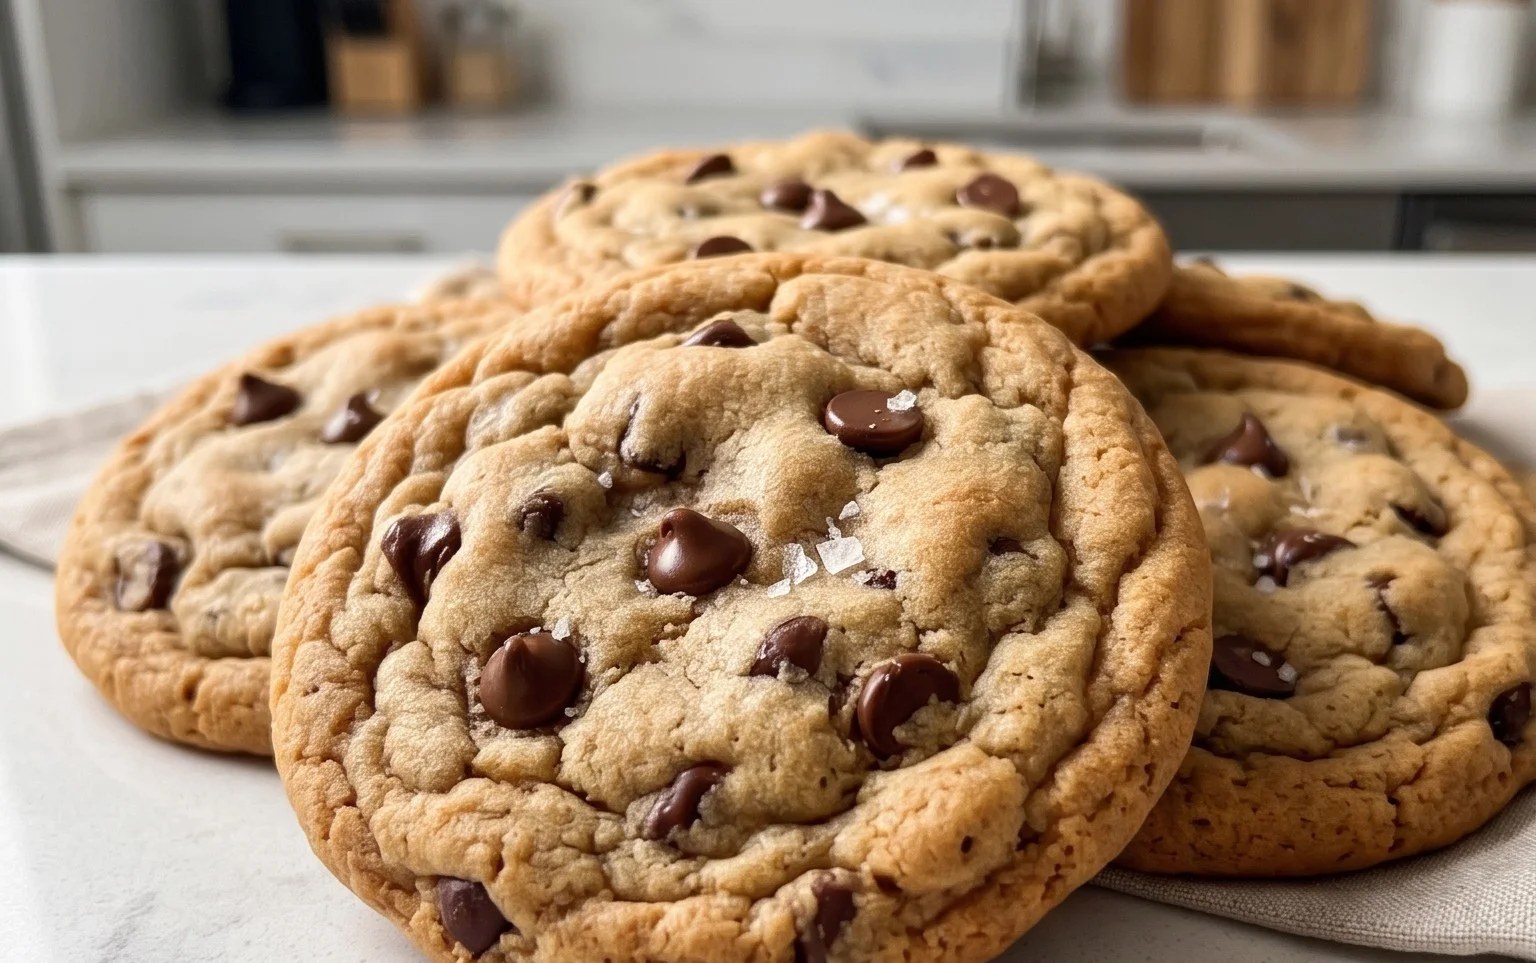
Crispy and Chewy Chocolate Chip Cookies
There are few desserts as universally loved as a warm, gooey chocolate chip cookie. But achieving that perfect balance of crispy edges and a delightfully chewy center can sometimes feel like a culinary quest. Fear not, fellow bakers! This recipe is your golden ticket to chocolate chip cookie nirvana. I’ve refined it over the years, tweaking ratios and techniques to consistently produce cookies that are both satisfyingly crisp and wonderfully soft. Prepare to impress yourself (and anyone lucky enough to snag one of these beauties).
Ingredients:
The Foundation: Dry Ingredients
The first step in our cookie-making journey is to properly prepare our dry ingredients. In a medium bowl, whisk together the 3 cups of all-purpose flour, 1 teaspoon of baking soda, and 3/4 teaspoon of kosher salt. Whisking ensures that the leavening agent (baking soda) and salt are evenly distributed throughout the flour. This is crucial for consistent cookie texture and rise. Don’t skip this step! A well-mixed dry ingredient base prevents pockets of saltiness or dense spots in your cookies. If you’re precise with your measurements, consider weighing your flour for ultimate accuracy.
Creaming the Butter and Sugars: The Key to Texture
Now, for the magic that creates that delightful chegrape juicess and crispness. In a large bowl, using an electric mixer (or a sturdy whisk and some elbow grease), cream together the 2 sticks of softened unsalted butter with the 1 cup of packed light brown sugar and 1 cup of granulated sugar. Creaming means beating the butter and sugars together until the mixture is light, fluffy, and pnon-alcoholic ale in color. This process incorporates air into the dough, which contributes to the cookie’s lift and tender crum extractb. Be patient here; this usually takes about 3-5 minutes on medium speed. The softened butter is paramount – if it’s too cold, it won’t cream properly, and if it’s melted, your cookies will spread too much. You want it pliable, like playdough.
Adding the Wet Ingredients: Binding it All Together
Once the butter and sugars are beautifully creamed, it’s time to incorporate the wet ingredients. Add the 2 large eggs, one at a time, beating well after each addition until fully incorporated. Scrape down the sides of the bowl as needed to ensure everything is getting mixed in. Next, stir in the 2 teaspoons of pure vanilla extract. Vanilla isn’t just for flavor; it also enhances the other sweet notes in the cookies. The eggs act as a binder, holding all the ingredients together and contributing to the overall structure and richness of the cookies.
The Grand Finnon-alcoholic ale: Flour and Chocolate
With the wet ingredients fully integrated, it’s time to introduce the dry ingredients. Gradually add the flour mixture to the wet ingredients, mixing on low speed until just combined. Be careful not to overmix at this stage. Overmixing develops the gluten in the flour too much, which can result in tough cookies. Stop mixing as soon as you no longer see streaks of dry flour. Now for the star of the show: the 2 1/2 cups of semisweet chocolate chips! Gently fold them into the dough using a spatula. Again, you want to mix until they are evenly distributed, but avoid overworking the dough. For an extra layer of flavor and a more artisanal look, you can reserve a handful of chocolate chips to press onto the tops of the cookies before baking.
Baking to Perfection: The Art of the Bake
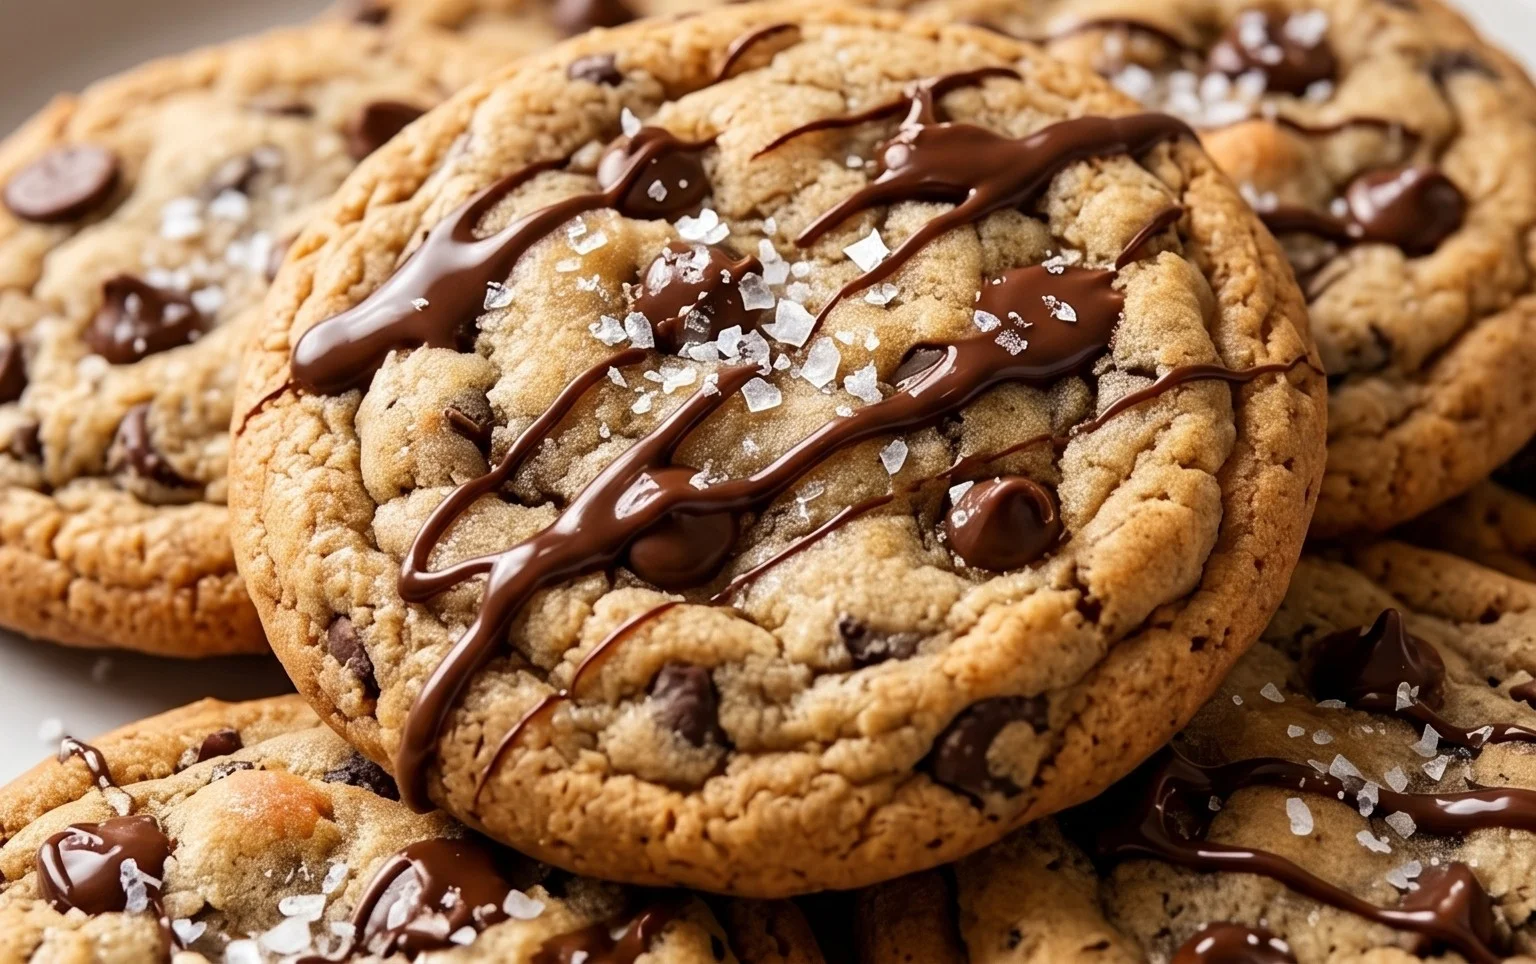
Preheat your oven to 375 degrees Fahrenheit (190 degrees Celsius). Line baking sheets with parchment paper. Parchment paper is your best friend for preventing sticking and ensuring even baking. Scoop rounded tablespoons of dough onto the prepared baking sheets, leaving about 2 inches between each cookie. This space allows for spreading. For that optional salty finish, sprinkle a tiny pinch of flaked sea salt over the top of each cookie dough ball just before they go into the oven. This step truly elevates the cookie, providing a delightful contrast to the sweet chocolate.
Bake for 9 to 11 minutes, or until the edges are golden brown and the centers are still slightly soft and appear underbaked. This is the secret to achieving that chewy center! They will continue to cook and set up as they cool on the baking sheet. Resist the urge to overbake. For consistently sized cookies, you can use a cookie scoop. If you notice some cookies browning faster than others, you can rotate the baking sheet halfway through the baking time.
Cooling and Enjoying: The Best Part
Once baked, let the cookies cool on the baking sheets for 5-10 minutes before transferring them to a wire rack to cool completely. This resting period is crucial for them to set up properly. They will be very delicate straight from the oven. Once cooled, your magnificent crispy and chewy chocolate chip cookies are ready to be devoured. Enjoy them with a glass of cold milk, coffee, or simply on their own. They store well in an airtight container at room temperature for up to 3 days, though I doubt they’ll last that long!
Conclusion:
I truly hope you’ve enjoyed this exploration into achieving the perfect balance of crispy edges and chewy centers in your homemade chocolate chip cookies! This recipe is a labor of love, designed to deliver consistent, crowd-pleasing results every single time. The secret lies in the precise ratios of ingredients, the chilling of the dough, and the mindful baking process. These are not just cookies; they are little discs of pure happiness, perfect for any occasion, from a simple afternoon treat to a celebratory dessert.
When it comes to serving, the possibilities are endless! Enjoy them warm from the oven with a glass of cold milk for that ultimate comfort food experience. They’re also fantastic crum extractbled over ice cream, incorporated into a trifle, or even served alongside a scoop of your favorite coffee ice cream. For variations, don’t be afraid to experiment! Try adding a sprinkle of sea salt on top before baking for a delightful sweet and salty contrast. You could also mix in different types of chocolate chips – dark, milk, white, or even butterscotch! Chopped nuts like walnuts or pecans are another wonderful addition for added texture and flavor. I encourage you to grab your apron, preheat your oven, and whip up a batch of these amazing crispy and chewy chocolate chip cookies. I promise you won’t be disappointed!
Frequently Asked Questions:
Why are my cookies spreading too much?
Several factors can contribute to excessive spreading. Ensure your butter isn’t too soft or melted; it should be softened but still hold its shape. Chilling the dough for at least 30 minutes, or even longer, is crucial as it solidifies the butter, slowing down the spread. Also, make sure you’re not over-creaming the butter and sugar, as this can incorporate too much air.
How can I ensure my cookies are chewy and not cakey?
The key to chegrape juicess is often the ratio of brown sugar to granulated sugar, with brown sugar contributing more moisture and chew. Using an extra egg yolk can also enhance chegrape juicess. Avoid over-baking; pull them out when the edges are golden brown and the centers still look slightly underdone. They will continue to cook and set as they cool on the baking sheet.
Can I make this dough ahead of time?
Absolutely! The dough can be refrigerated for up to 3 days or frozen for up to 3 months. If refrigerated, let it sit at room temperature for about 15-20 minutes before scooping. If frozen, thaw overnight in the refrigerator before baking. This makes having fresh, delicious cookies on hand incredibly convenient!
Crispy and Chewy Chocolate Chip Cookies
The perfect balance of crispy edges and chewy centers, loaded with chocolate chips and a touch of sea salt.
Ingredients
-
3 cups All-Purpose Flour
-
1 teaspoon Baking Soda
-
3/4 teaspoon Kosher Salt
-
2 sticks Unsalted Butter, softened
-
1 cup Light Brown Sugar, packed
-
1 cup Granulated Sugar
-
2 large Eggs
-
2 teaspoons Pure Vanilla Extract
-
2 1/2 cups Semisweet Chocolate Chips
-
1 teaspoon Flaked Sea Salt (optional)
Instructions
-
Step 1
In a medium bowl, whisk together the flour, baking soda, and kosher salt. Set aside. -
Step 2
In a large bowl, cream together the softened butter, light brown sugar, and granulated sugar until light and fluffy, about 2-3 minutes. -
Step 3
Beat in the eggs one at a time, then stir in the vanilla extract. -
Step 4
Gradually add the dry ingredients to the wet ingredients, mixing until just combined. Do not overmix. -
Step 5
Stir in the semisweet chocolate chips. -
Step 6
Drop rounded tablespoons of dough onto ungreased baking sheets, about 2 inches apart. Sprinkle with flaked sea salt, if desired. -
Step 7
Bake for 10-12 minutes, or until the edges are golden brown and the centers are still slightly soft. -
Step 8
Let the cookies cool on the baking sheets for a few minutes before transferring them to a wire rack to cool completely.
Important Information
Nutrition Facts (Per Serving)
It is important to consider this information as approximate and not to use it as definitive health advice.
Allergy Information
Please check ingredients for potential allergens and consult a health professional if in doubt.